8. Other Configurations
In this section, you will learn how to set up and manage:
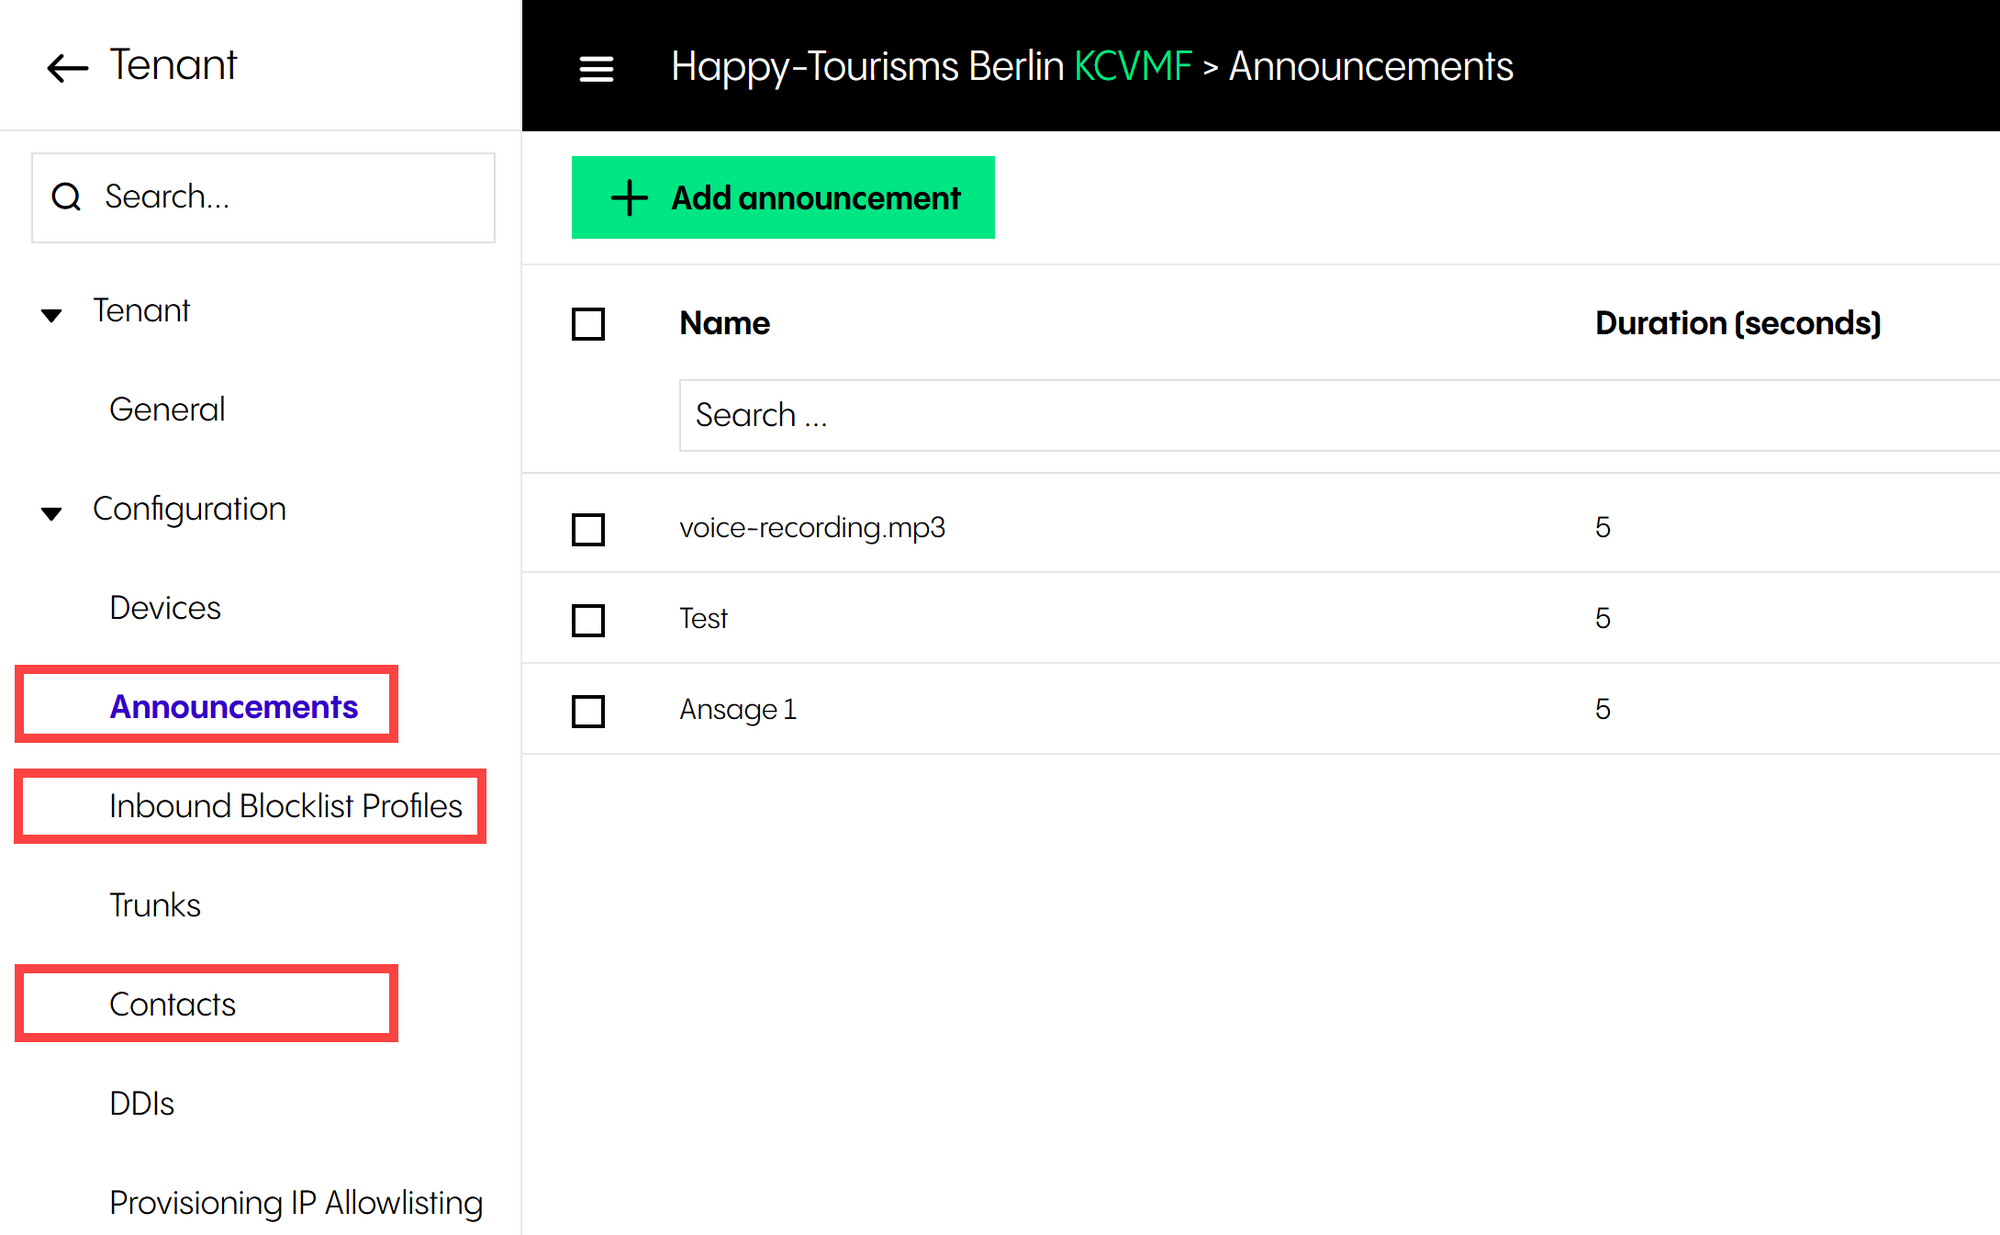
Announcements
Contacts
Inbound blocklist profiles
8.1 Announcements
Overview
Announcements are pre-recorded audio messages or music. These are required to ensure that all callers into services, for example, are hearing the targeted messages/ announcements / dedicated music.
Under Configuration > Announcements, you can see a list of all announcements that have been added for the tenant. Please note that announcements which have been uploaded in other configurations screens, for example, a queue or an IVR service, are also listed and can be managed in this section.
In this view, you can:
Add a new entry
Select one, several or all entries and delete them
Edit, play, delete or download an entry or copy it to clipboard (you can also edit an entry by double-clicking on it)
Select how many entries you want to have on the page
Search for an announcement
Important
Before deleting an announcement, make sure to check if any other target is referencing it, for example, an IVR, queue or a skill service, as it will change the configuration of the latter.
8.1.1 General
General
Under General, you have the following options:
Name | Assigns a name to the announcement Mandatory field, can be up to 50 characters. The same rules apply as in Section Phone extensions. |
Type | Selects the announcement type The options are:
|
Audio file | Uploads an audio file Please note that only MP3 and WAV files are supported, and the maximum file size is 7 MB. Bear in mind that you can replace the audio file when editing an already existing announcement. |
Note
Bear in mind that personal voicemail announcements or greetings are not part of announcements and are configured directly under each extension.
Please note that when uploading an audio file for the Music on hold option, the system will replace the default Music on hold file.
8.2 Contacts
Overview
Under Contacts, you can set up and manage contacts.
Please note that we distinguish between:
company contacts / phonebook, configured in the Admin Portal
private contacts / phonebook, configured by individual users in their Cloudya user apps.
These two types of contacts can be combined so that they are accessible from certified devices or the Cloudya apps.
In this section, you will learn how to manage contacts in the Admin Portal only.
In this view, you can:
Add a new entry
Delete all contacts
Select one, several or all entries and delete them
Edit, call, delete an entry or copy it to clipboard (you can also edit an entry by double-clicking on it)
Import a CSV file
Export a CSV file
Select how many entries you want to have on the page
Search for a contact
8.2.1 General
General
Under General, you have the following options:
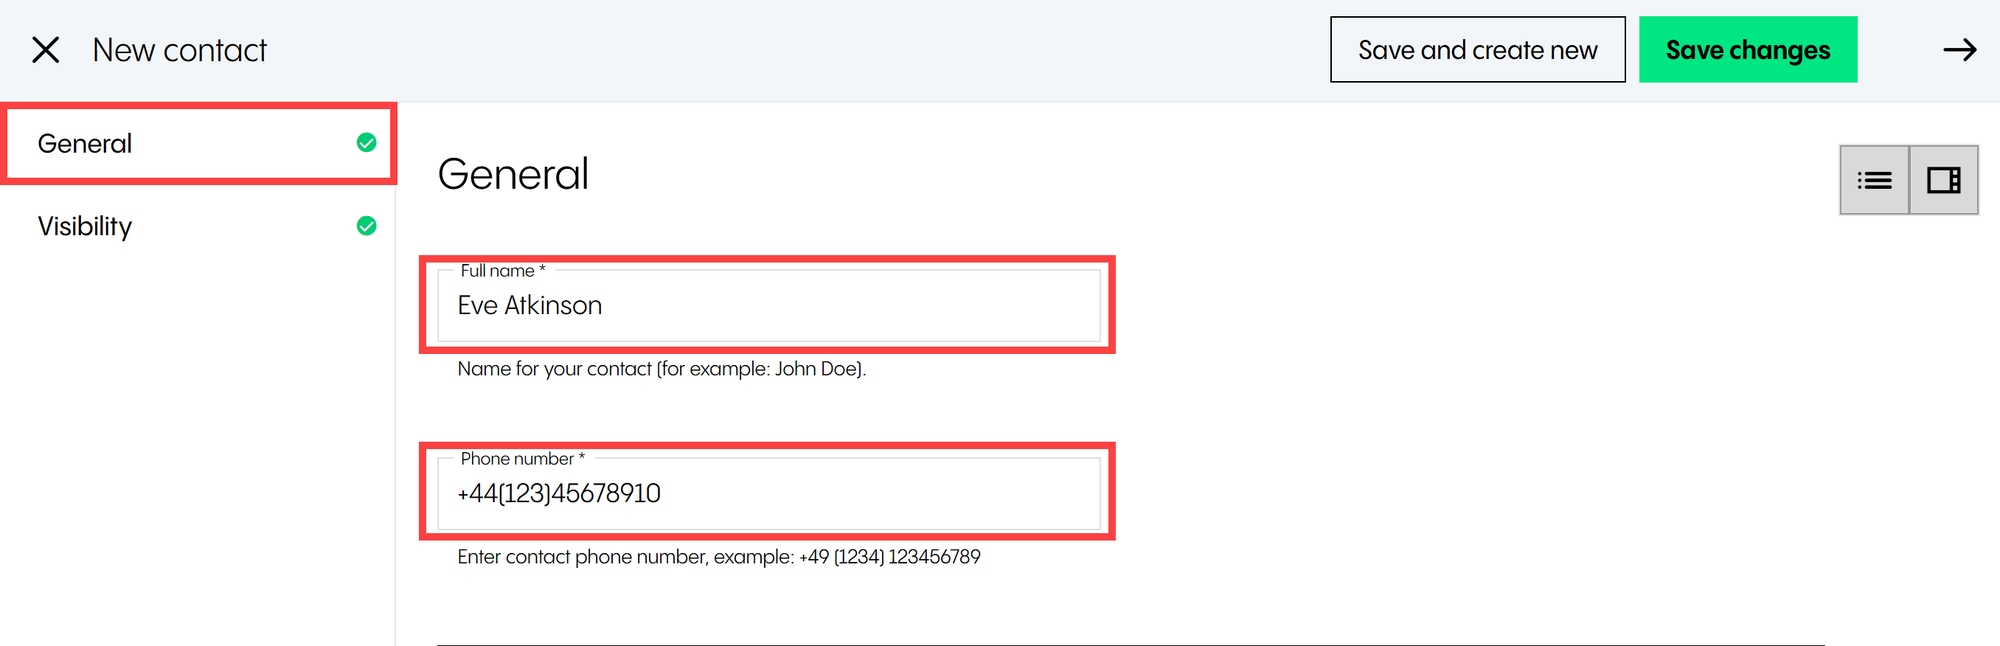
Full name | Assigns a name to the contact |
Phone number | Assigns a phone number to the contact Please note that phone numbers must be entered using the Microsoft notation, i.e. country code, area code and the subscriber number. |
8.2.2 Visibility
Visibility
Under Visibility, you have the following options:
Private mode | Activates / deactivates the visibility limitation of a contact When deactivated, the contact will be visible for all extensions. When activated, it will be searchable only by the extensions set in the exception list. |
Edit exception list | Adds / removes extension to / from the exception list. Only phone extensions listed in the exception list can search for this contact. |
8.3 Inbound blocklist profiles
Inbound blocklist profiles
Under Inbound Blocklist Profiles, you can create rules that block incoming phone calls. Please note that it applies to external numbers, which is helpful for spam, fishing etc.
In this view, you can:
Add a new entry
Select one, several or all entries and delete them
See which Inblound Blocklist profiles are used in a trunk or multiple trunks (the number after Yes indicates how many)
Edit and delete an entry or copy it to clipboard (you can also edit an entry by double-clicking on it)
Select how many entries you want to have on the page
8.3.1 Adding an inbound blocklist profile
Adding an inbound blocklist profile
Under General, you have the following option:
Name | Assigns a name to the inbound blocklist profile |
Under Rules > Add rule, you have the following option:
Name | Assigns a name to the rule |
Prefix | Enters a prefix to be blocked, starting with + and area code |
Under Trunks > Add, you have the following option:
Trunk | Selects a trunk to be added to this inbound blocklist profile |