5. Reports
Reports
Nmonitoring Queues collects your PBX call, skill and queue data and generates analytical reports for over 150 metrics which include:
When was the call received
Who answered the call
Who initiated and who processed the call, and in which queue or skill
Waiting time before the caller is connected to an agent and time it takes to process the call
Number of attempts the caller made before the connection
How and why the call ended
Which number has been dialled
Number of successful and failed calls
Maximum, minimum, average and total latency and call processing time
Breakdown of calls by agent, dialled numbers, internally redirected calls, queues, direction
Waiting time statistics by connection, agent, country, region, dialling of calling and selected participants
Agent session start and end times
Who can access and edit reports?
Only users with permissions to edit reports will be able to view the Reports tile on the home page. Using the standard settings for user class keys, this will apply to users with the role of a supervisor or an administrator**.**
To access and edit reports, you need the USR_REPORTS user class key. To configure export jobs (PDF or XML) for your reports, you need the USR_REPORTS_EXPORT_EDIT user class key. To execute exports, you need the USR_REPORTS_EXPORT user class key. As an NMQ administrator you can add or set those user class keys through the user editor.
5.1 Creating a new report
Creating a new report
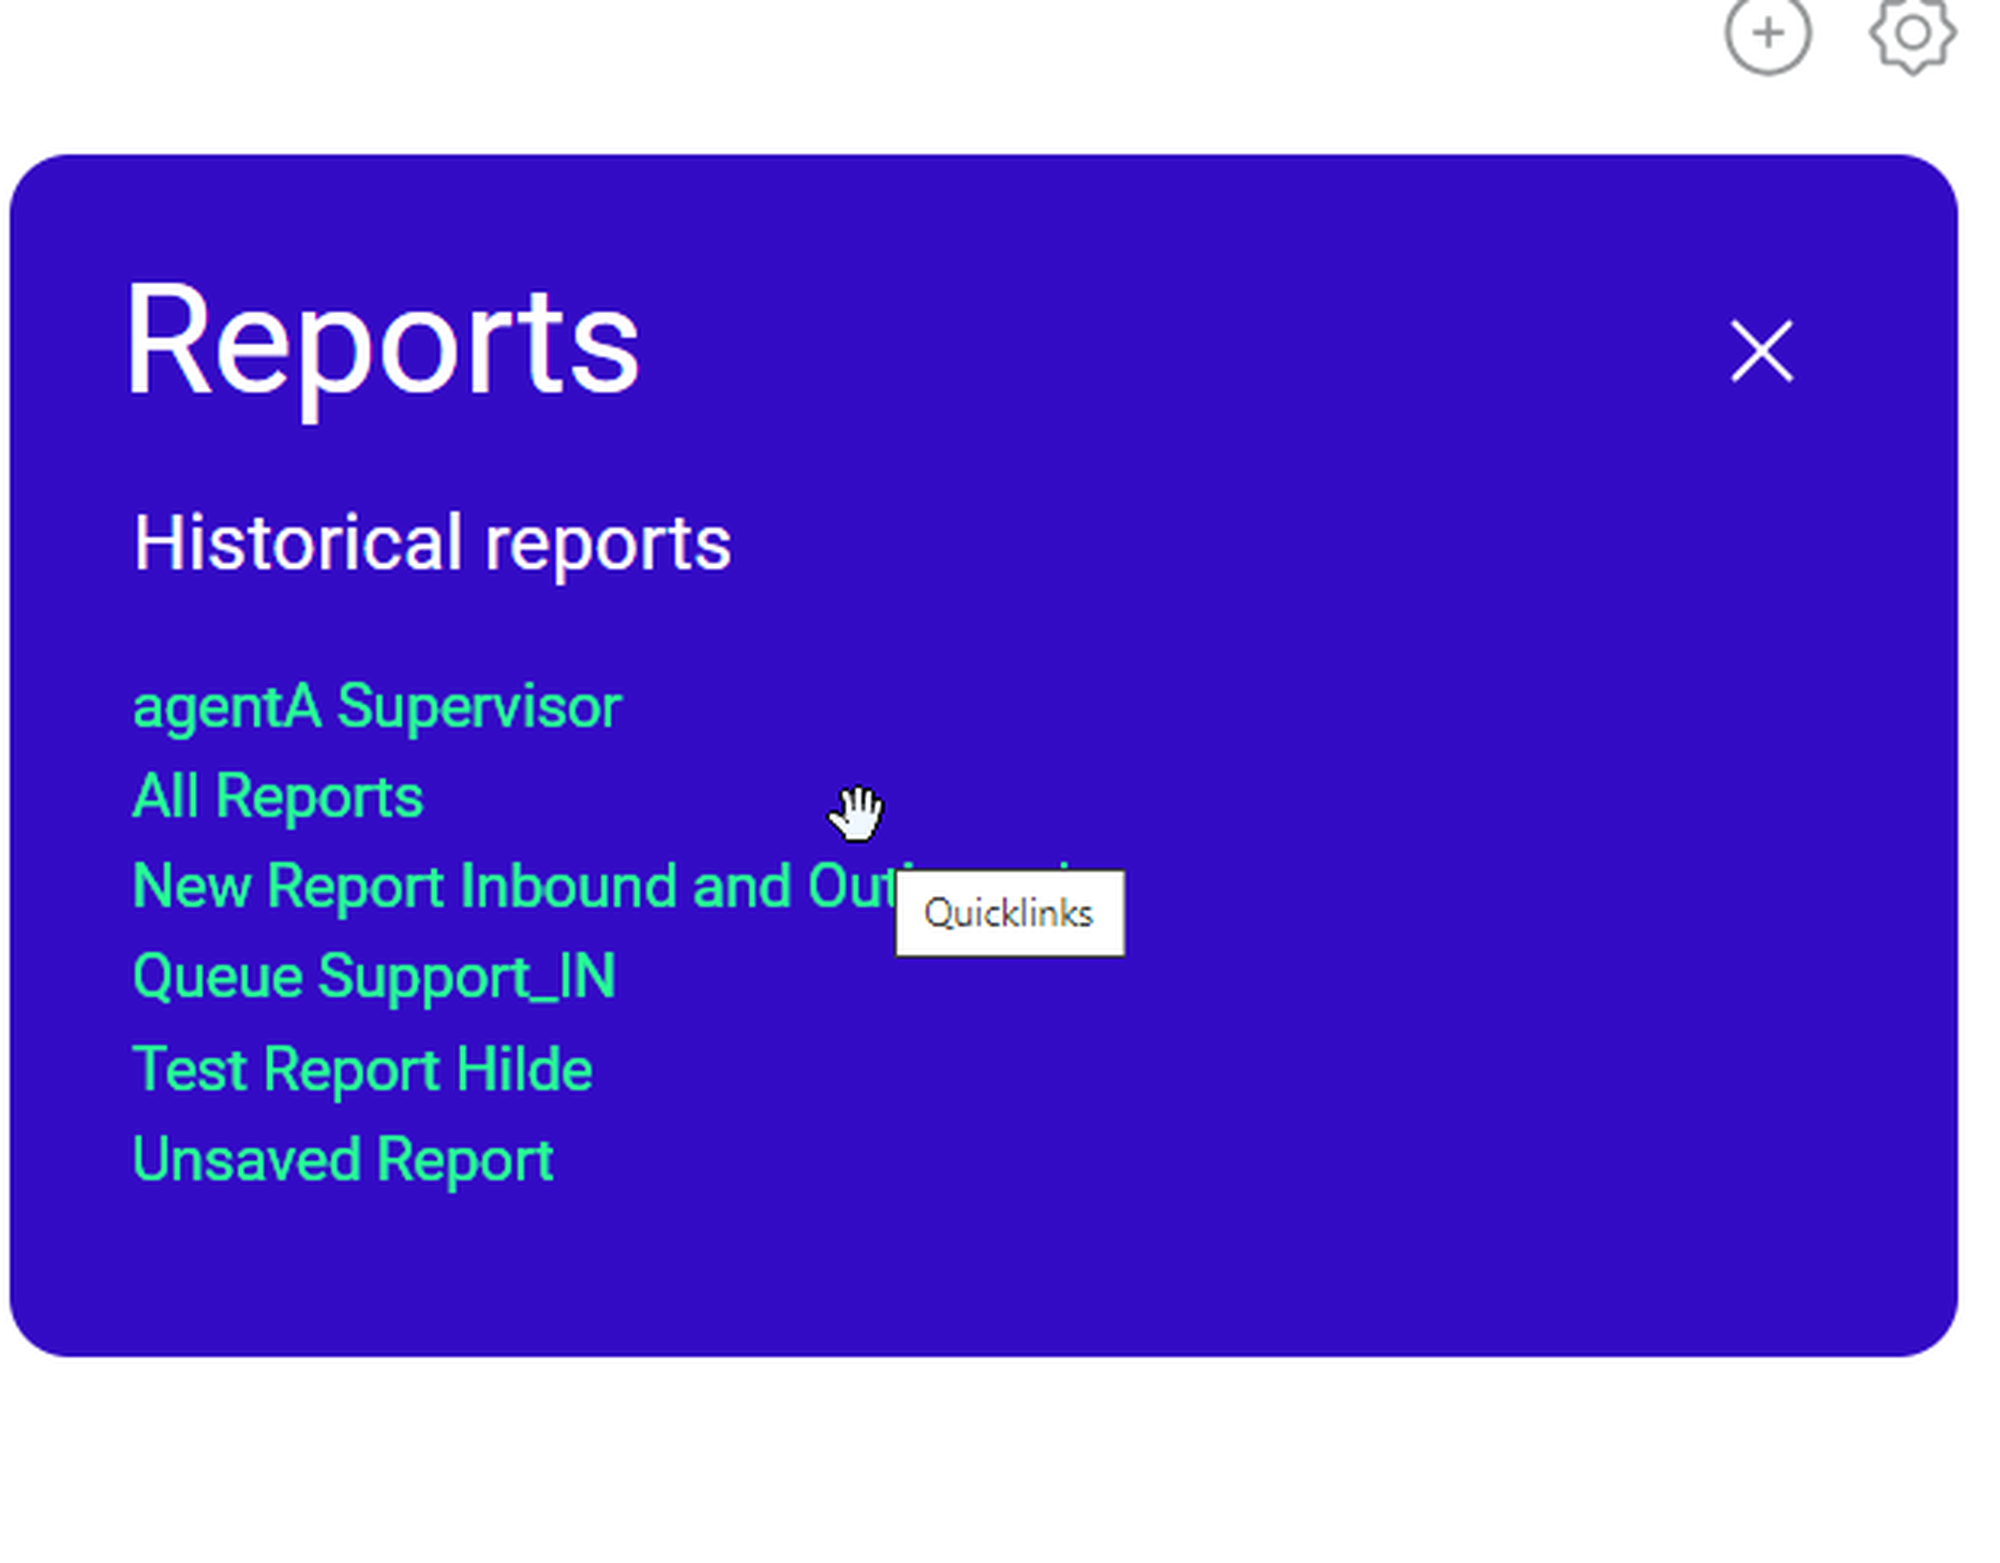
1. Click anywhere in the blue field of the Reports tile OR click on any of the displayed quick links to directly access the respective report.
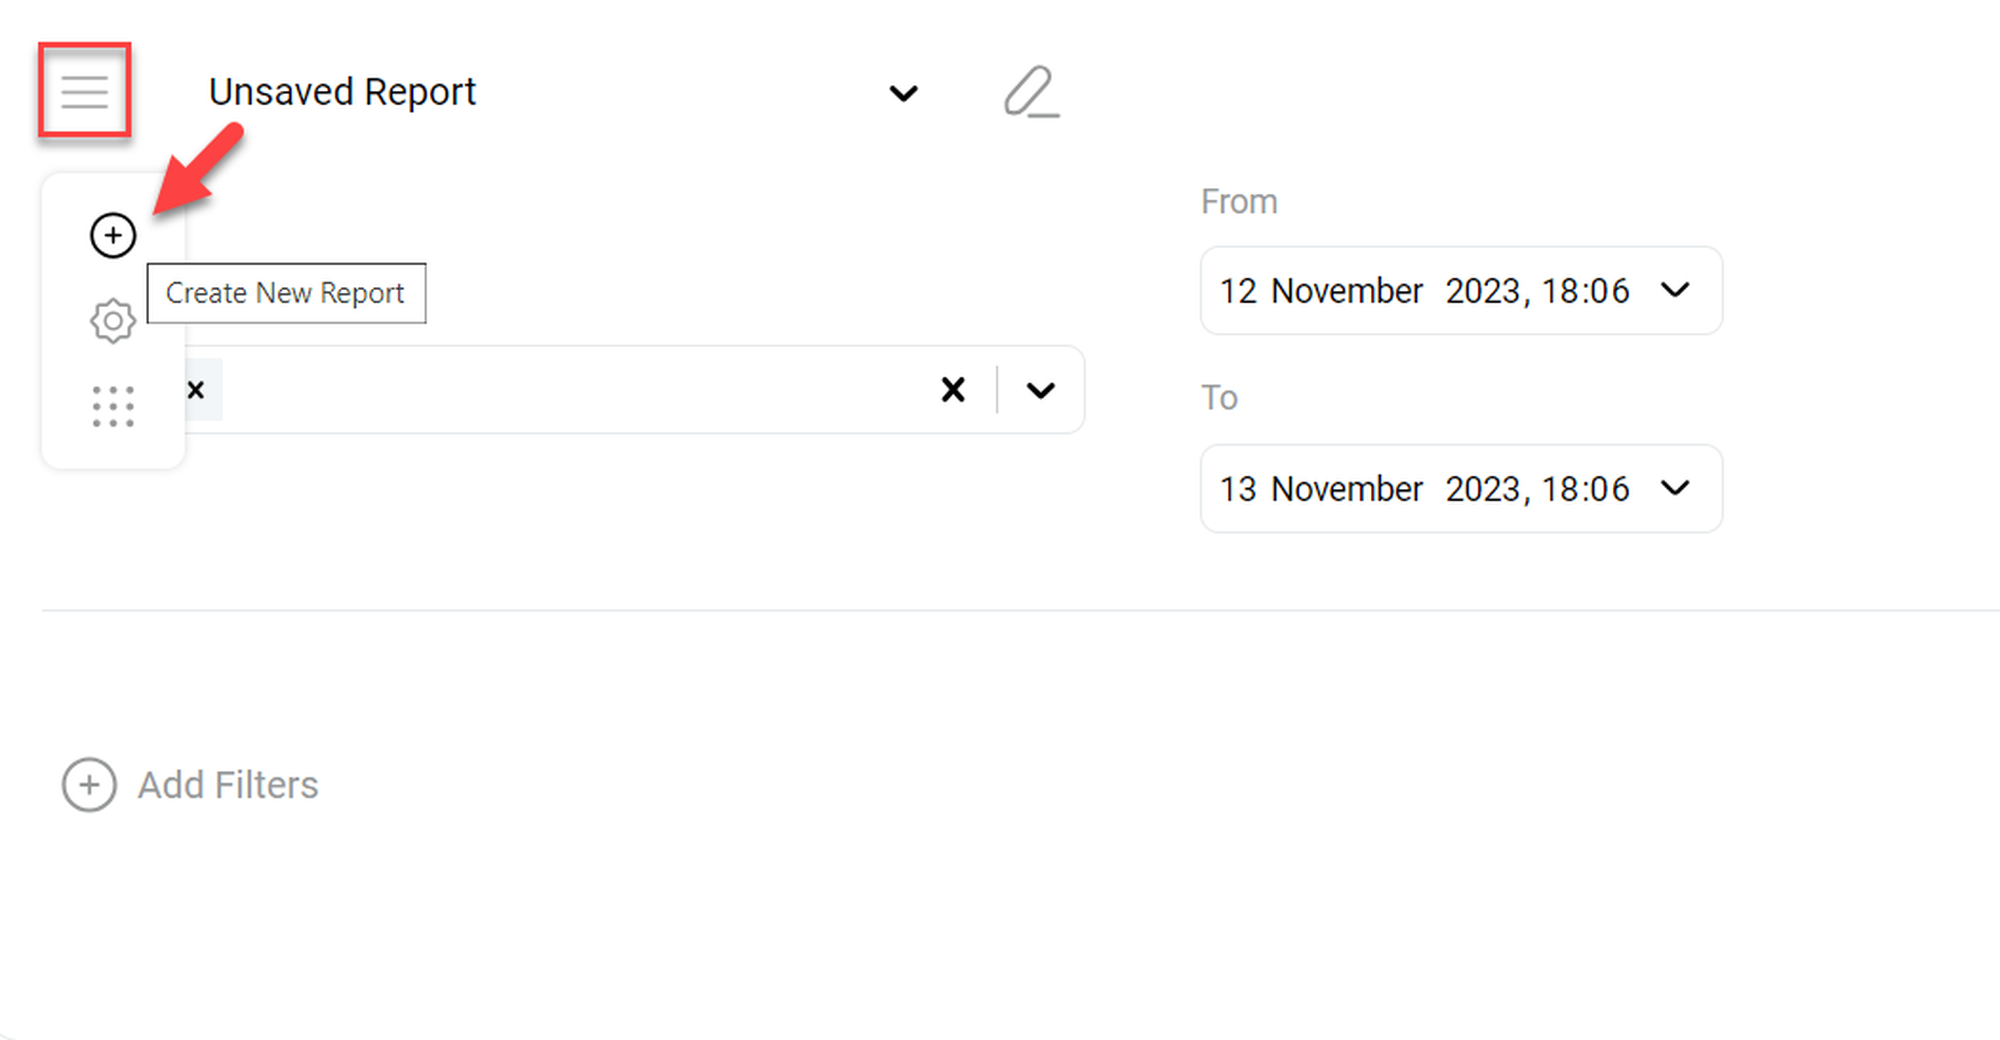
2. Open the burger menu in the upper left-hand corner of the report page. Select the + icon from the burger menu.
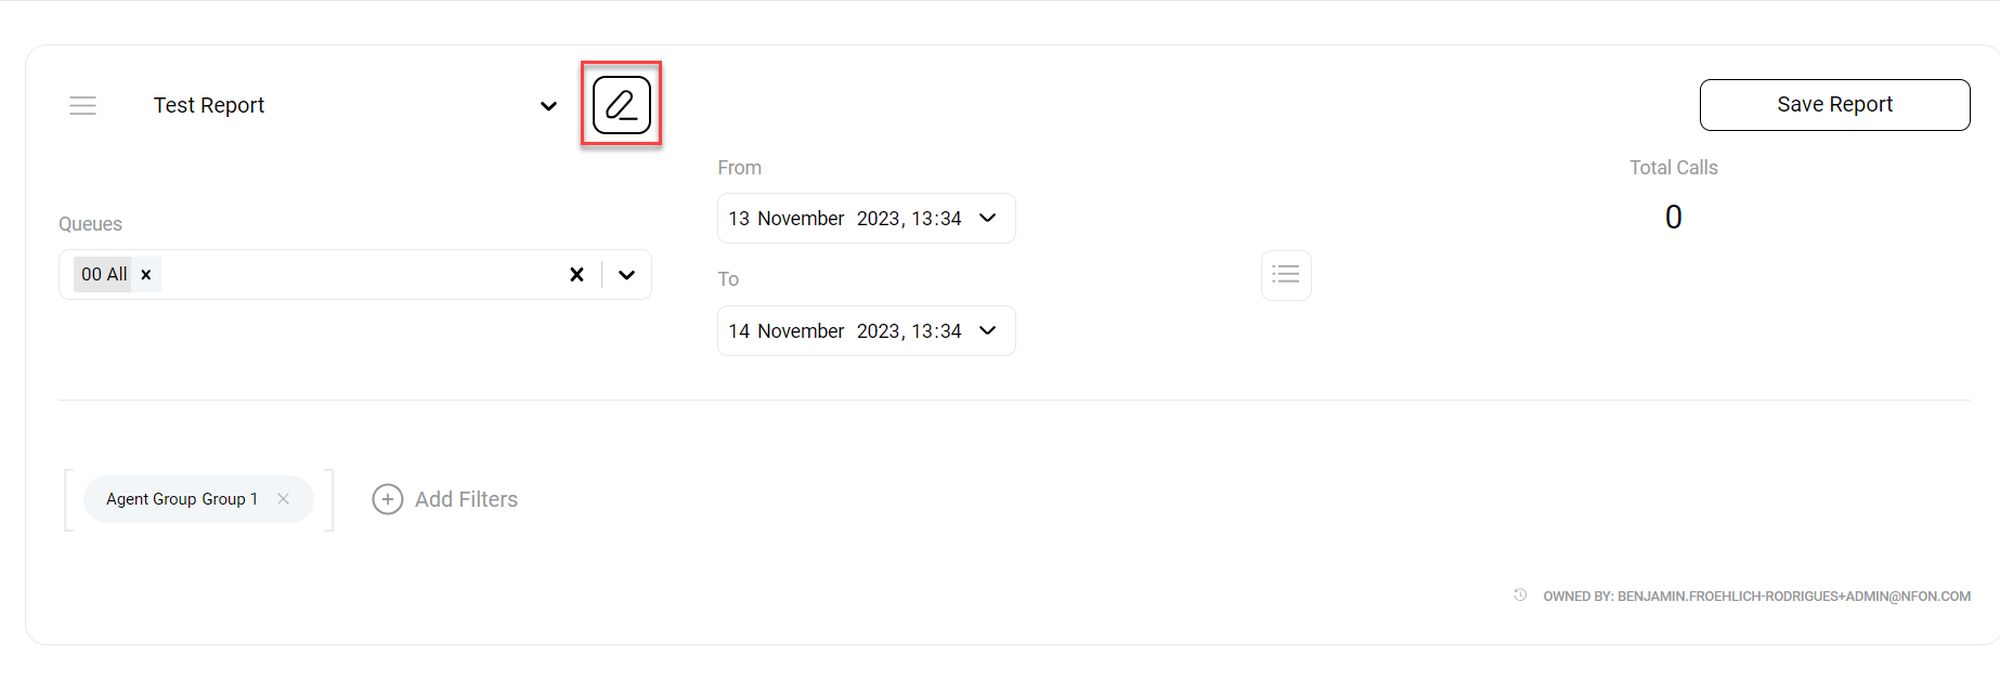
3. Click on the pencil icon next to the name of the report to change the name of the report.
4. Enter the new name of the report.
5. Click the check button that appears next to the input field to confirm.
Adding a new data block to a report
There are two options to add a new report block:
1. Click on the button + Add DataBlocks at the bottom your report page
or
1. Open the burger menu.
2. Select the candy box menu (which shows Open DataBlocks menu as a tooltip).
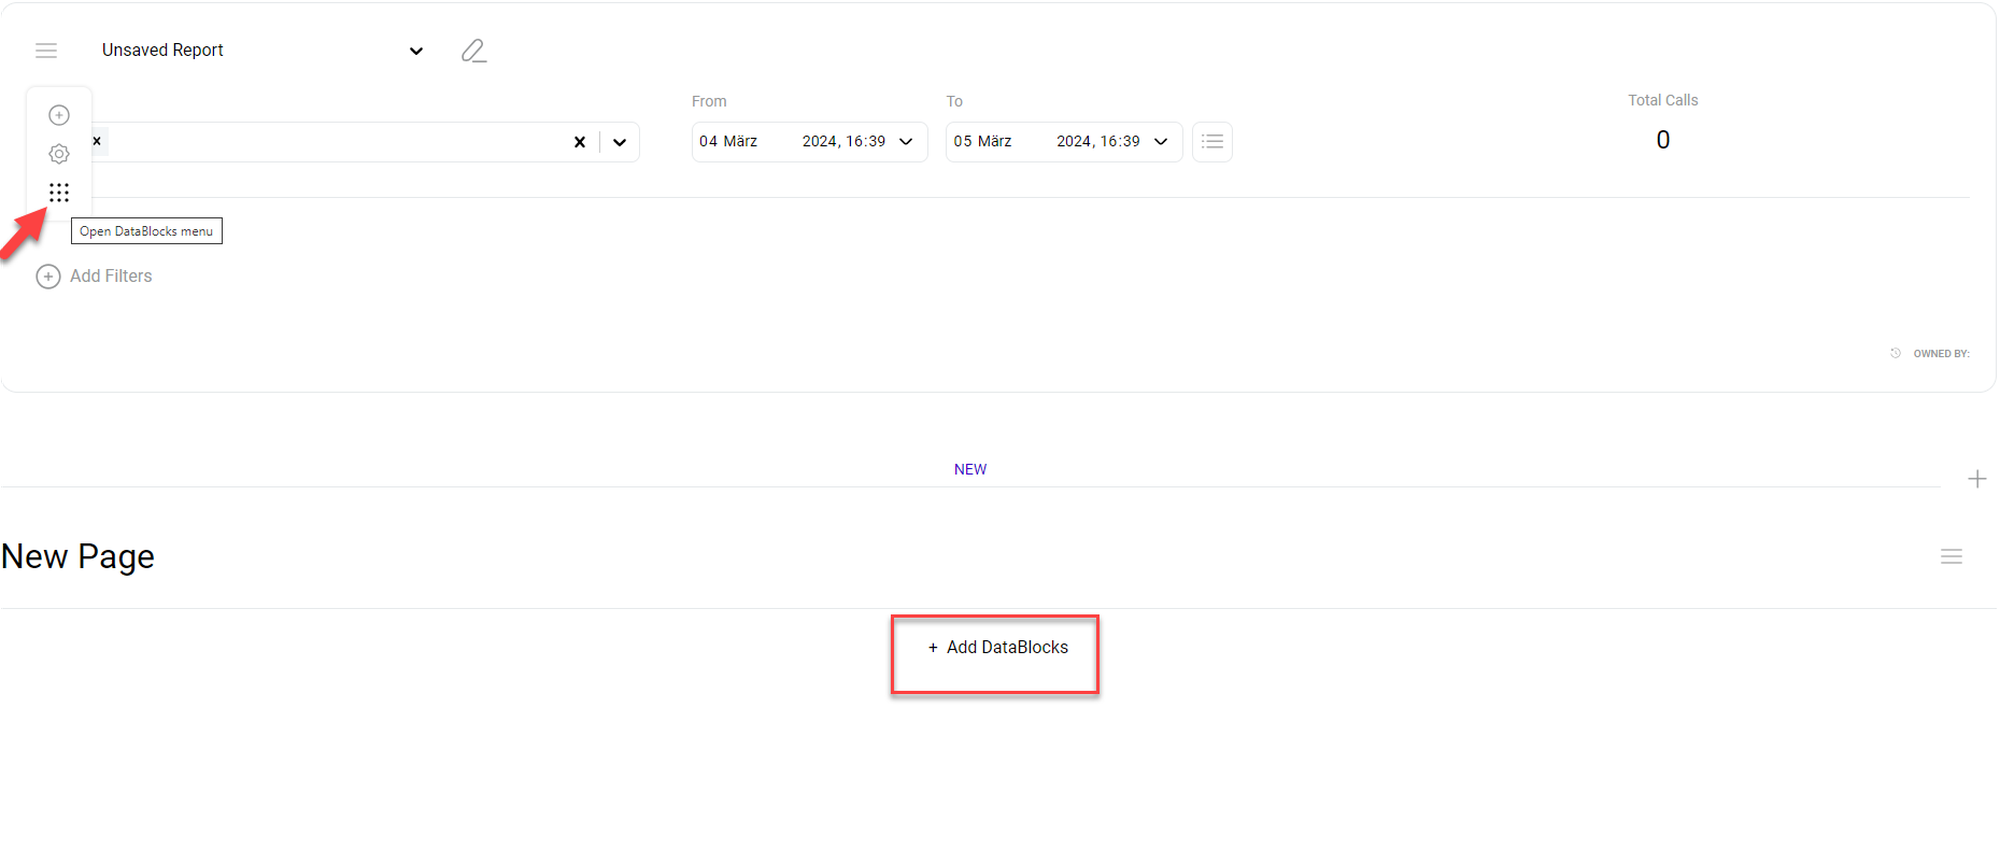
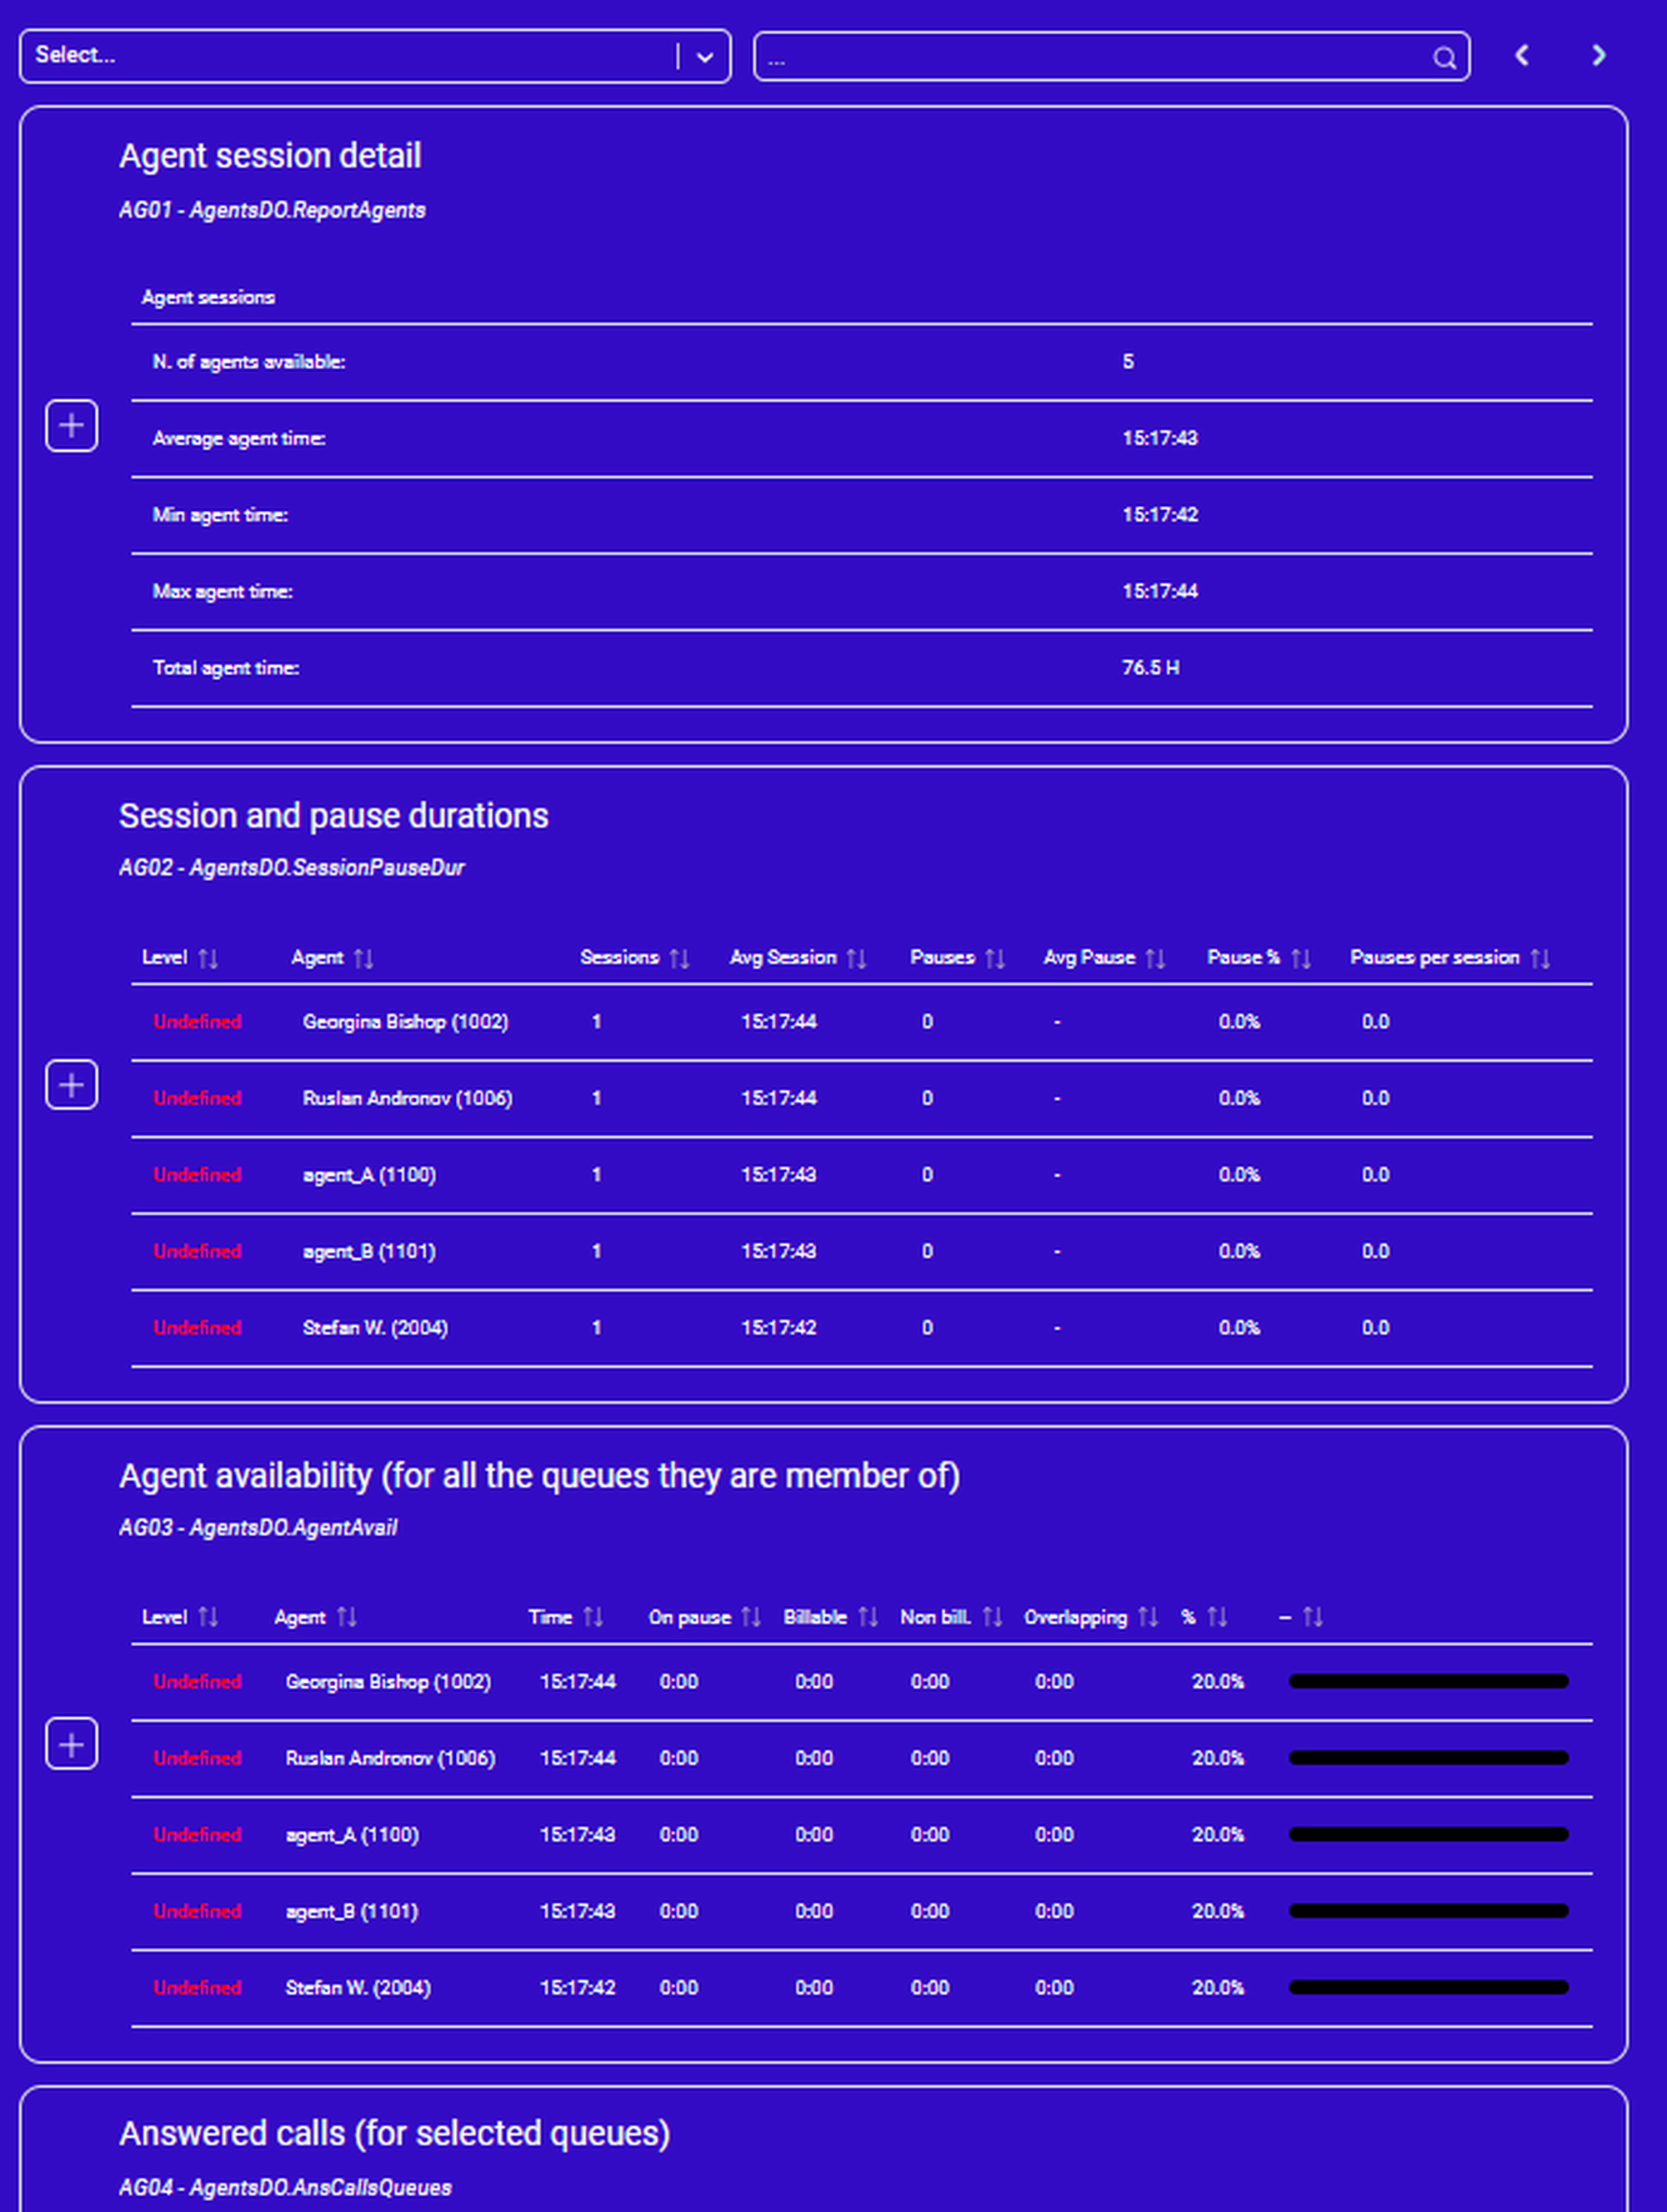
⇒ The DataBlocks menu opens as a blue sidebar on the right.
3. Click the + icon to the left of the report block to add any of the displayed data blocks to the report
5.2 Configuring report settings
Opening report settings
Click on the burger menu.
Select the gear icon.
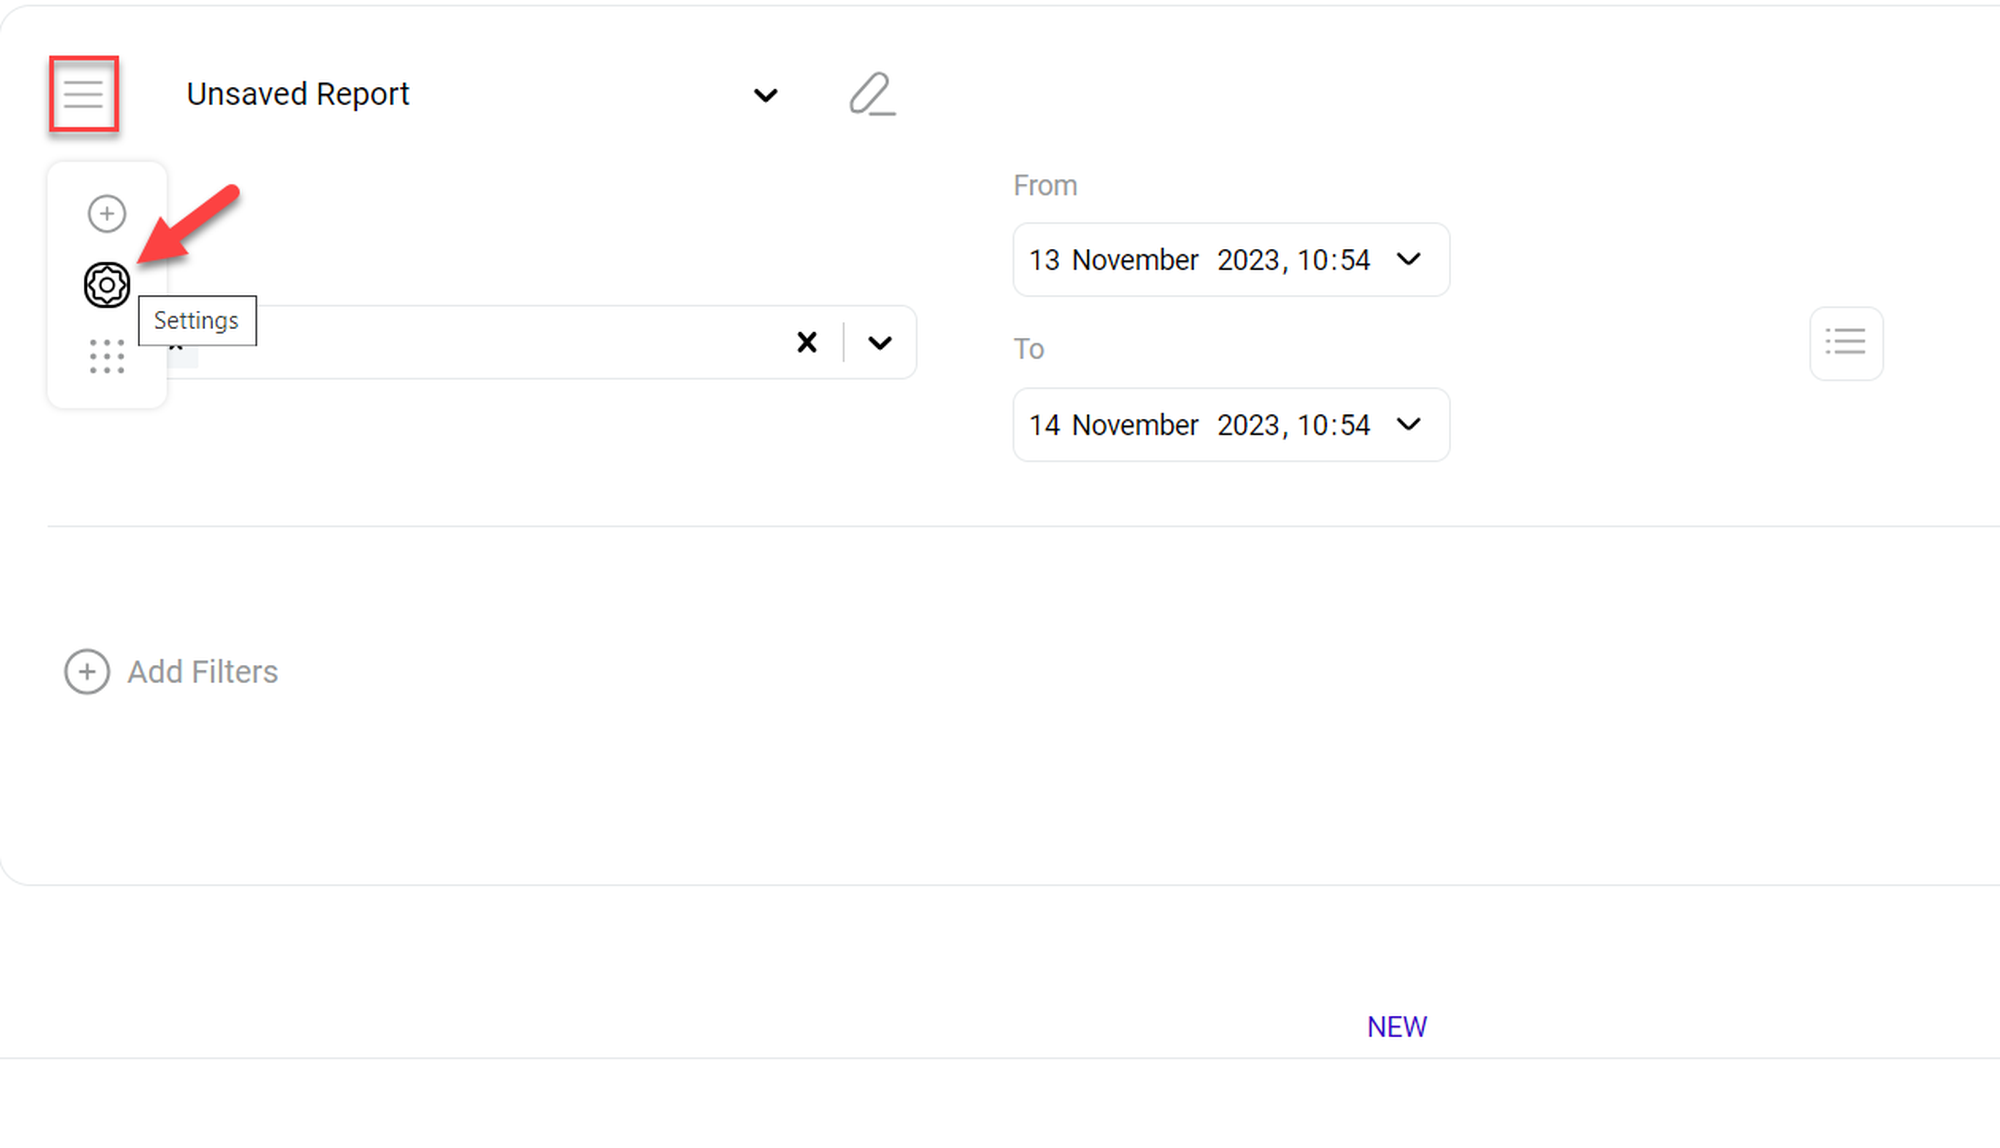
⇒ A blue sidebar with the following sections opens on the right:
Report
DataBlock
Short Calls
Area Code
Configuring report settings
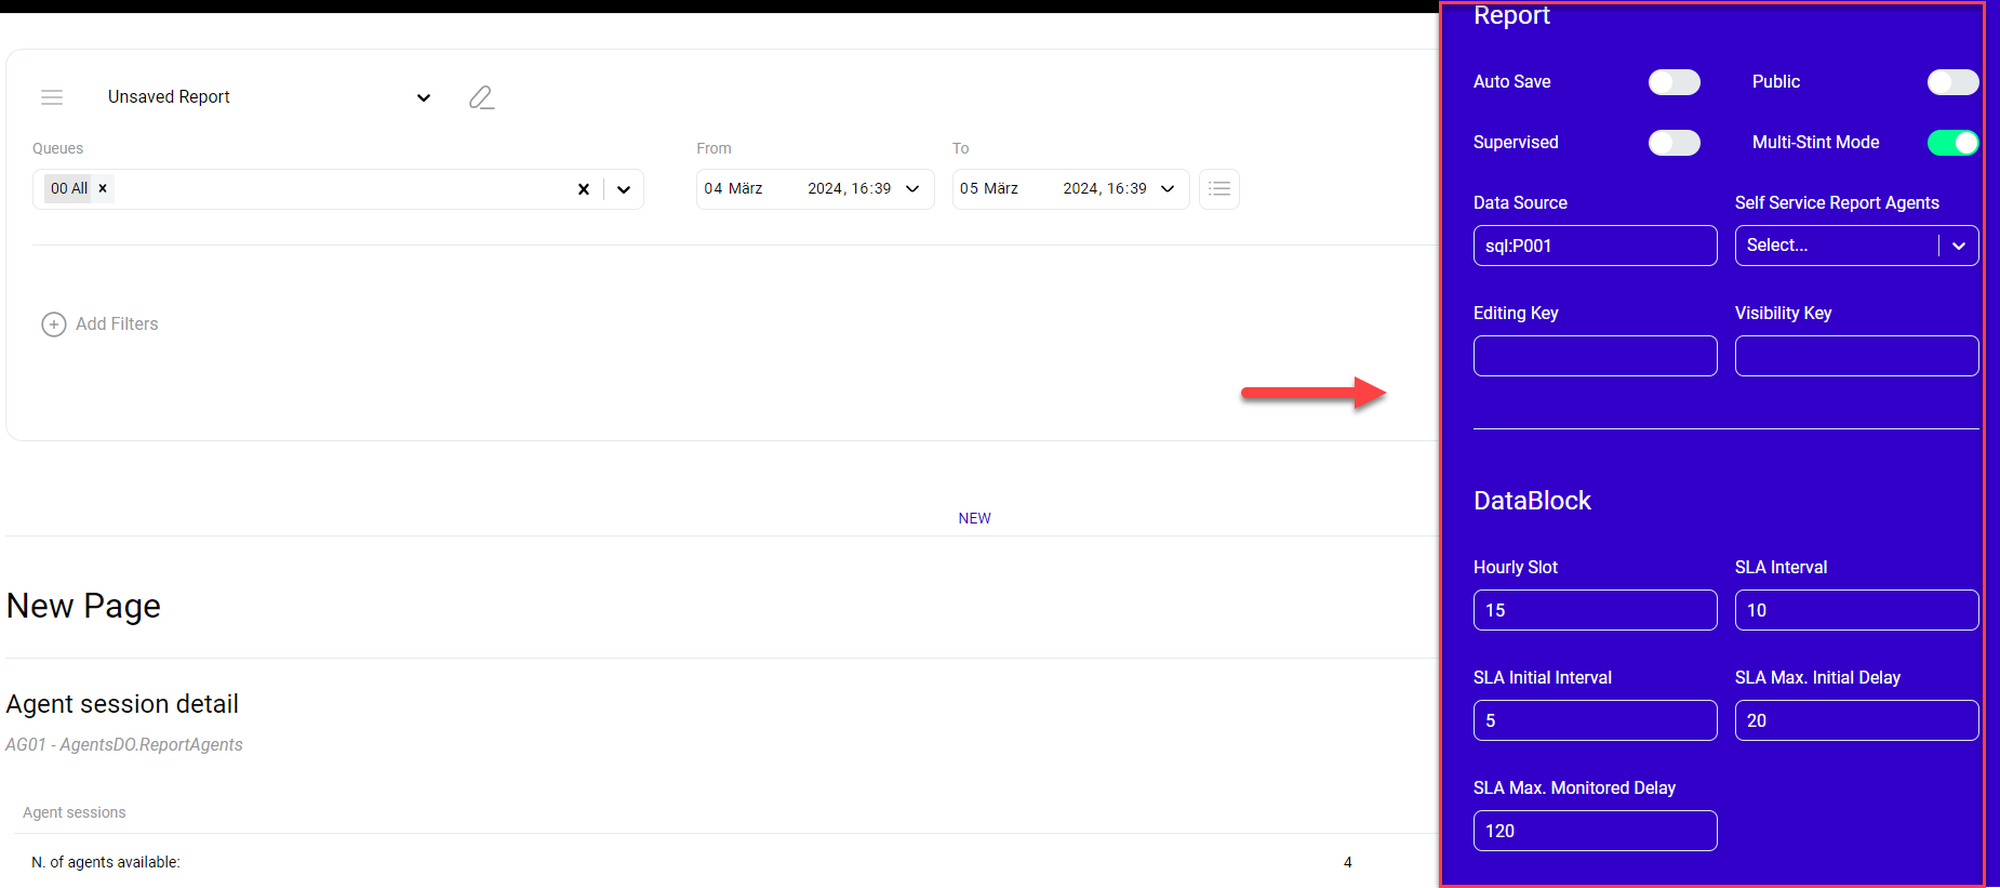
In this section, you can configure general report settings for this report:
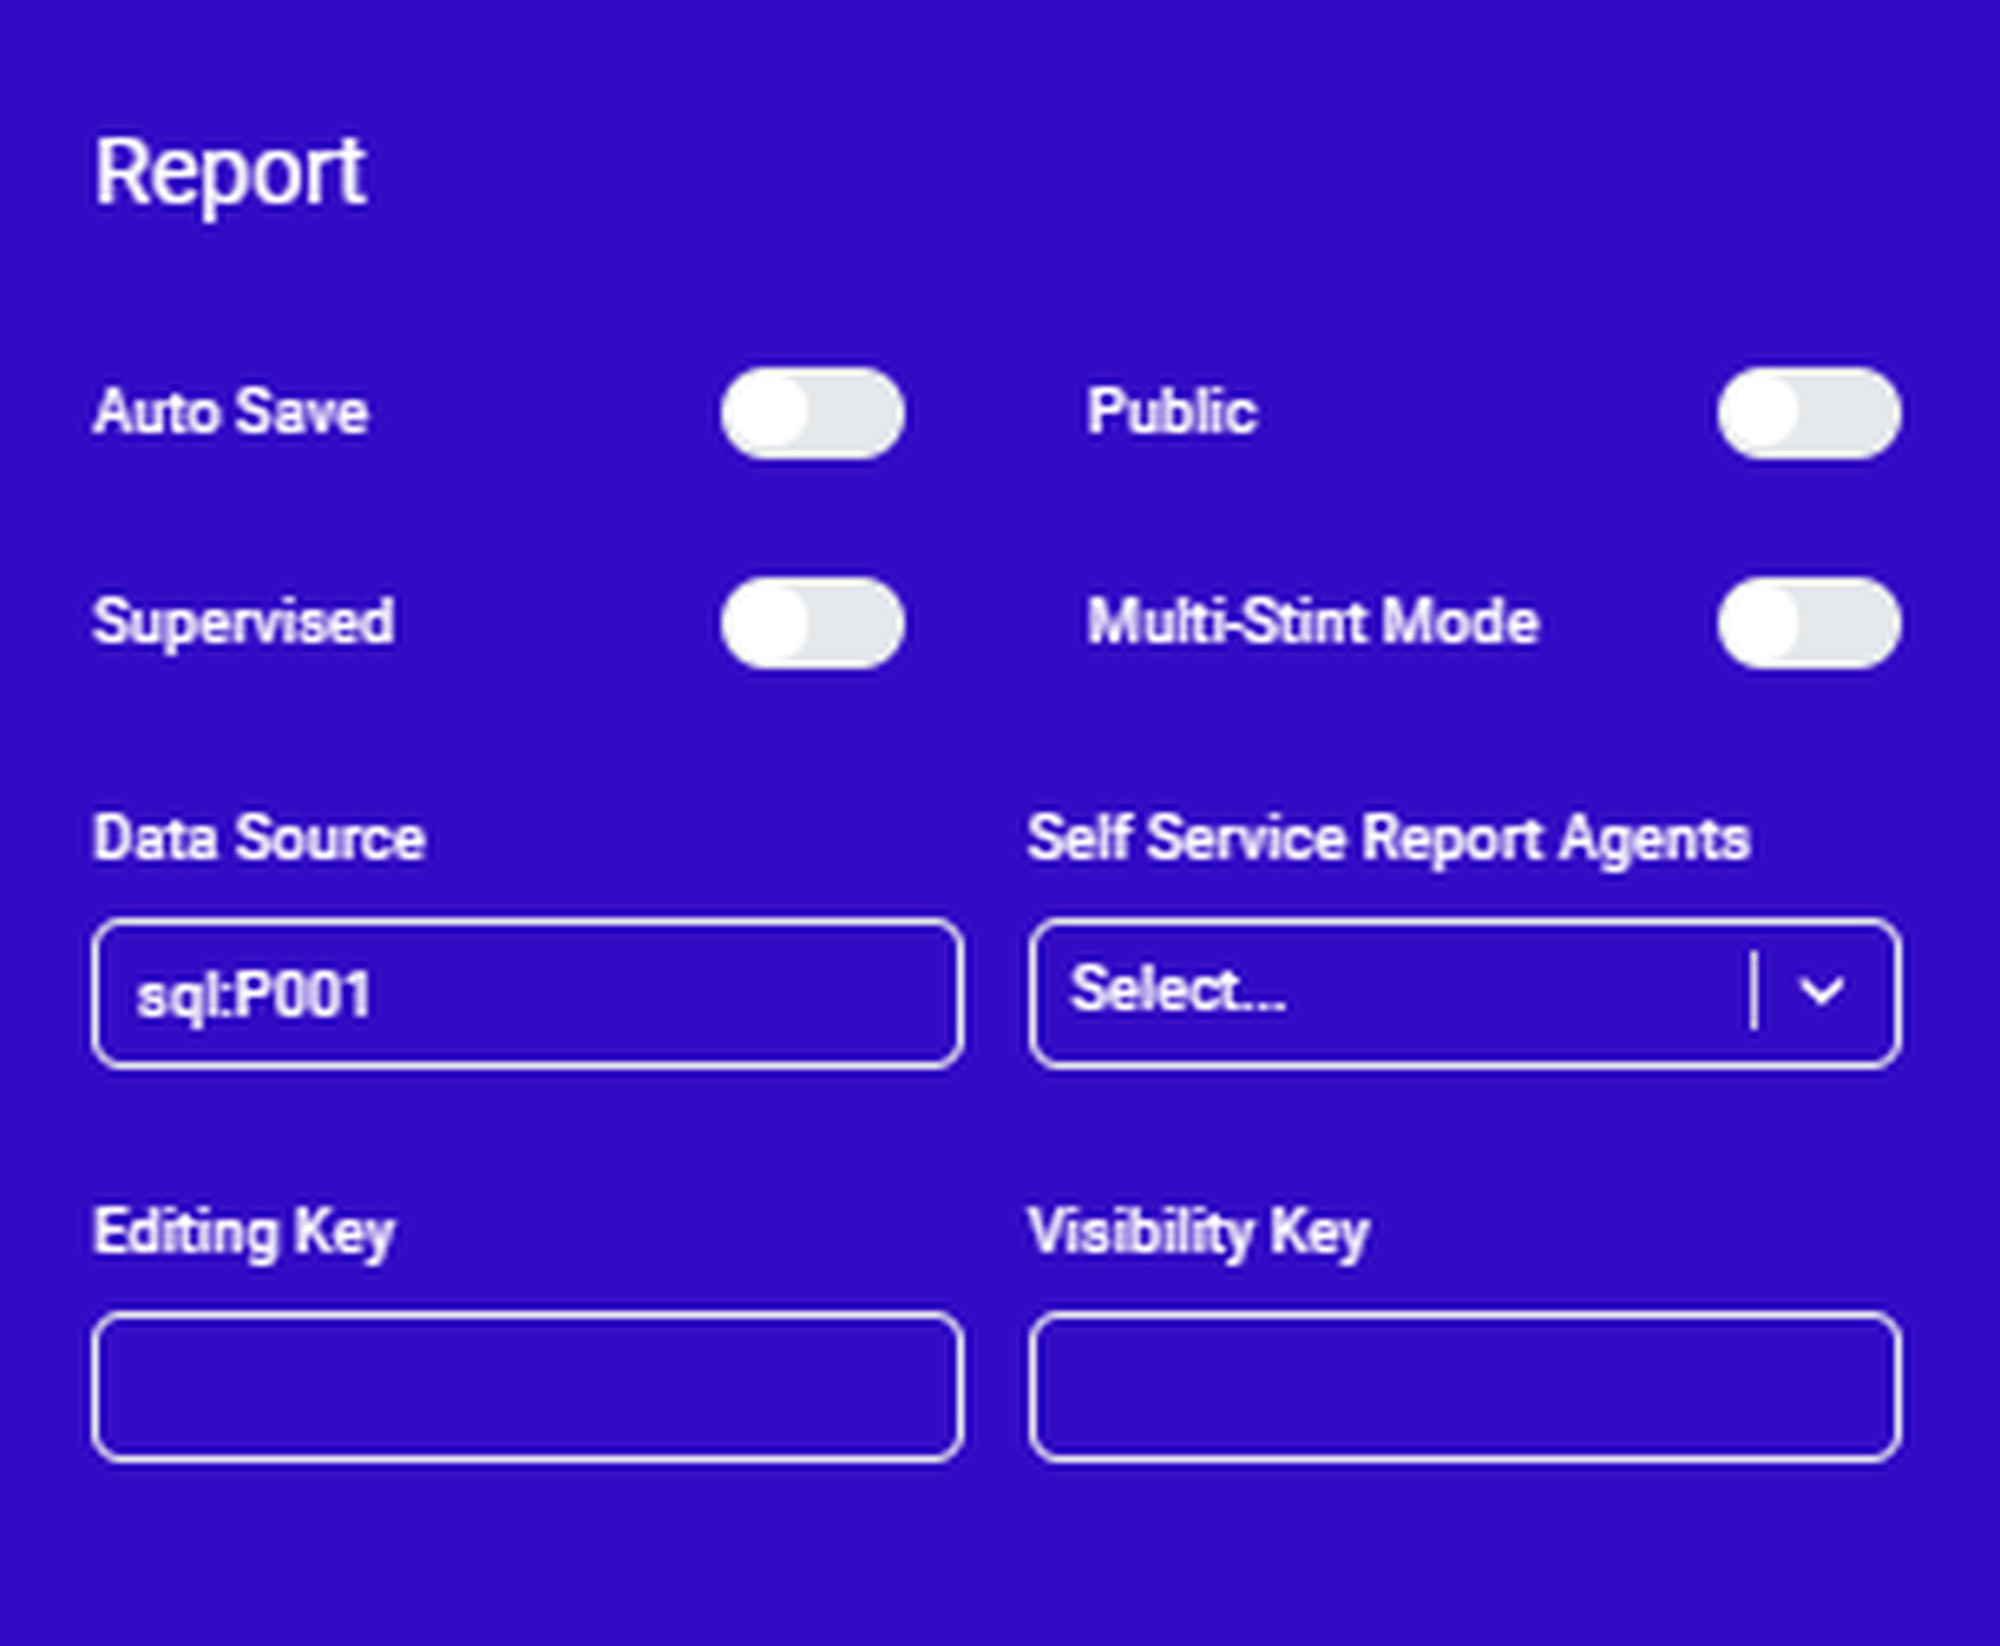
Setting | Description |
Auto Save | When activated, the report is automatically saved after each change. |
Public | When activated, users other than the owner can access the report. |
Supervised | When activated, it lets the user search only for agents that have the current user as a supervisor. |
Multi-Stint Mode | When activated, the multi-stint mode combines all calls with the same unique ID. |
Data Source | Must not be changed. |
Self Service Report Agents | Selects an agent that can access this report in Self Service Agent Report (SSAR) mode. |
Editing Key | Adding a key restricts editing of this report to a defined user group. Add the same key to a user class or to a specific user you want to permit the editing of this report. |
Visibility Key | Adding a key restricts the visibility of this report to a defined user group. Add the same key to a user class or to a specific user you want to give the visibility of this report. |
Editing datablock settings
In this section, you can configure general datablock settings for this report:
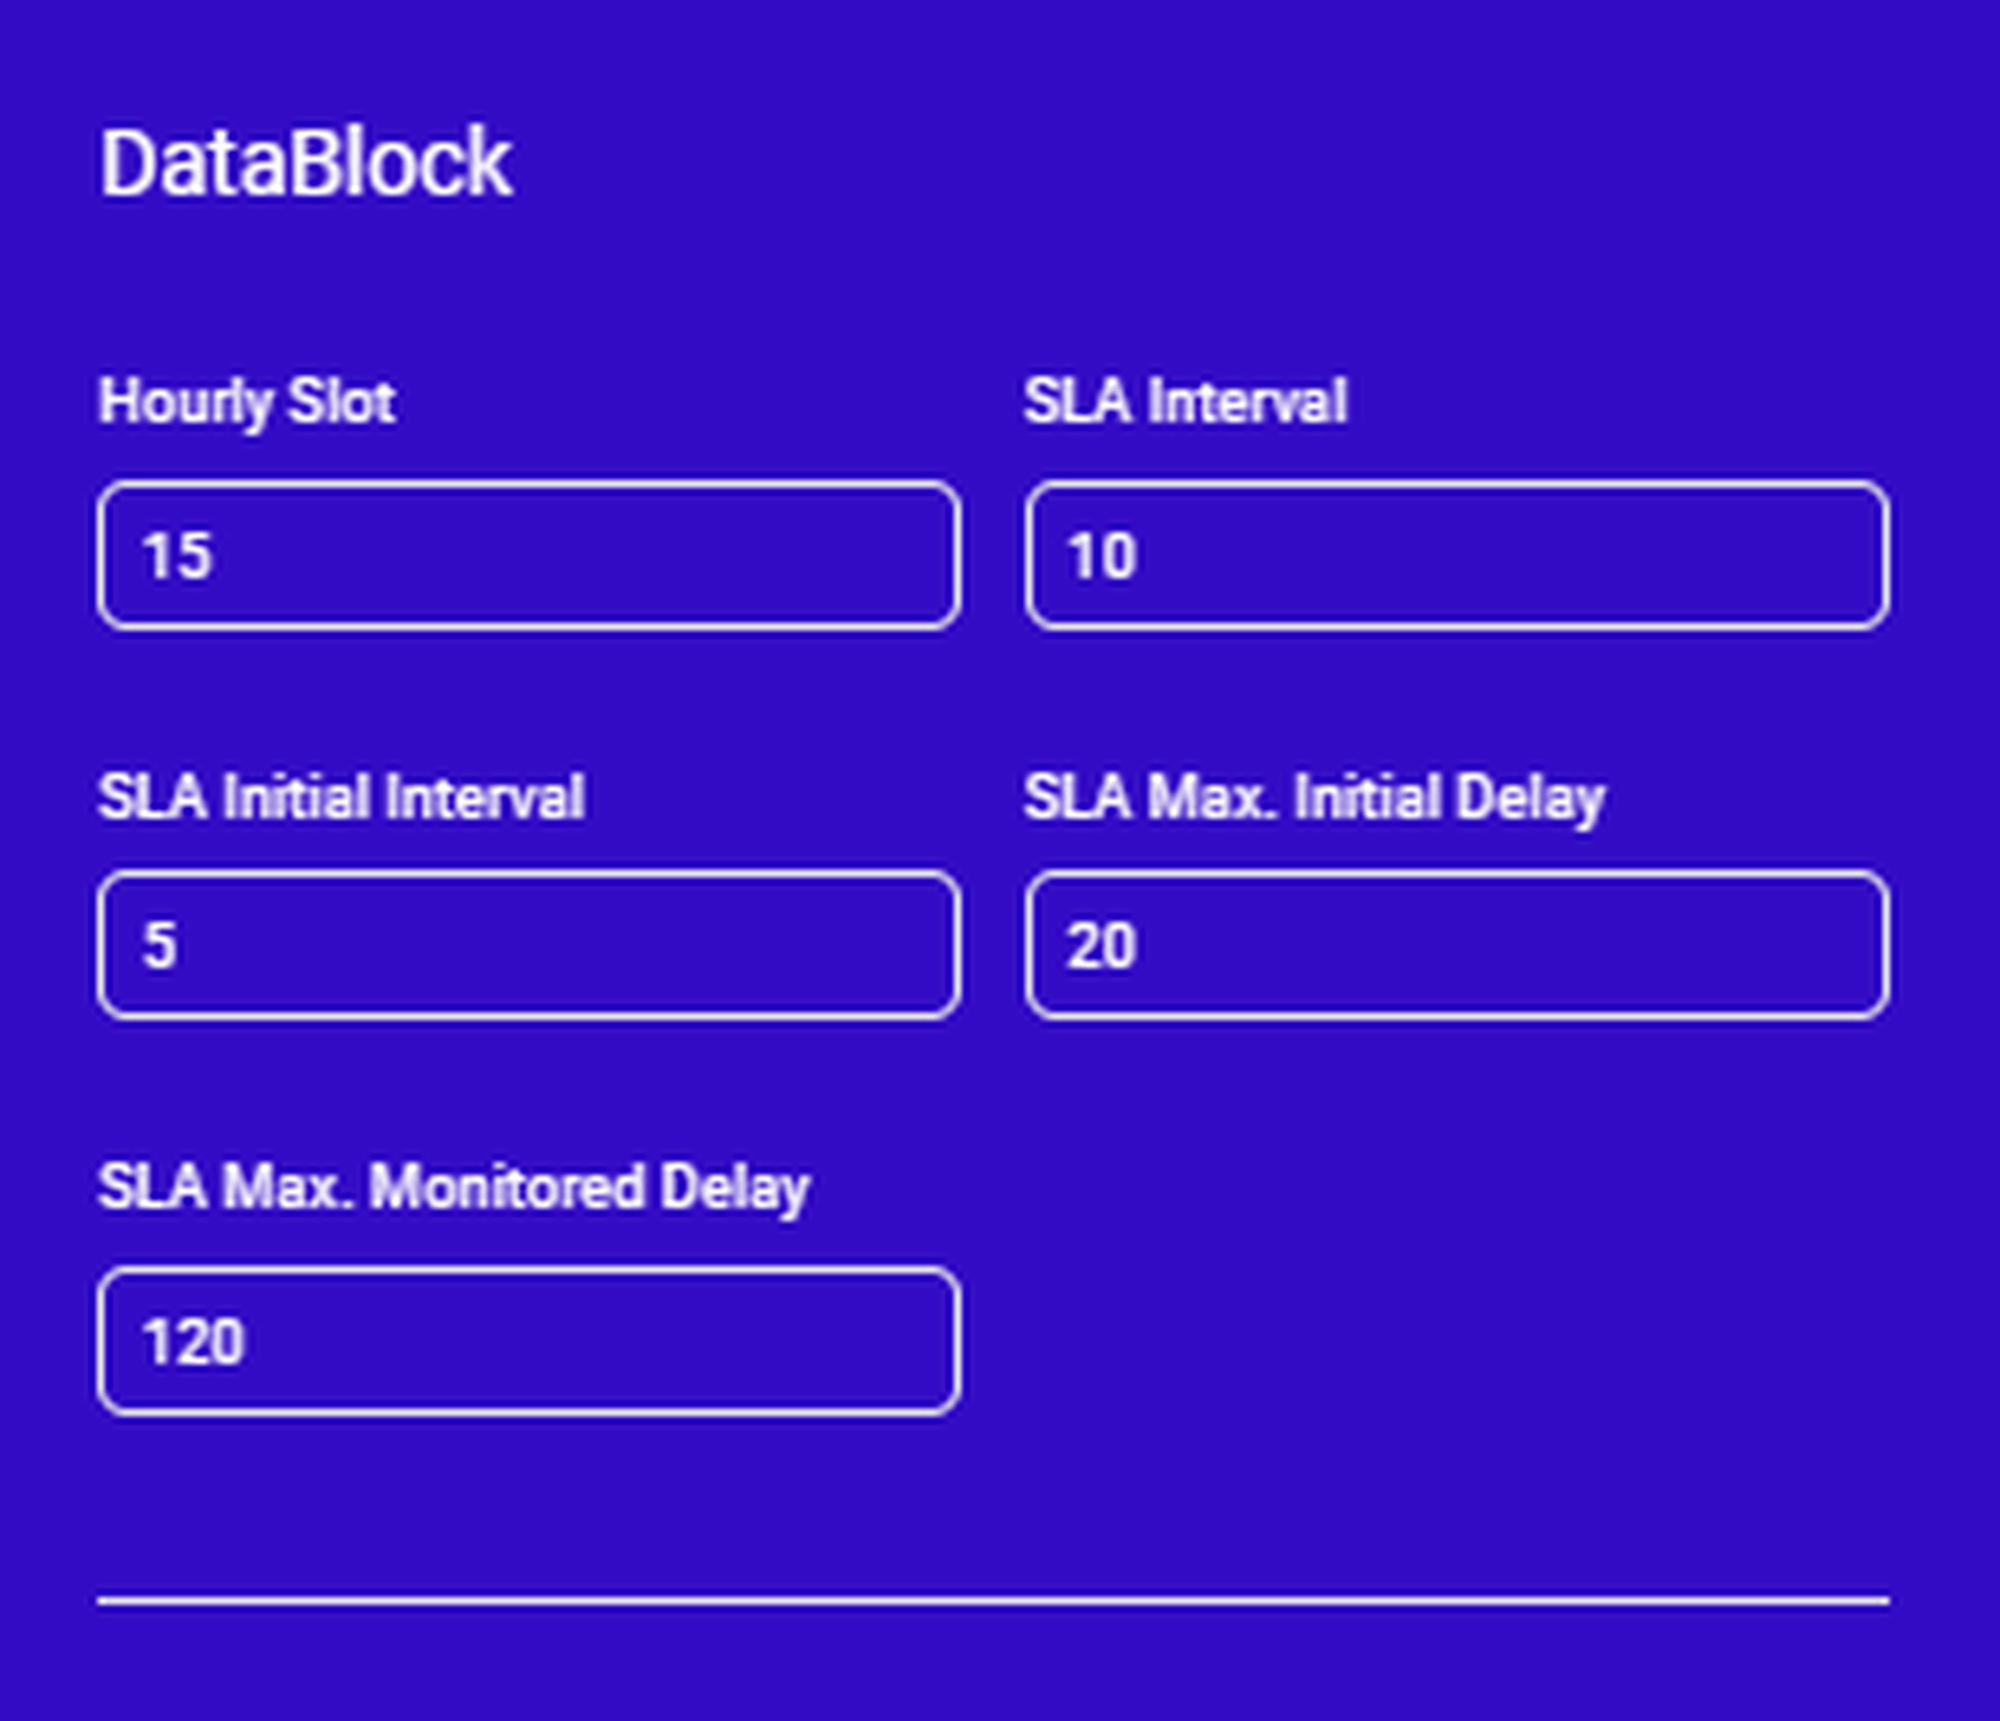
Setting | Description |
Hourly Slot | Time interval for time distribution in hour distribution tables |
SLA Interval | Time interval for SLA charts and tables |
SLA Initial Interval | Initial time interval for SLA charts and tables |
SLA Max Initial Delay | Time interval before SLA interval takes effect instead of SLA initial interval. |
SLA Max Monitored Delay | SLA maximum monitored delay |
Editing short calls
In this section, you can configure settings for short calls in your report:
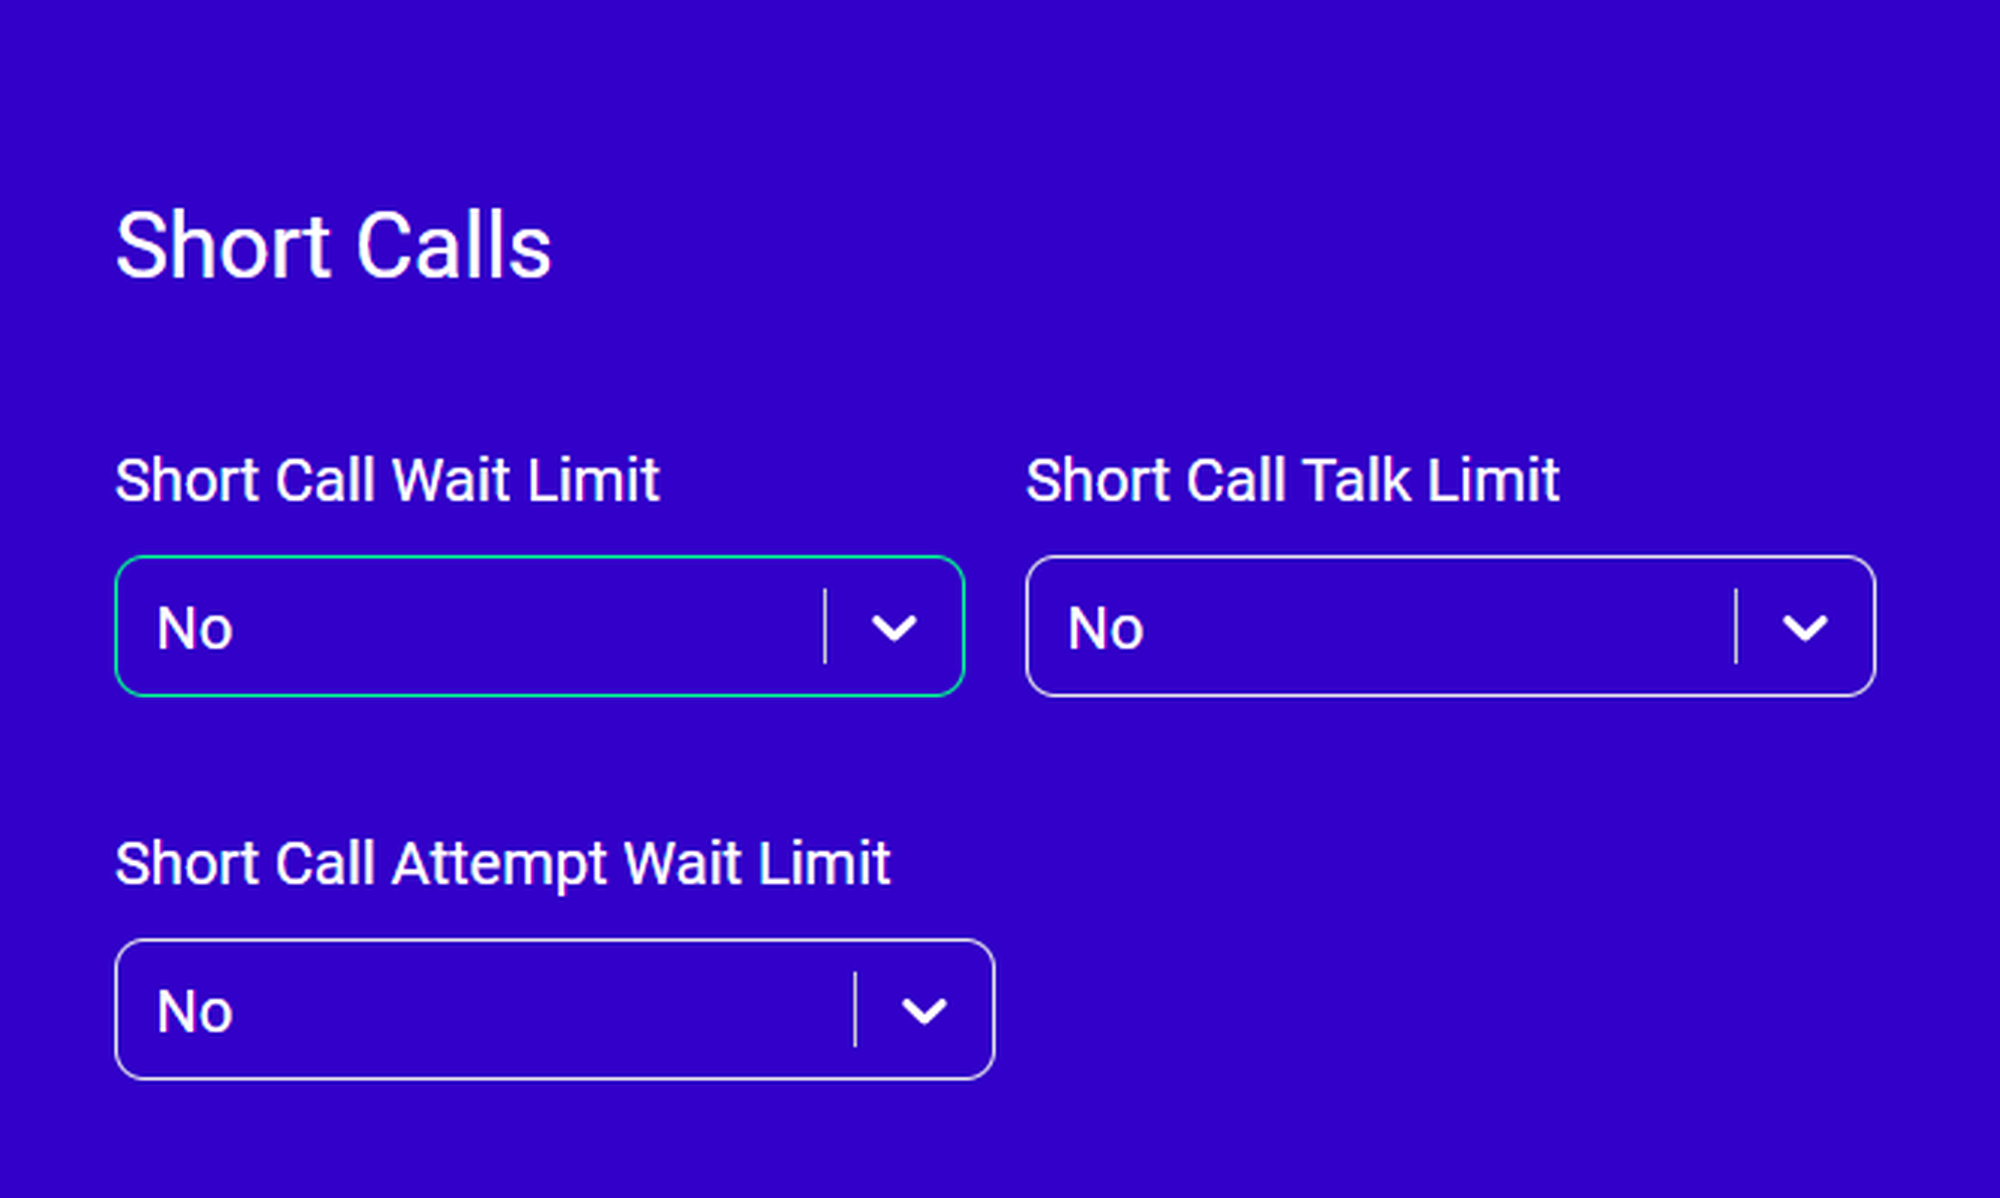
Setting | Description |
Short Call Wait Limit | Defines how long a call must be in the wait state before it is considered a valid call. |
Short Call Talk Limit | Defines how long a call must be in the call state before it is considered a valid call. |
Short Call Attempt Wait Limit | Defines how long a call attempt must take to be considered a valid call attempt. |
Editing area codes
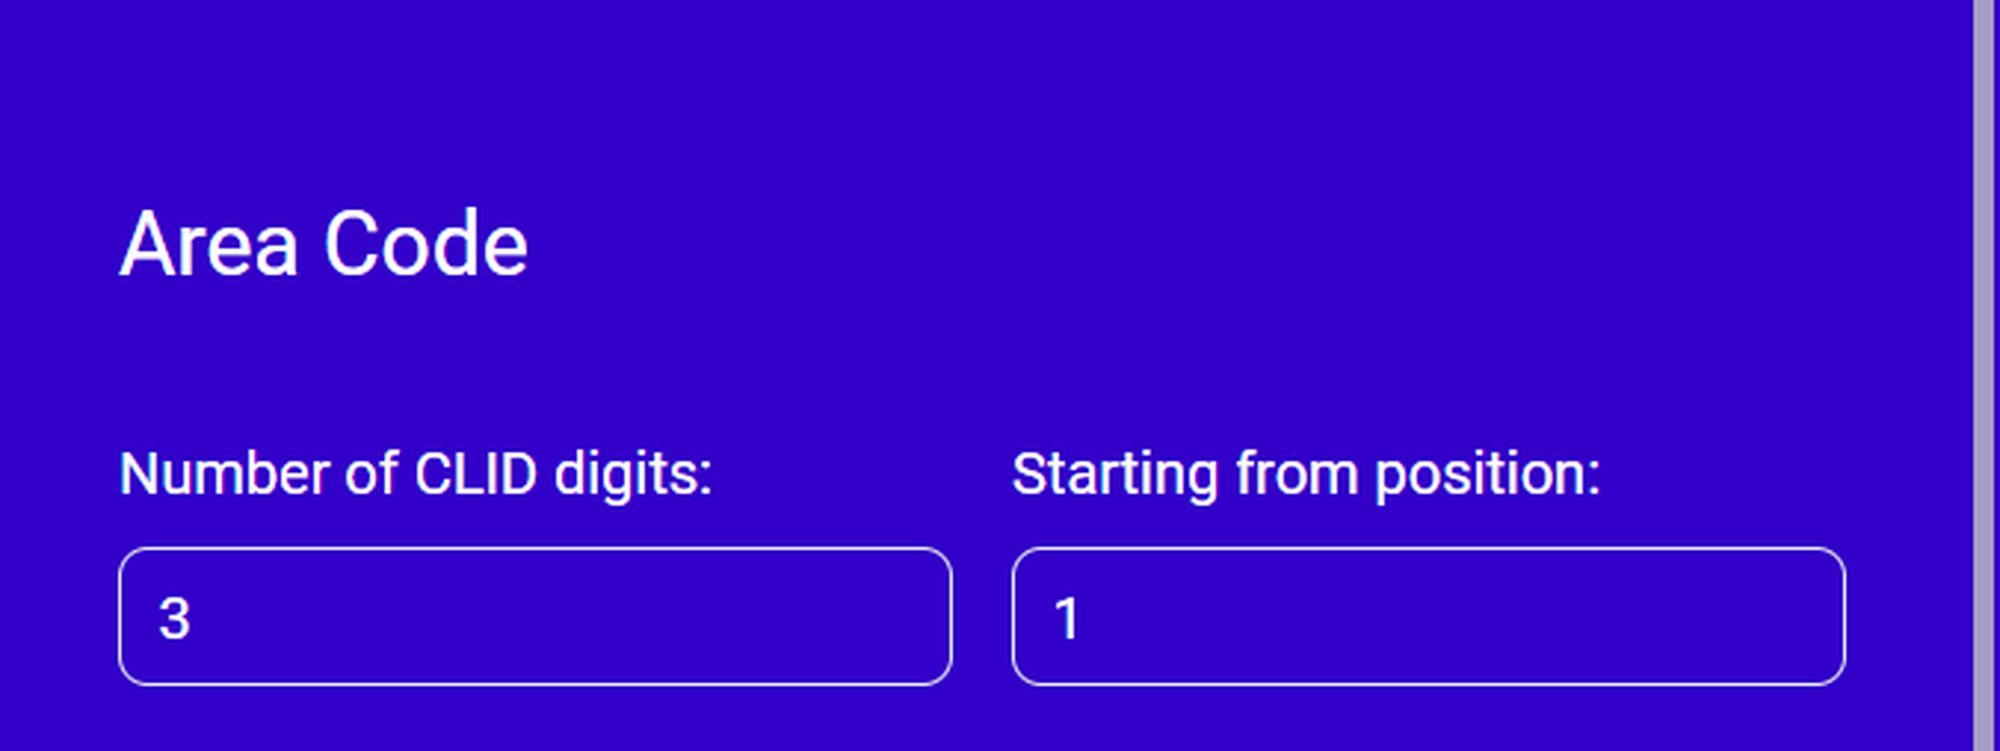
In this section, you can break down both answered and unanswered calls to specific area codes, provided the caller ID is available.
By selecting a number of caller ID digits to search upon and a starting digit position, you can gather statistics grouped by area codes.