7. Settings
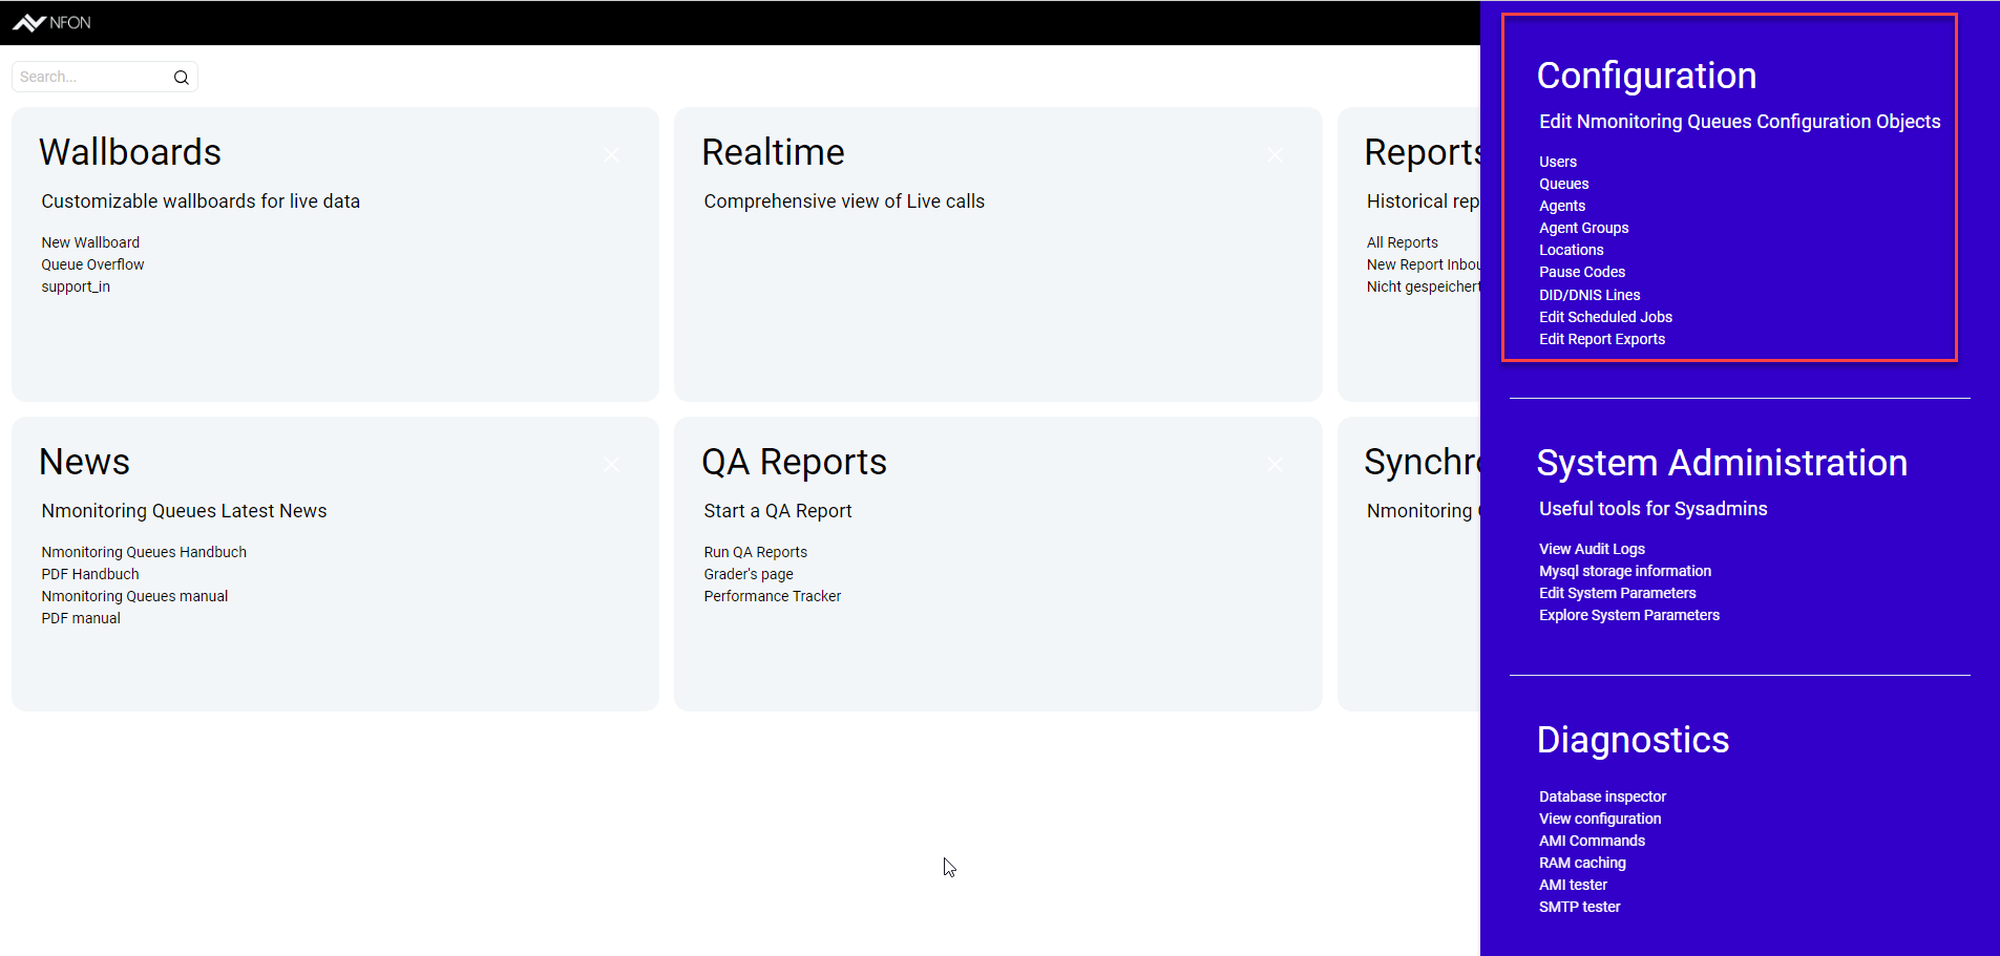
Open the settings by clicking on the gear wheel icon in the upper right-hand corner of the home page.
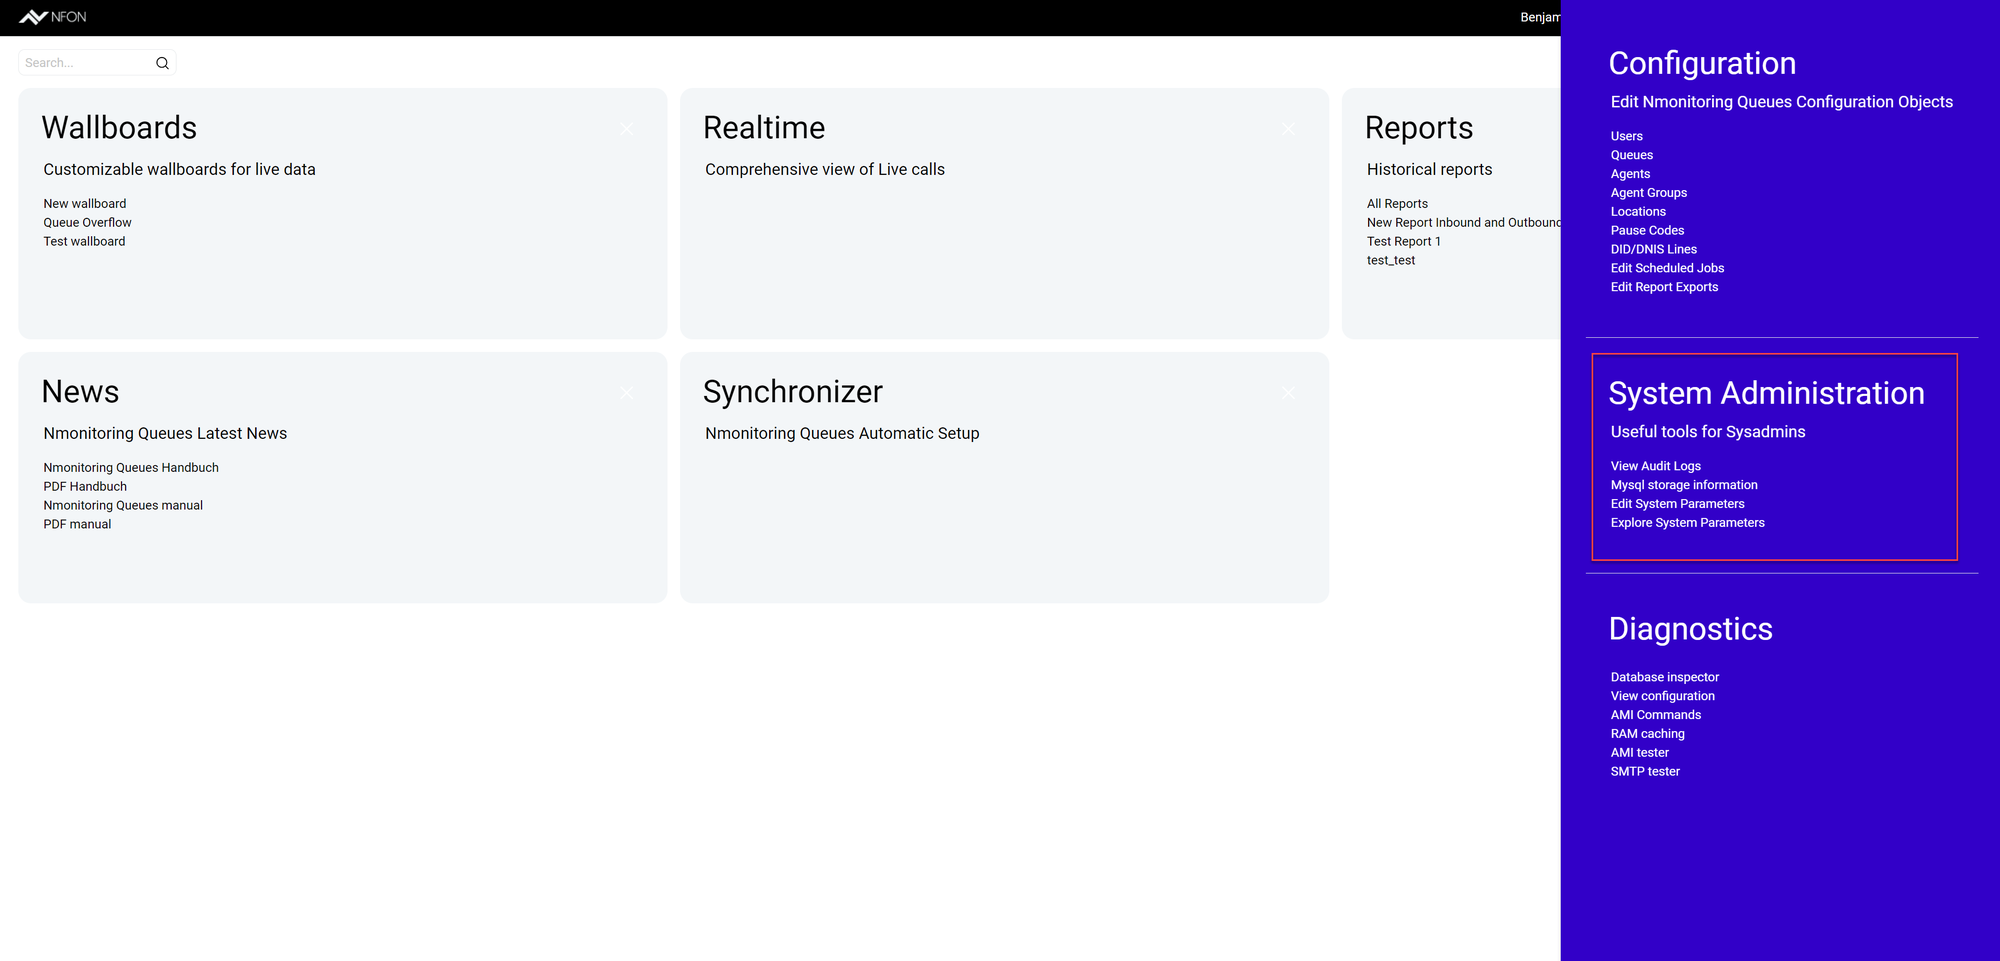
⇒ A blue sidebar opens on the right.
The settings are divided into the following sections:
Configuration: Contains the core customisation options for your NMQ setup. As an administrator, you can manage users and user classes as well as queues, agents and locations. The option to set the parameters for your reports is also available for supervisors and agents with self-reporting.
System Administration: You can only access it as an administrator. You can check or edit system parameters, such as View Audit Logs or Mysql storage.
Diagnostics: Contains advanced diagnostic tools for various parameters, such as RAM caching or data configuration.
Who can access and edit the settings and its subpages?
Only users with permissions to edit the settings will be able to see the gear wheel in the upper right-hand corner of the screen. It applies to users with the role of a supervisor, agent with self-reporting or administrator**.**
However, most of the sub-pages are only available to administrators. Supervisors and agents with self-reporting only have access to two sub-pages of the configuration page, and can edit scheduled jobs and edit report exports.
As an administrator, you can grant other user classes access to any parts of the setings by adding the correspondent user keys. However, we are not recommending giving access to parts of the system administration or diagnostics to other users. If you would like to edit the user rights of this part of your NMQ system, refer directly to the Loway Documentation Center.
7.1 Configuration
Click on Configuration to open the configuration page, or use any of the listed configuration objects as a direct link to that area of the configuration page.
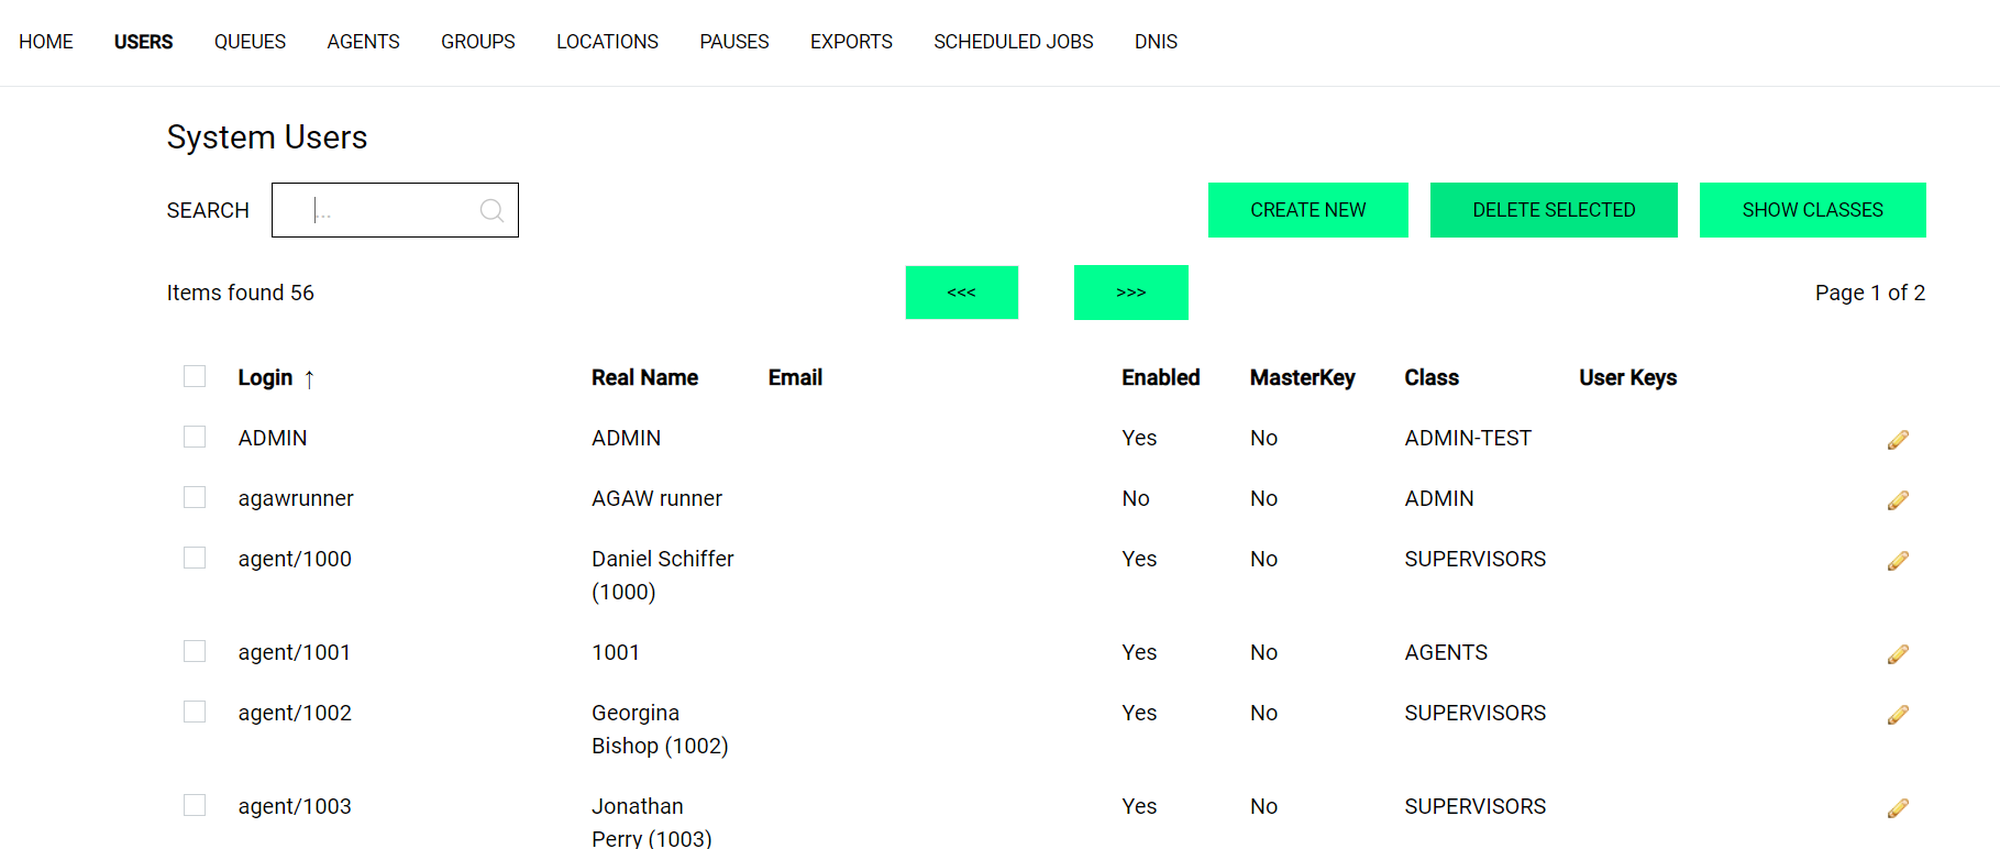
⇒ The configuration page will open, in which you can navigate between the sub-pages using the top bar.

Users, classes and keys
In this section, you can manage users, user classes, and keys as well as create, delete, define and assign the individual users and their user classes (authorisation).
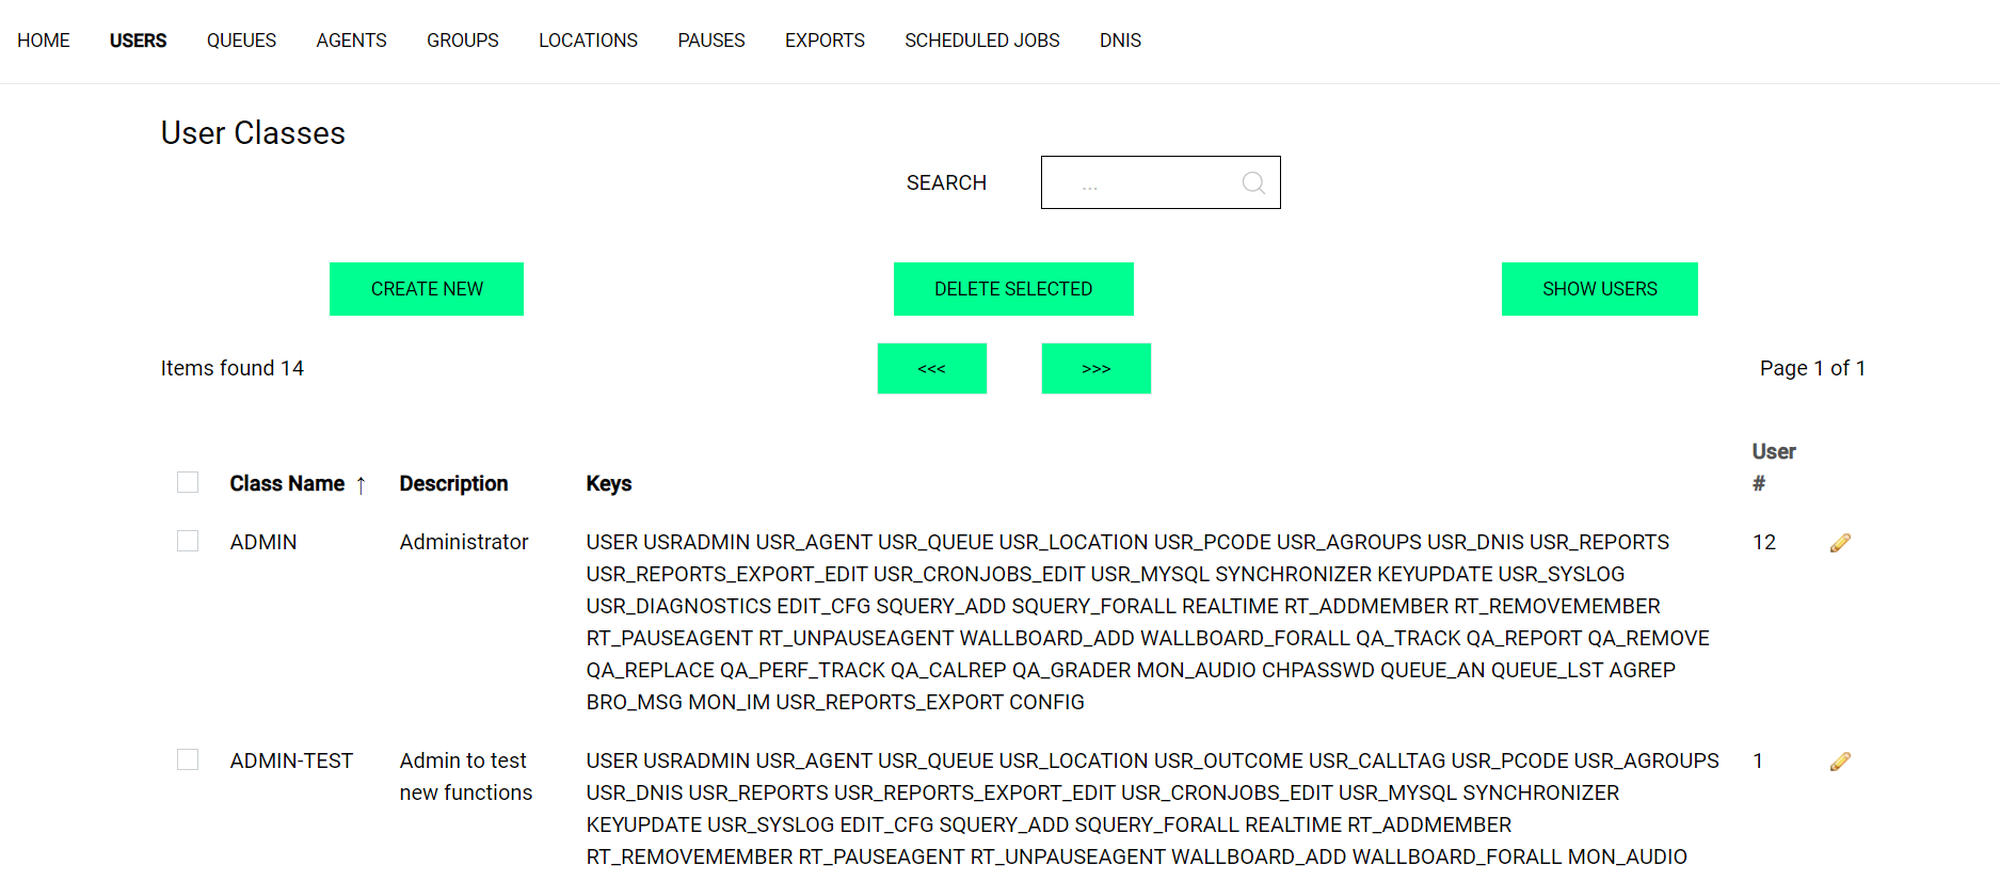
Click on SHOW CLASSES to change between a list of the users and a list of the user classes.
Click on the pencil on the right to edit an entry.
Edit users to change their user classes or add individual user keys.
Edit user classes to add keys to those classes.
What are keys/user keys?
Keys define permissions, access, rights and visibility of features and options to users individually and to user classes, such as agents or supervisors. There are keys hardcoded into NMQ, for example, the SYNCHRONIZER key will grant a user access to the synchronizer page and visibility of the synchronizer tile. In addition to the existing keys, you can add optional keys to elements, such as wallboards or queues. Those elements will then only be visible (visibility key) or editable (editing key) to users with the respective key.
For example, you would like a wallboard to be visible only to one team. Therefore, you define the key in the wallboard configuration. Then you add the same key to the users of the team or you define a new user class for the members of the said team. You can create optional keys for queues, skills, agents, groups, locations and/or reports.
You can add keys to a user class (which should be the standard) or to a specific user individually (which we recommend being an exception).
Keys make NMQ highly customisable. By adding keys in each class, for example, a supervisor can be equipped with almost all functions of an administrator and adapted to the functionality of an agent by deleting keys.
Managing user classes
In this section, you can:
Add new user classes
Delete user classes
Add keys to a user class
Remove keys from a user class.
To manage user classes:
Click on SHOW USERS to return to the user list.
Click on CREATE NEW to create a new user class.
Click on the pencil to edit a user class.
Important
Adding keys to a user class, pay attention to the spelling. Since you can freely define new keys, NMQ cannot provide you with an autocorrection or warning for unknown user keys. Spelling mistakes can lead to a malfunction.
Queues
In this section, you can find all queues and skills that are configured for NMQ in your PBX and have already been synchronised.
For more information on how to configure queues and skills, go to Configuring your PBX for NMQ.
For more information on how to synchronise queues and skills, go to Synchronizer.
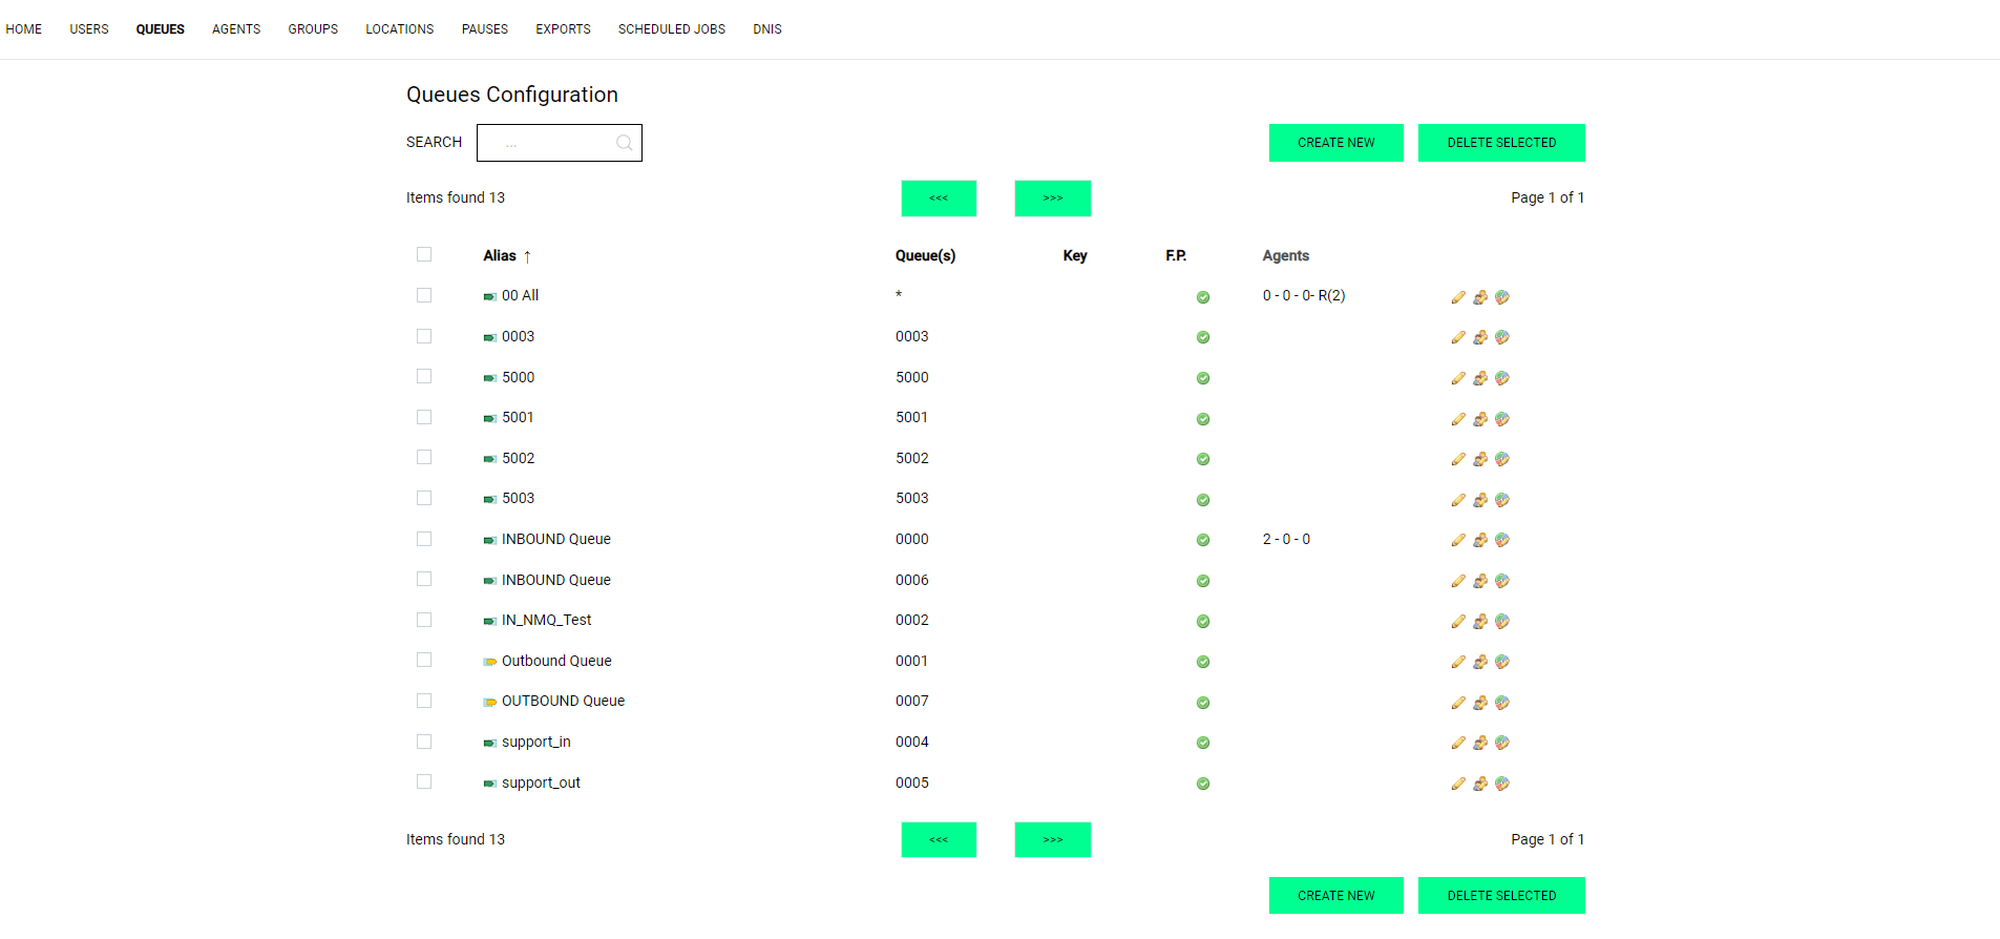
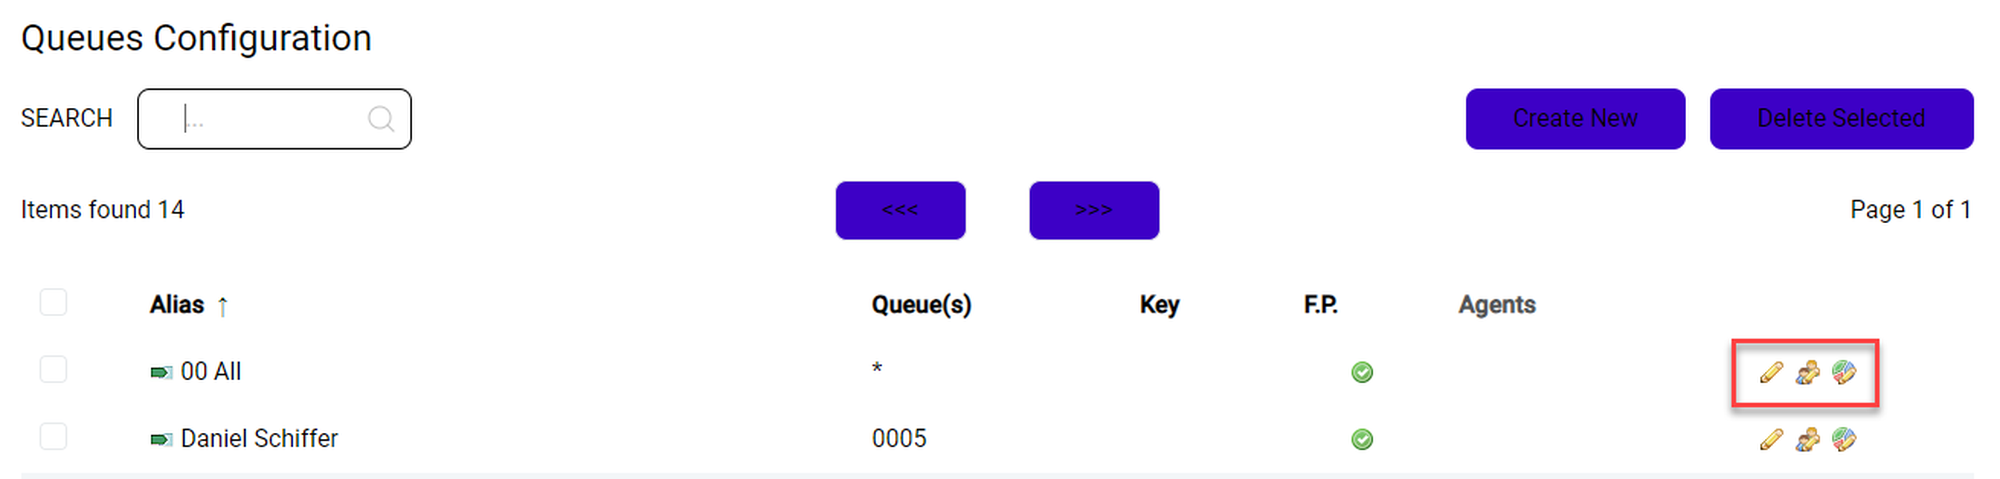
Editing queues and agents
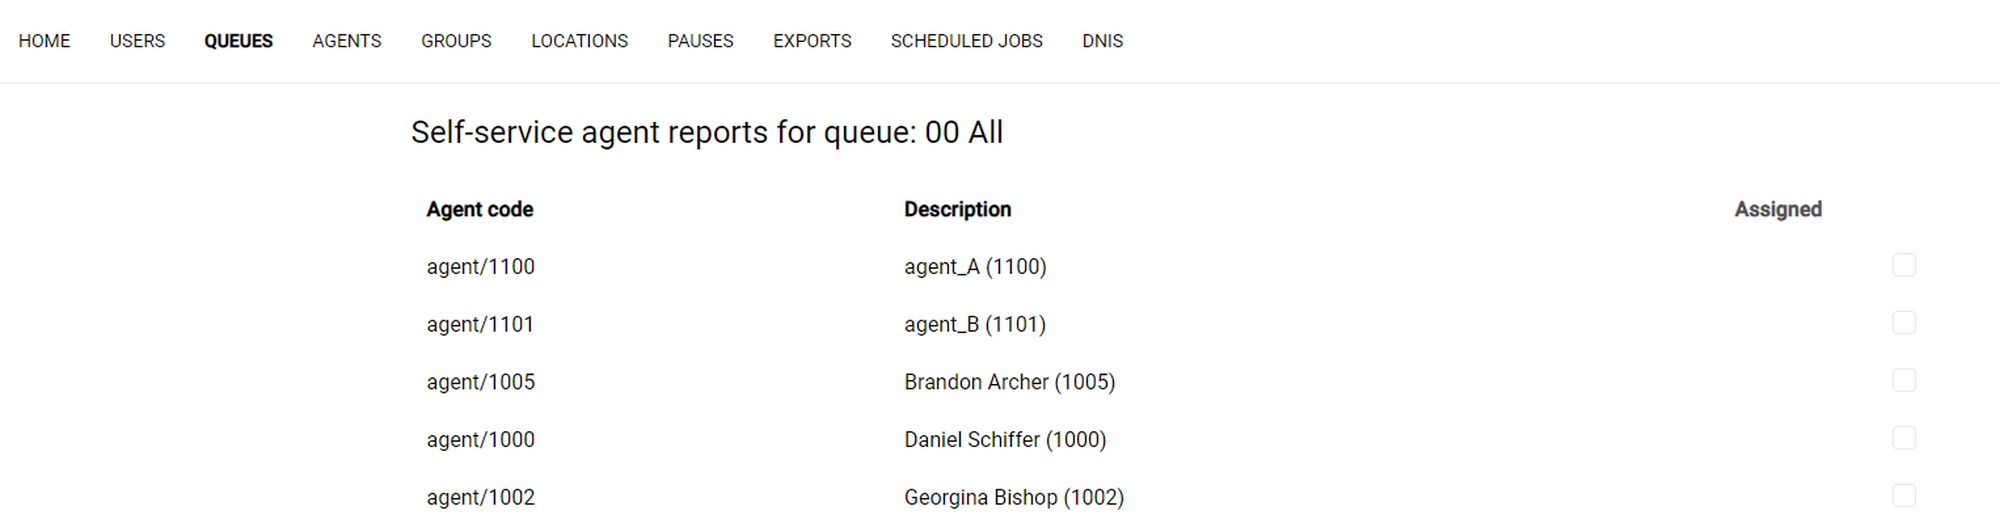
In the Queues Configuration section, you can edit queues, edit agents and assign reports to agents.
Click on the respective icon to edit the settings.
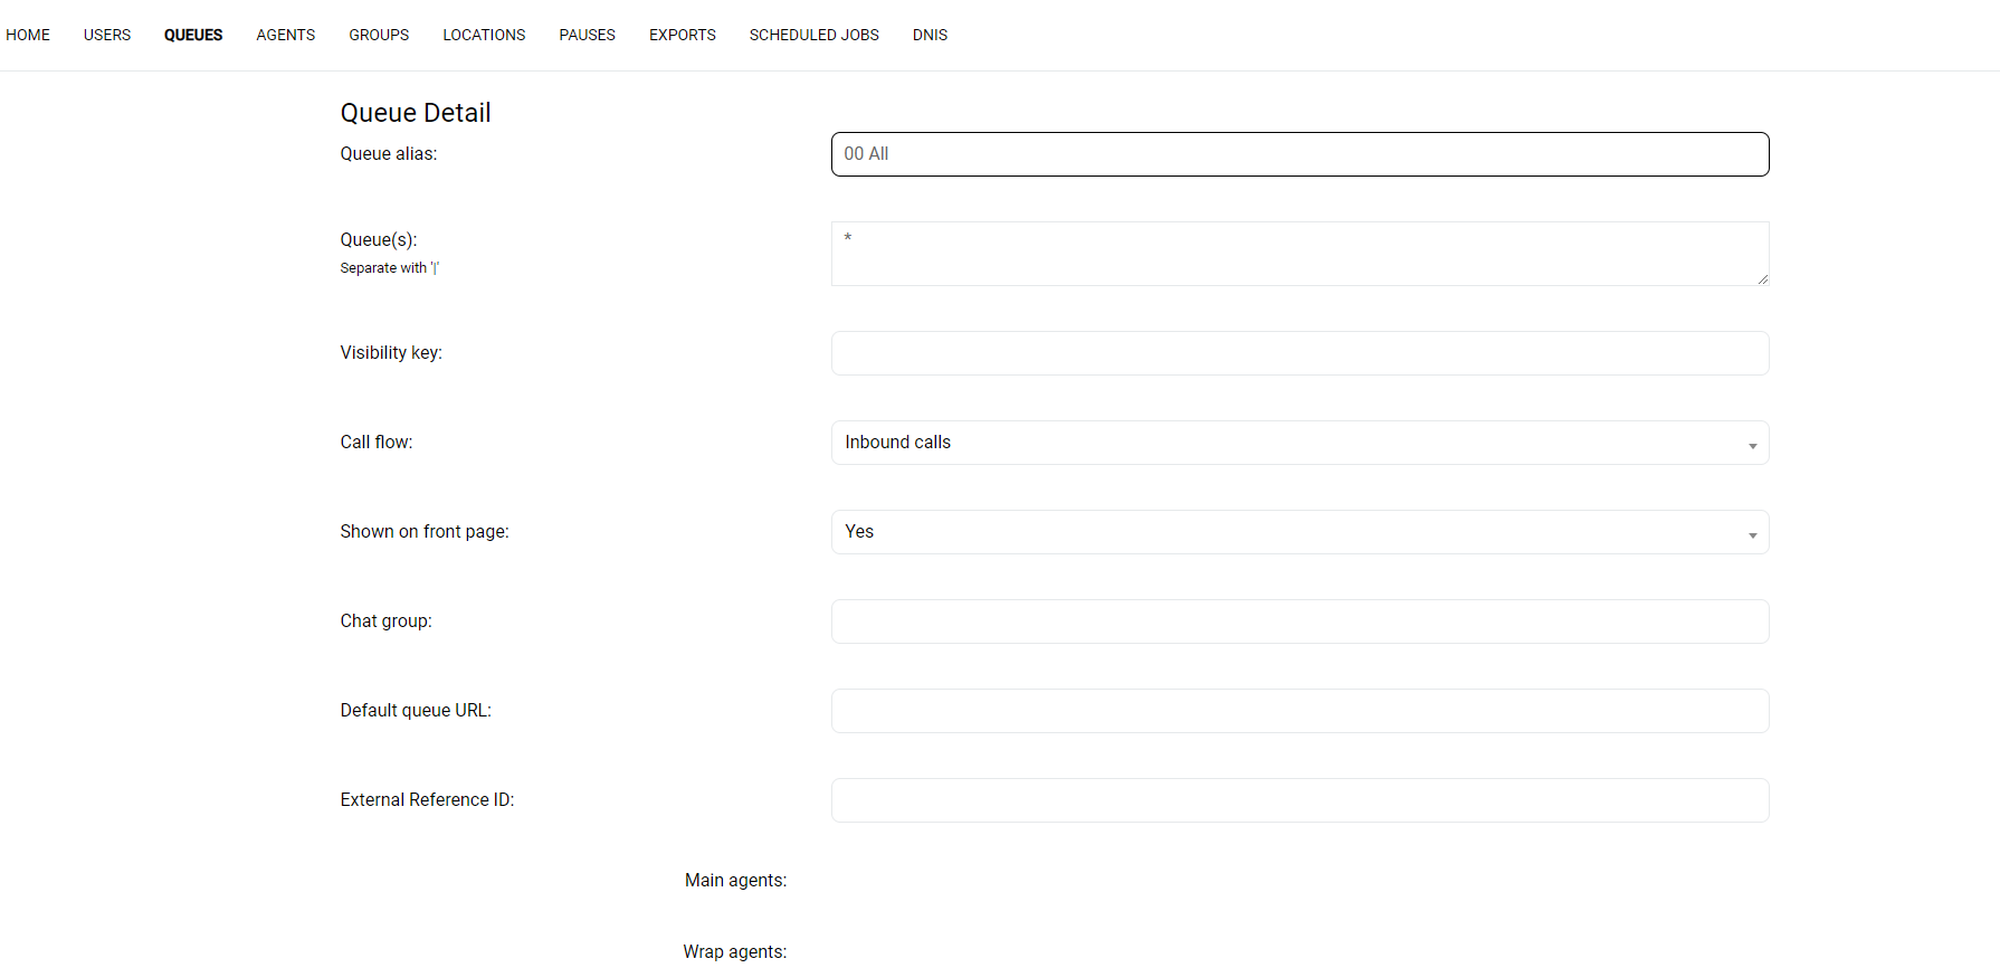
In the Edit Queue section, you can define how the queue is displayed in reports, wallboards and self-service reports.
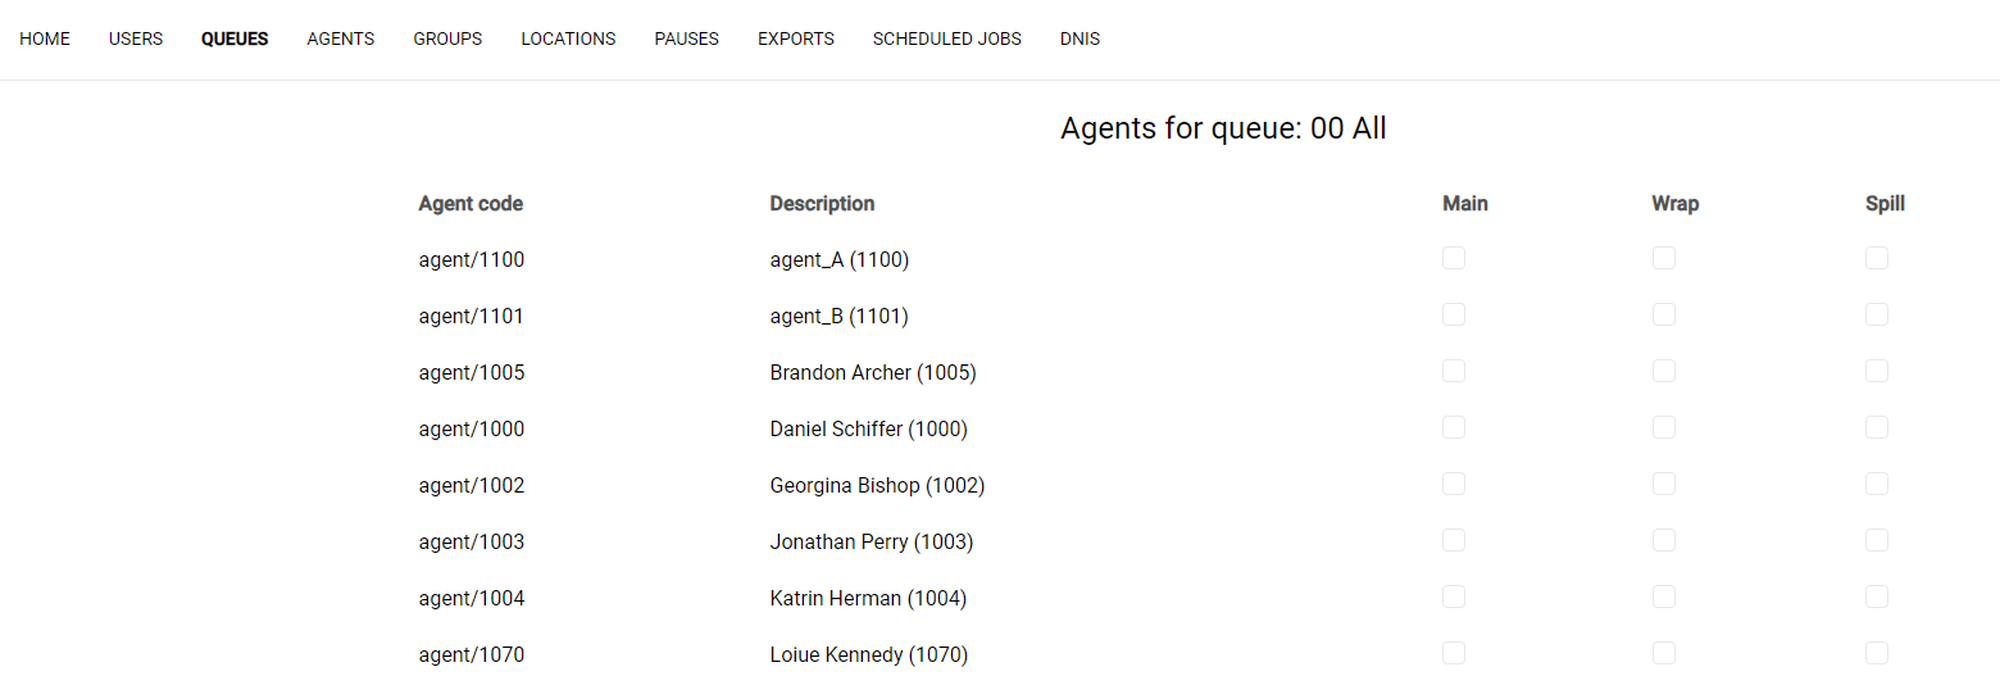
In the Edit Agent section, you can assign one of the following priorities to each agent within the queue:
Main: Agents that are prioritised to answer the queue.
Spill: Agents that answer the queue if all main agents are busy or unavailable.
Wrap: Agents that answer the queue if all main and spill agents are busy or unavailable.
Undefined: These agents are no members of any priority group for this queue.
In the Assign reports to agents section, you can define which agents with self-service have access to reports of the queue.
Agents
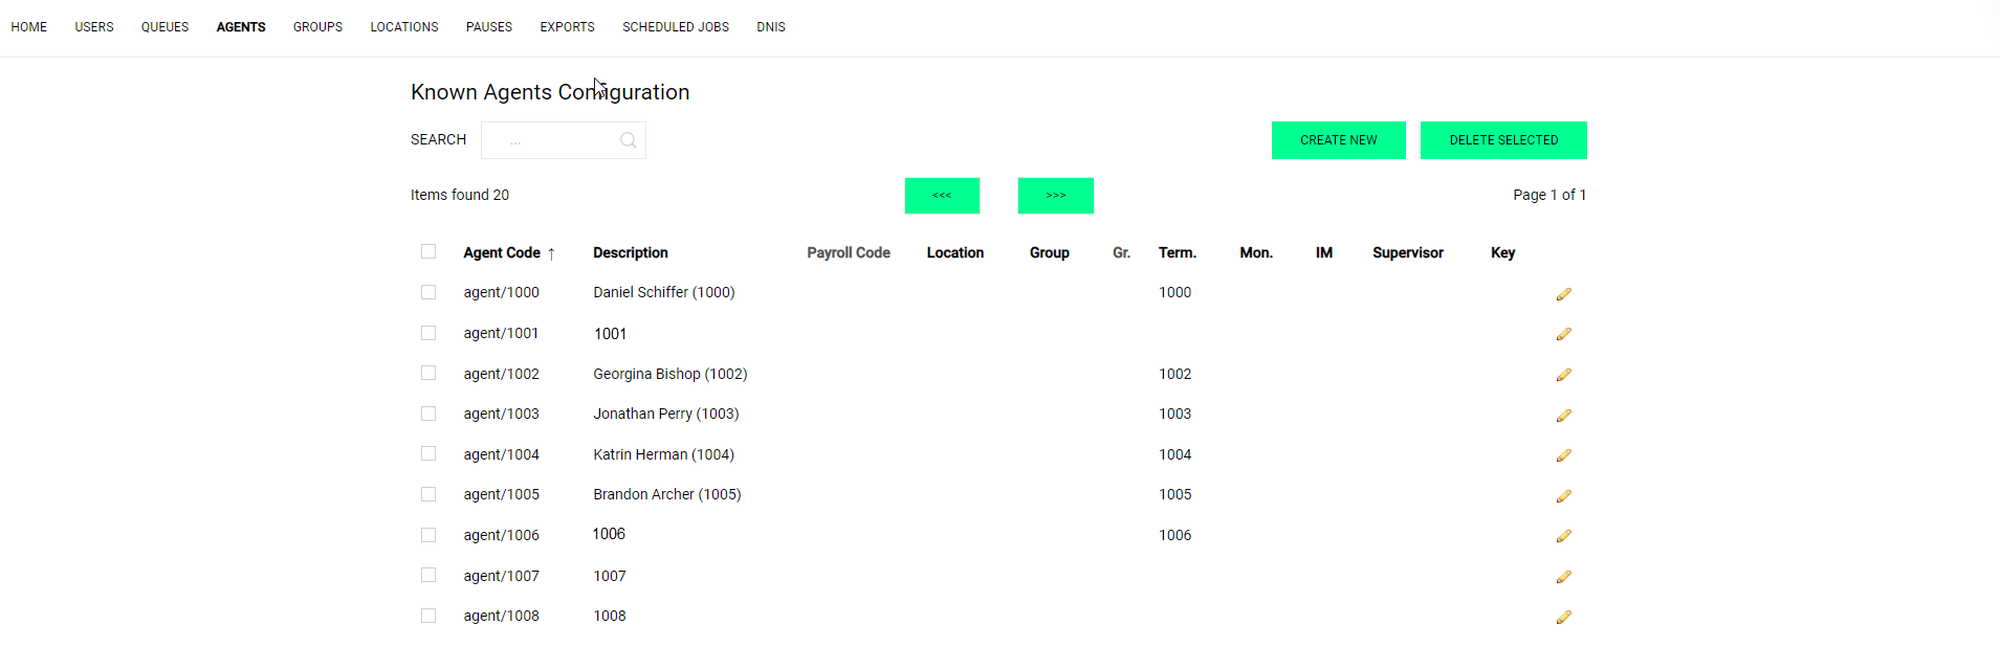
In this section, you can create new agents or edit agents. You can find the agents that are configured for NMQ in your PBX and all agents you have created in NMQ in the overview of this page.
Click on CREATE NEW to create a new agent.
Click on the pencil to edit an agent.
Tip
All targets (annexes) that are configured in the NFON PBX are always synchronised.
Agent groups
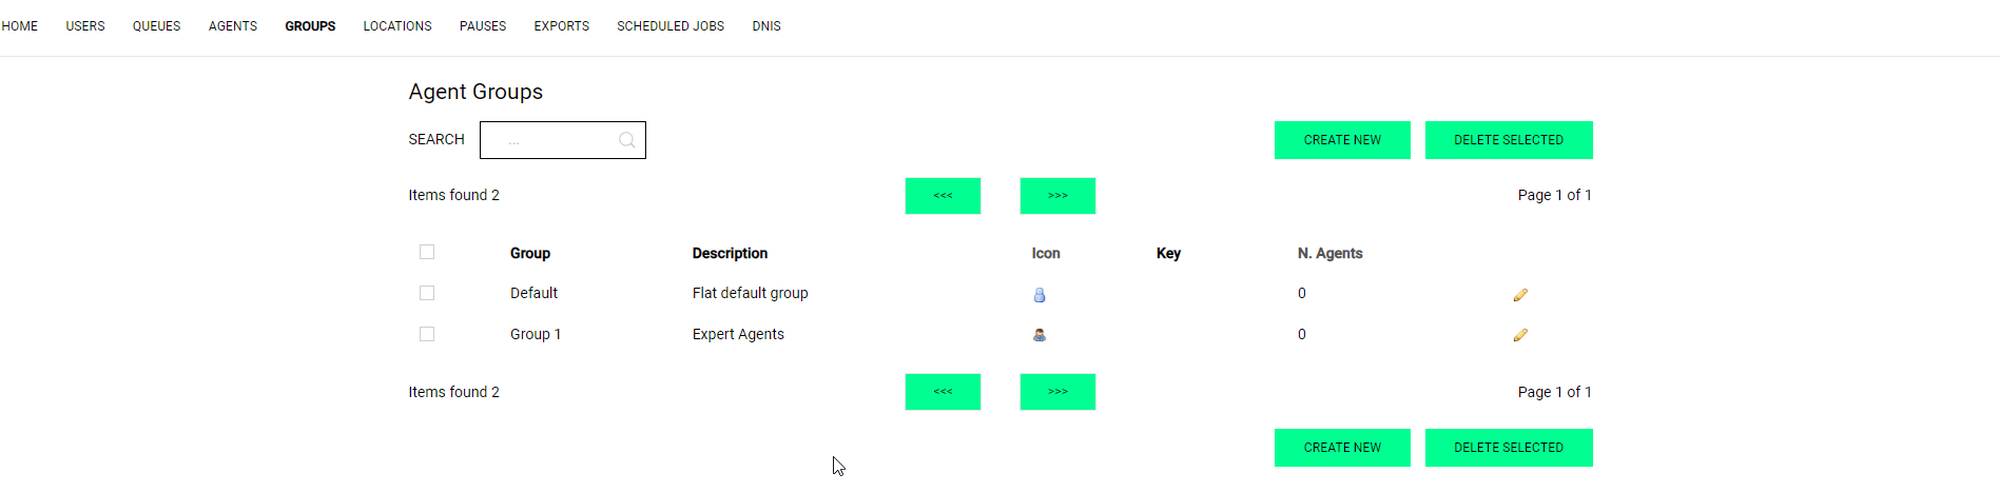
In this section, you can:
define individual groups of agents
assign them to an agent or supervisor for later reporting.
NOTE
To retrieve agent and queue information from the PBX, it is necessary to start data synchronisation using the synchronizer.
Groups and schedules are not synchronised with your PBX.
Locations
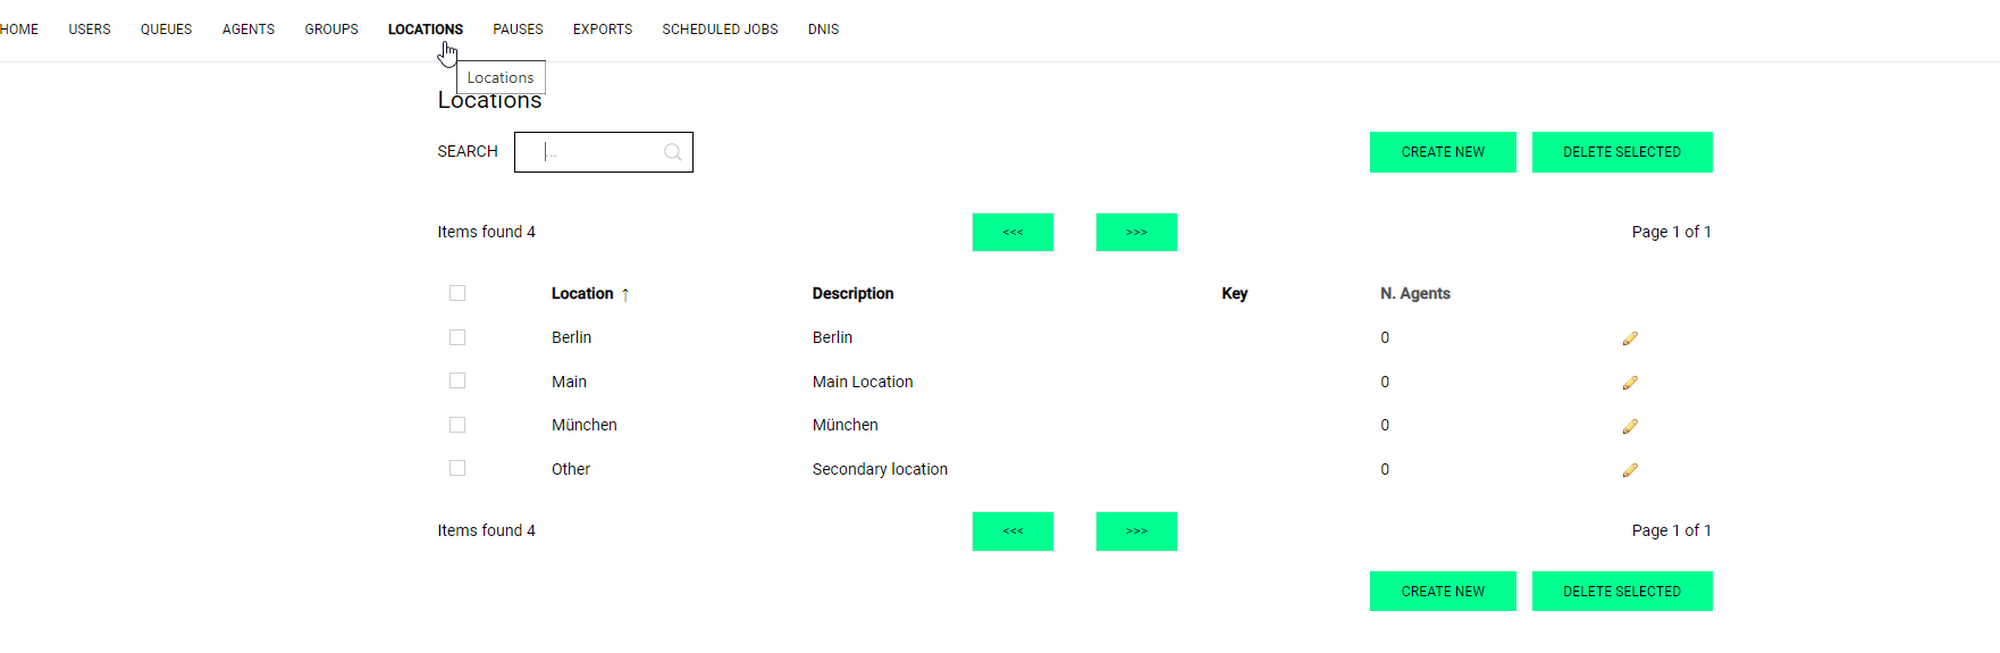
In this section, you can:
Create and manage locations
Assign those locations to users in the user configuration
Once you have the locations configured with the respective users assigned to them, you can use locations as a powerful filter option in reports and real-time monitoring.
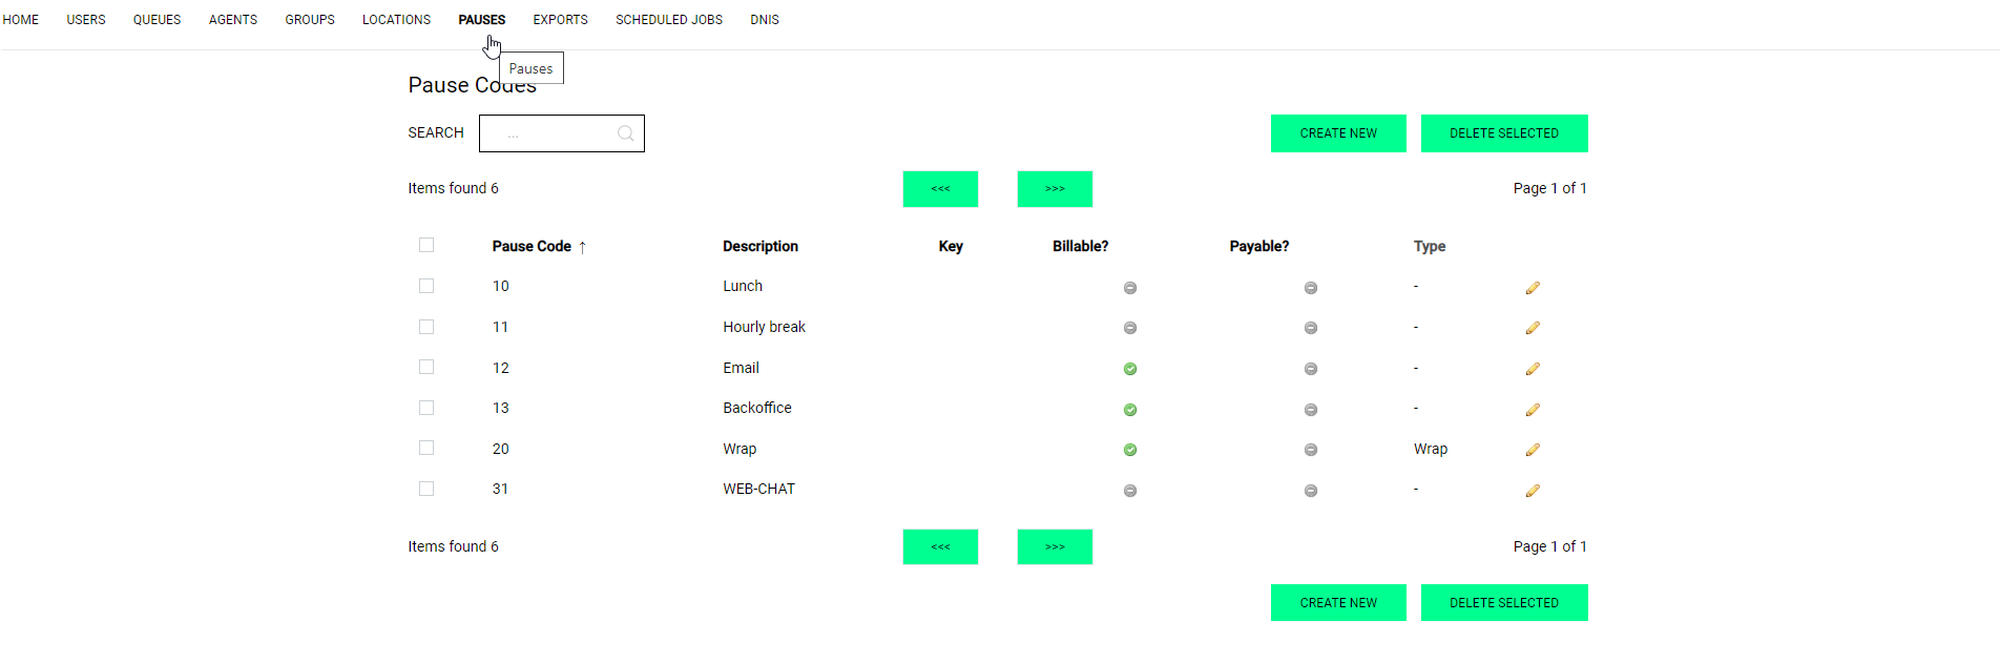
Pause codes
In this section, you can
Edit pause codes
Delete pause codes
Add new pause codes.
The defined pause codes can be used by agents or supervisors on the agent page to set their pause status. We recommend adding meaningful descriptions for better monitoring of breaks and time spent by agents.
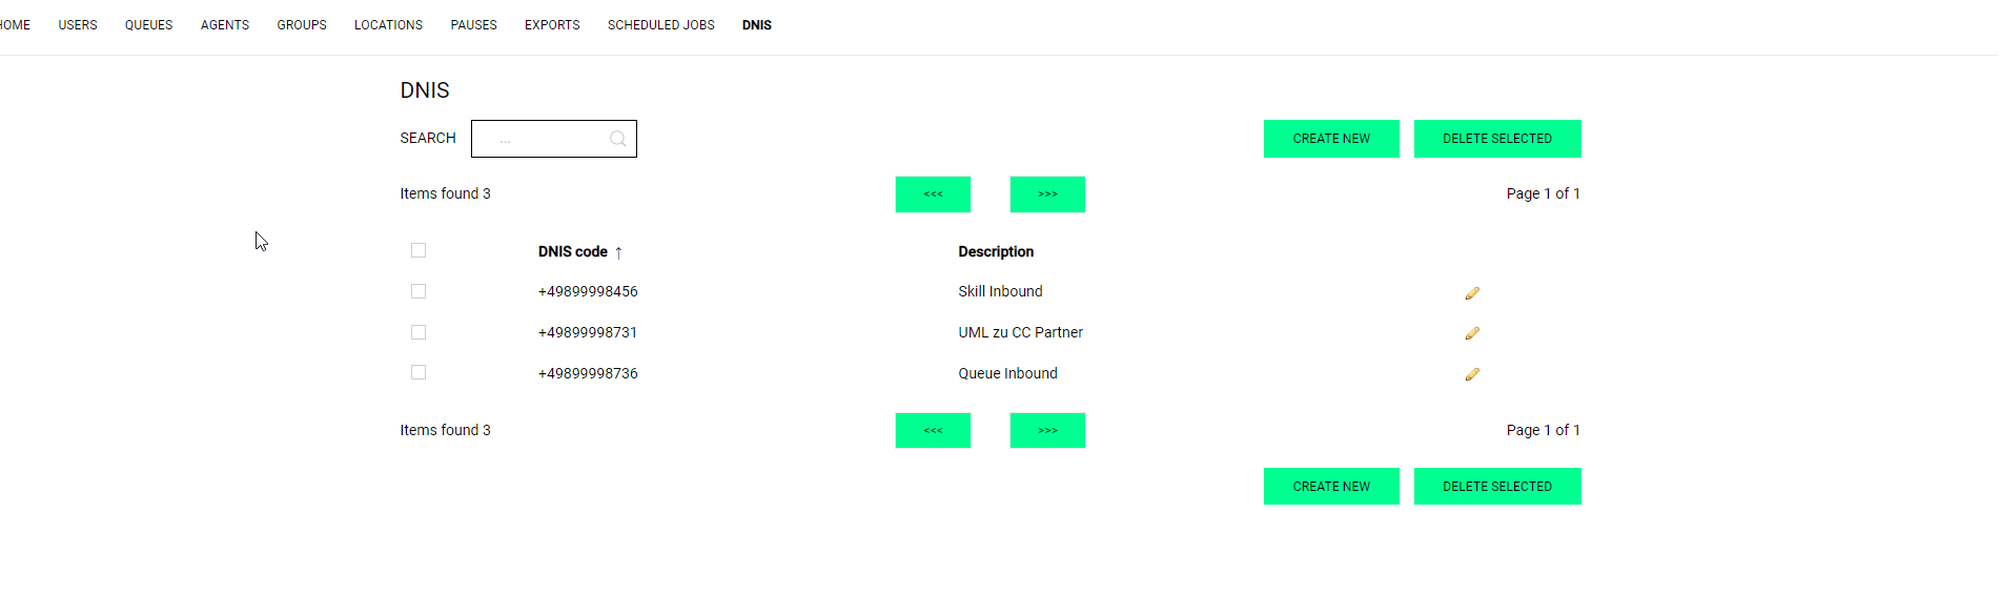
Dialed Number Identification Service (DNIS)
In this section, you can
Create a DNIS code by entering the phone number of the queues and skills and a unique name for later reporting
Edit DNIS codes
Delete selected DNIS codes.
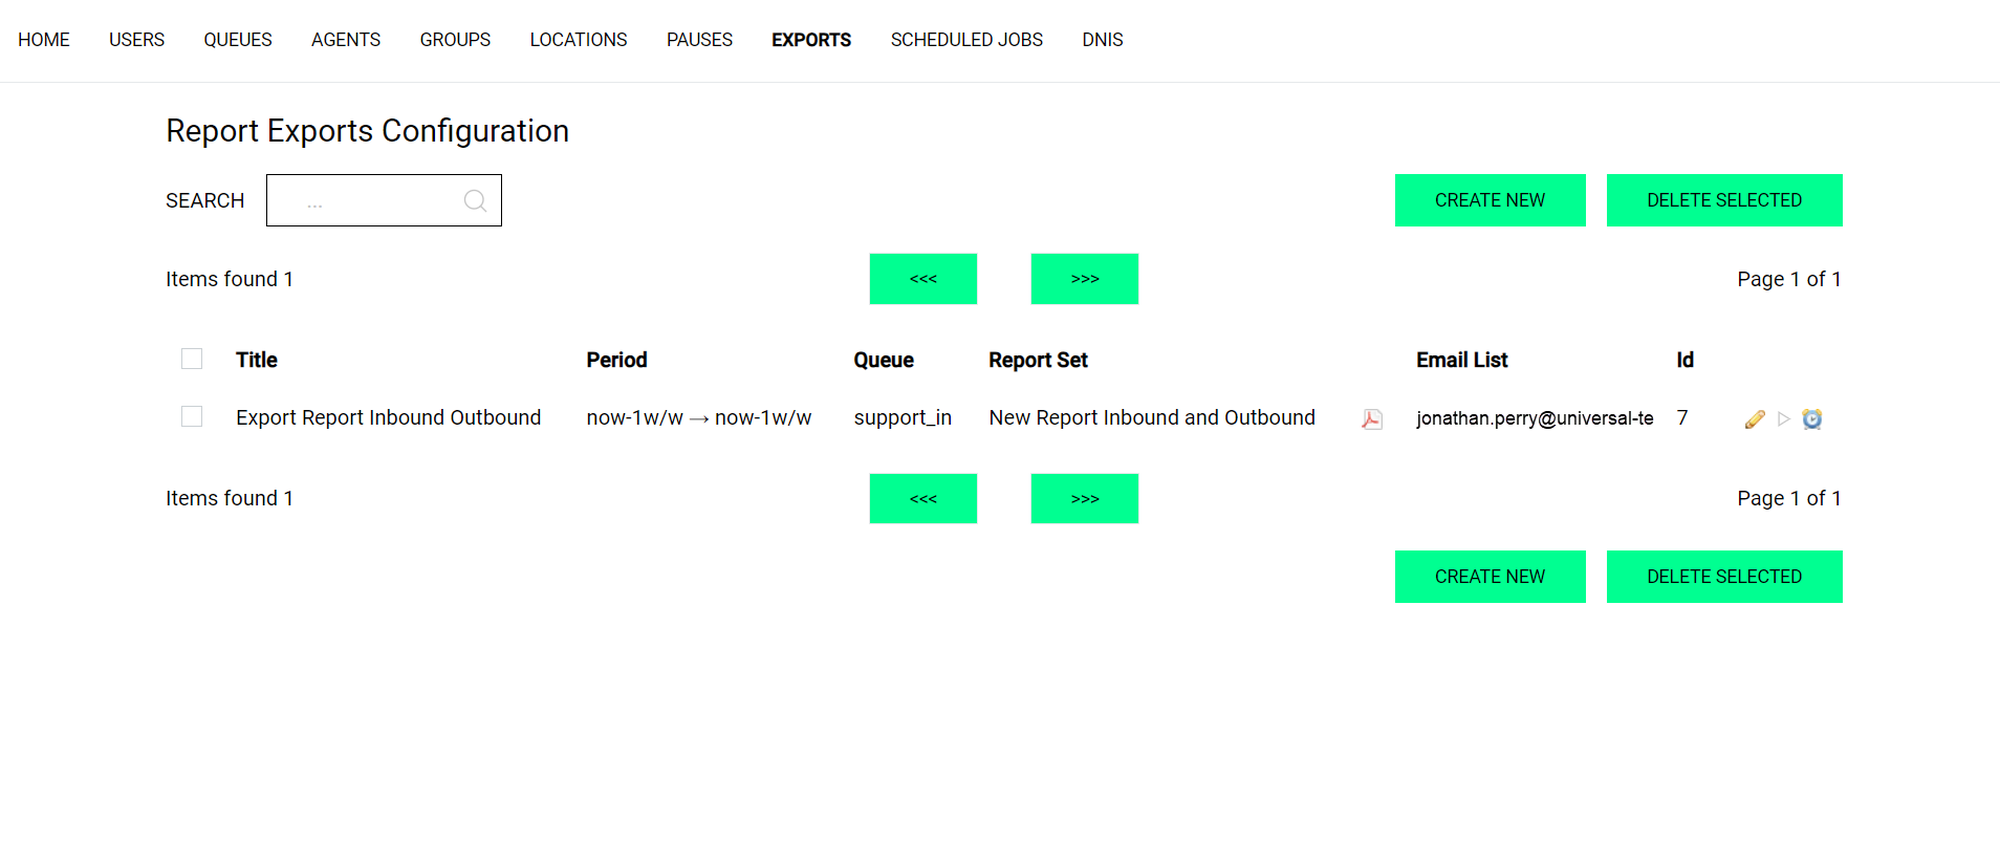
Scheduled Jobs/Report Export
In the Report Exports Configuration section, you can create new exports for any of your reports.
To create a new report:
Click CREATE NEW.
Select a report.
Define the report type (Excel or PDF).
Define the email recipients.
Add optional items, such as a title or a visibility key.
Please note that only the reports which have already been created under Reports will be available to you.
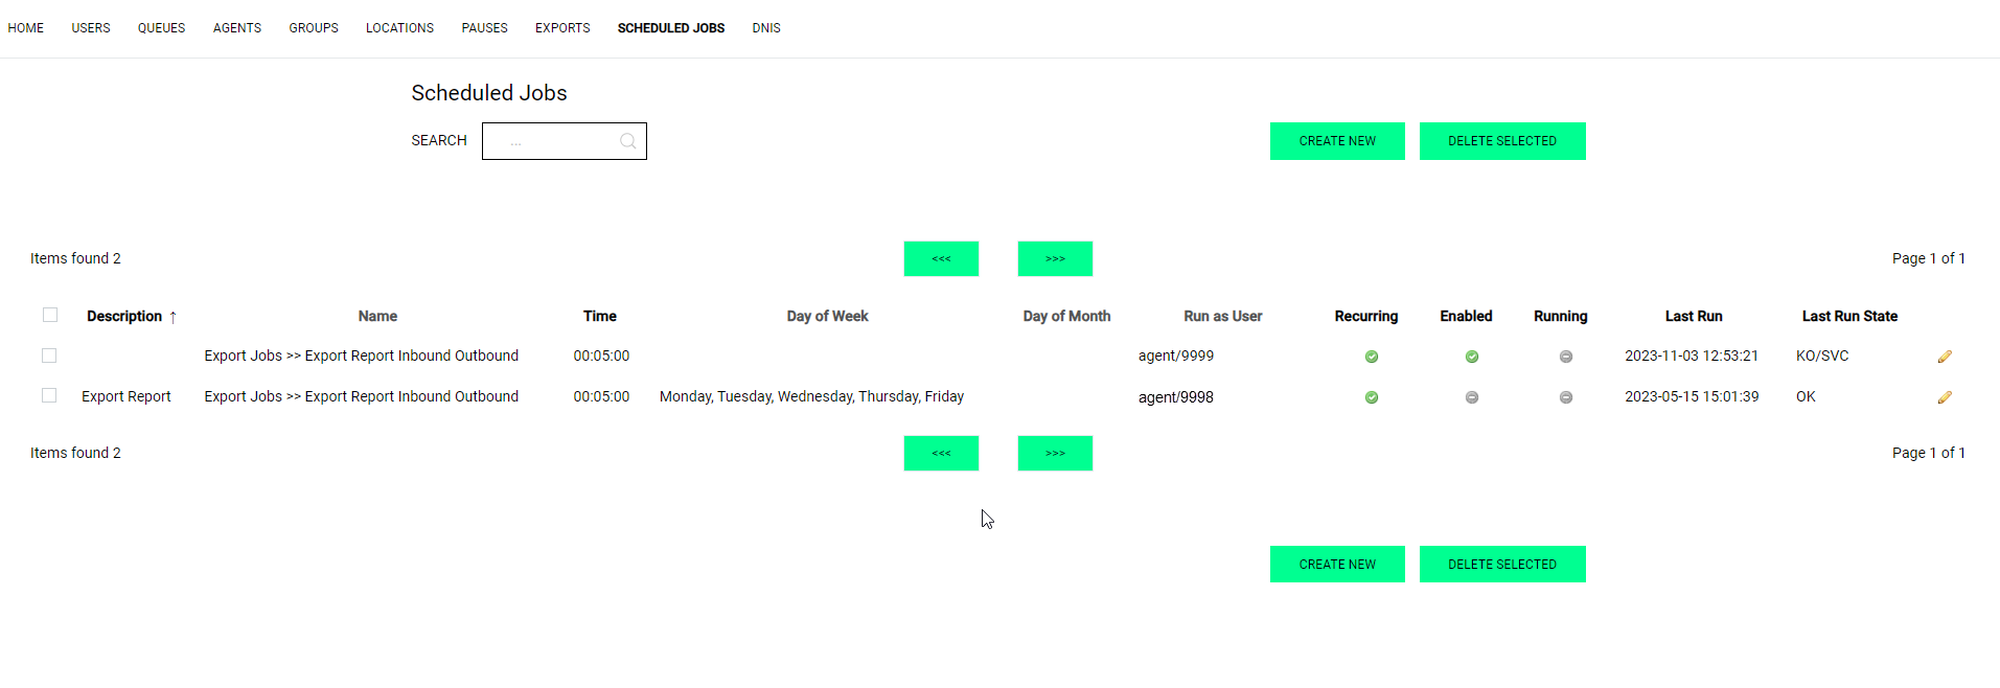
Scheduled jobs
In the Scheduled Jobs section, you can schedule recurrent events. There are two kinds of events: Exports and maintenance jobs, such as Clean caches. The maintenance jobs are available to you as a default setting in NMQ. Exports are available after they have been created under Report Exports.
To create a new scheduled job:
Click on CREATE NEW.
Select a job.
Add the time frame.
Add optional information, e.g. a description or who created the job.
7.2 System administration
In the System Administration section, you can access:
View audit logs
Mysql storage information
Edit system parameters
Explore system parameters
Please note that there is no System Administration page. You can only access the sub-pages directly.
View audit logs
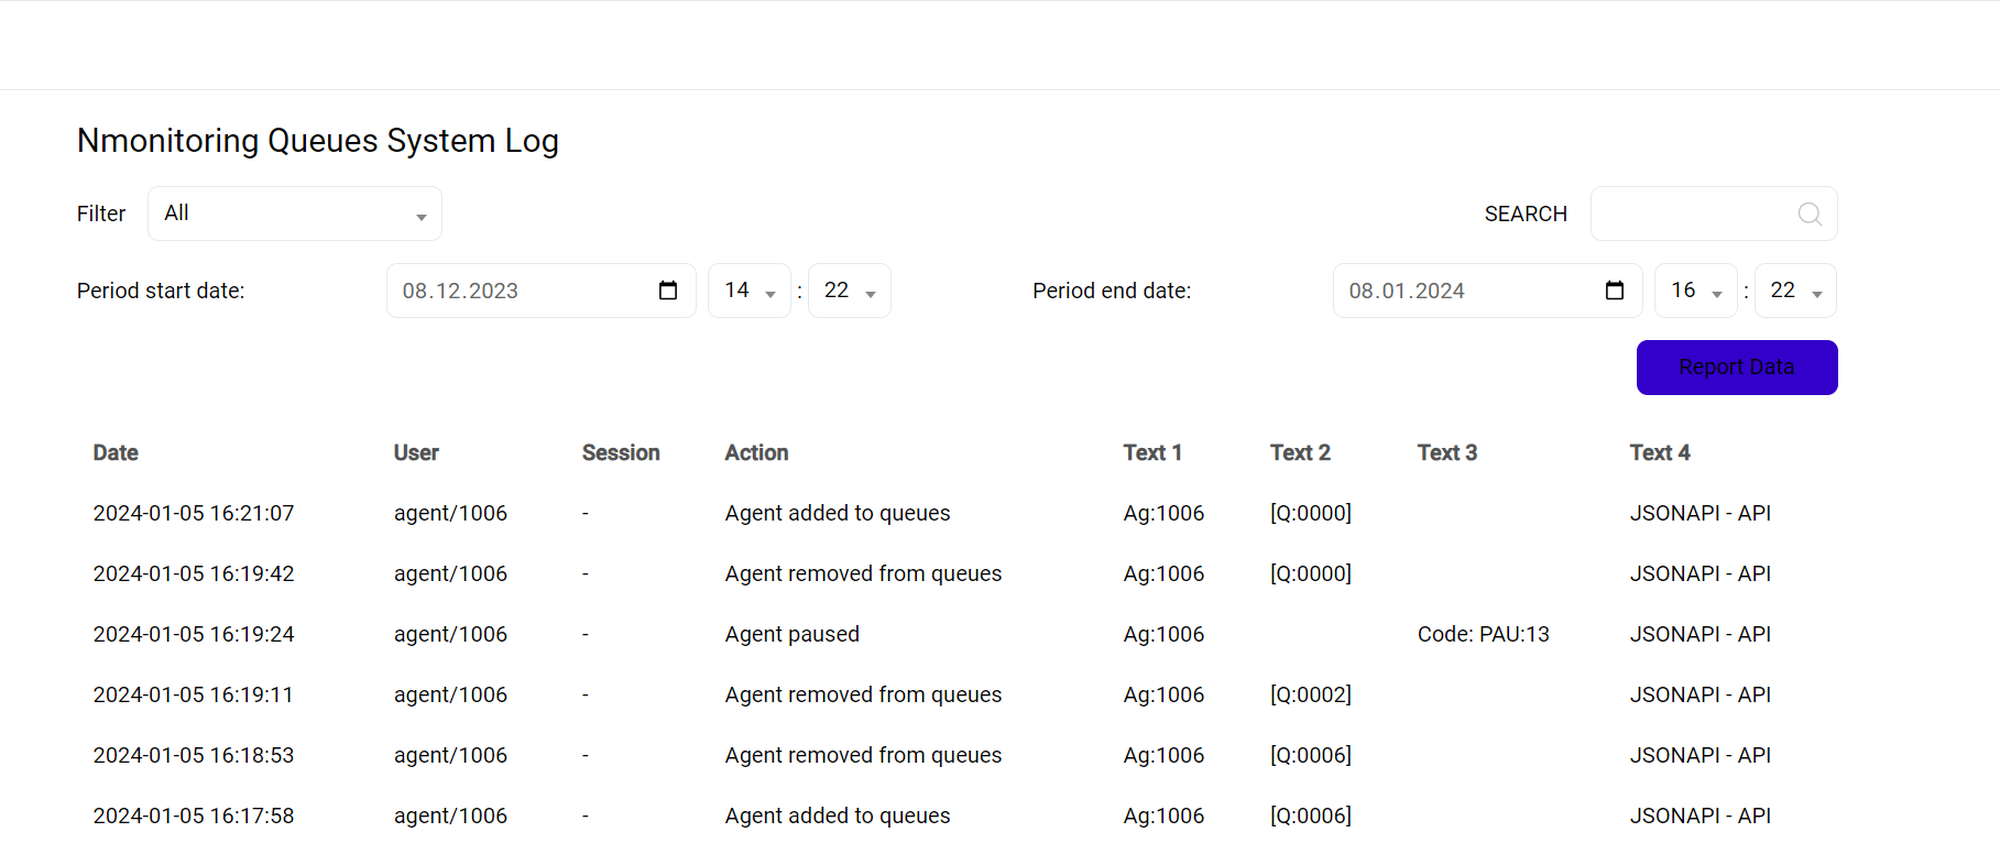
Click on View Audit Log.
⇒ Nmonitoring Queues System Log page opens.
In this section, you can monitor all user activities on the system level:
users logging in and out of the system
change in an agent's status
users being added or removed from queues and
several other system events.
Use the search and filter options to find specific events and set a time period (start and end date).
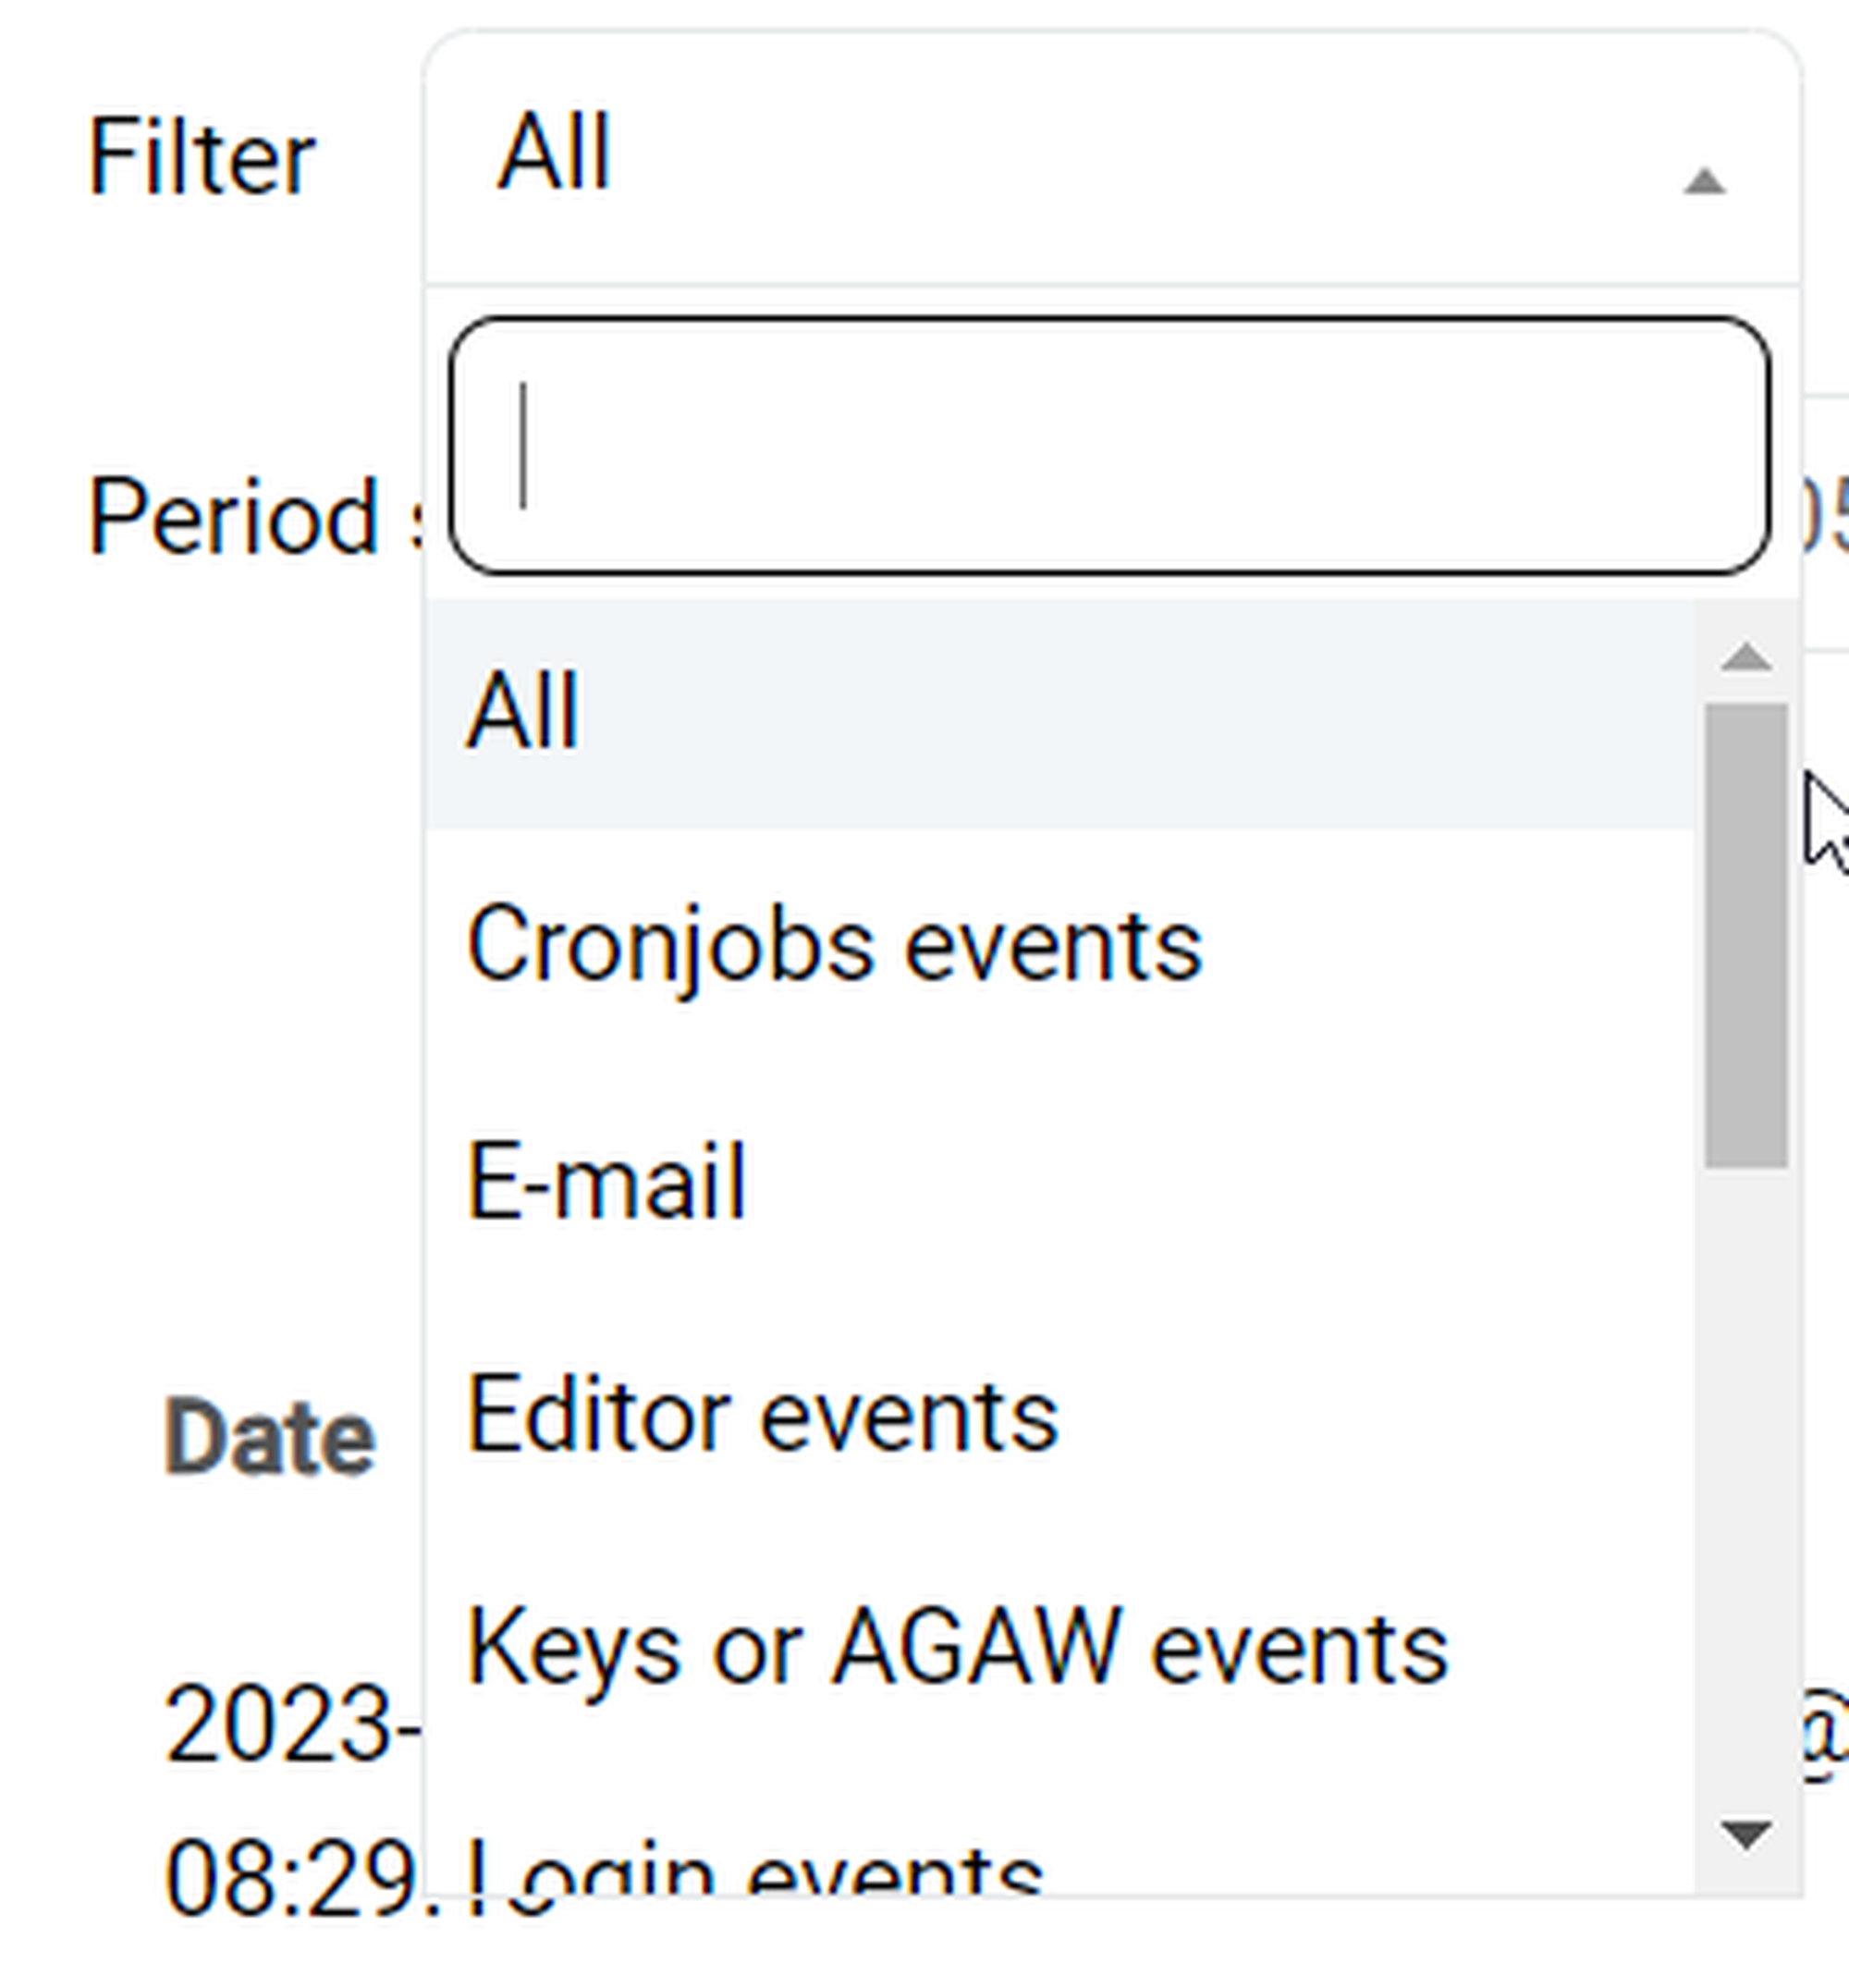
Next to Filter, click on the drop-down-menu.
⇒ The menu lists of all types of events logged by the system.
Select one event type as a filter. In the standard setting, All is selected so all logged events are displayed.
Tip
Please note that any changes to the filters or timeframe will only take effect after clicking Report Data in the upper right-hand corner.
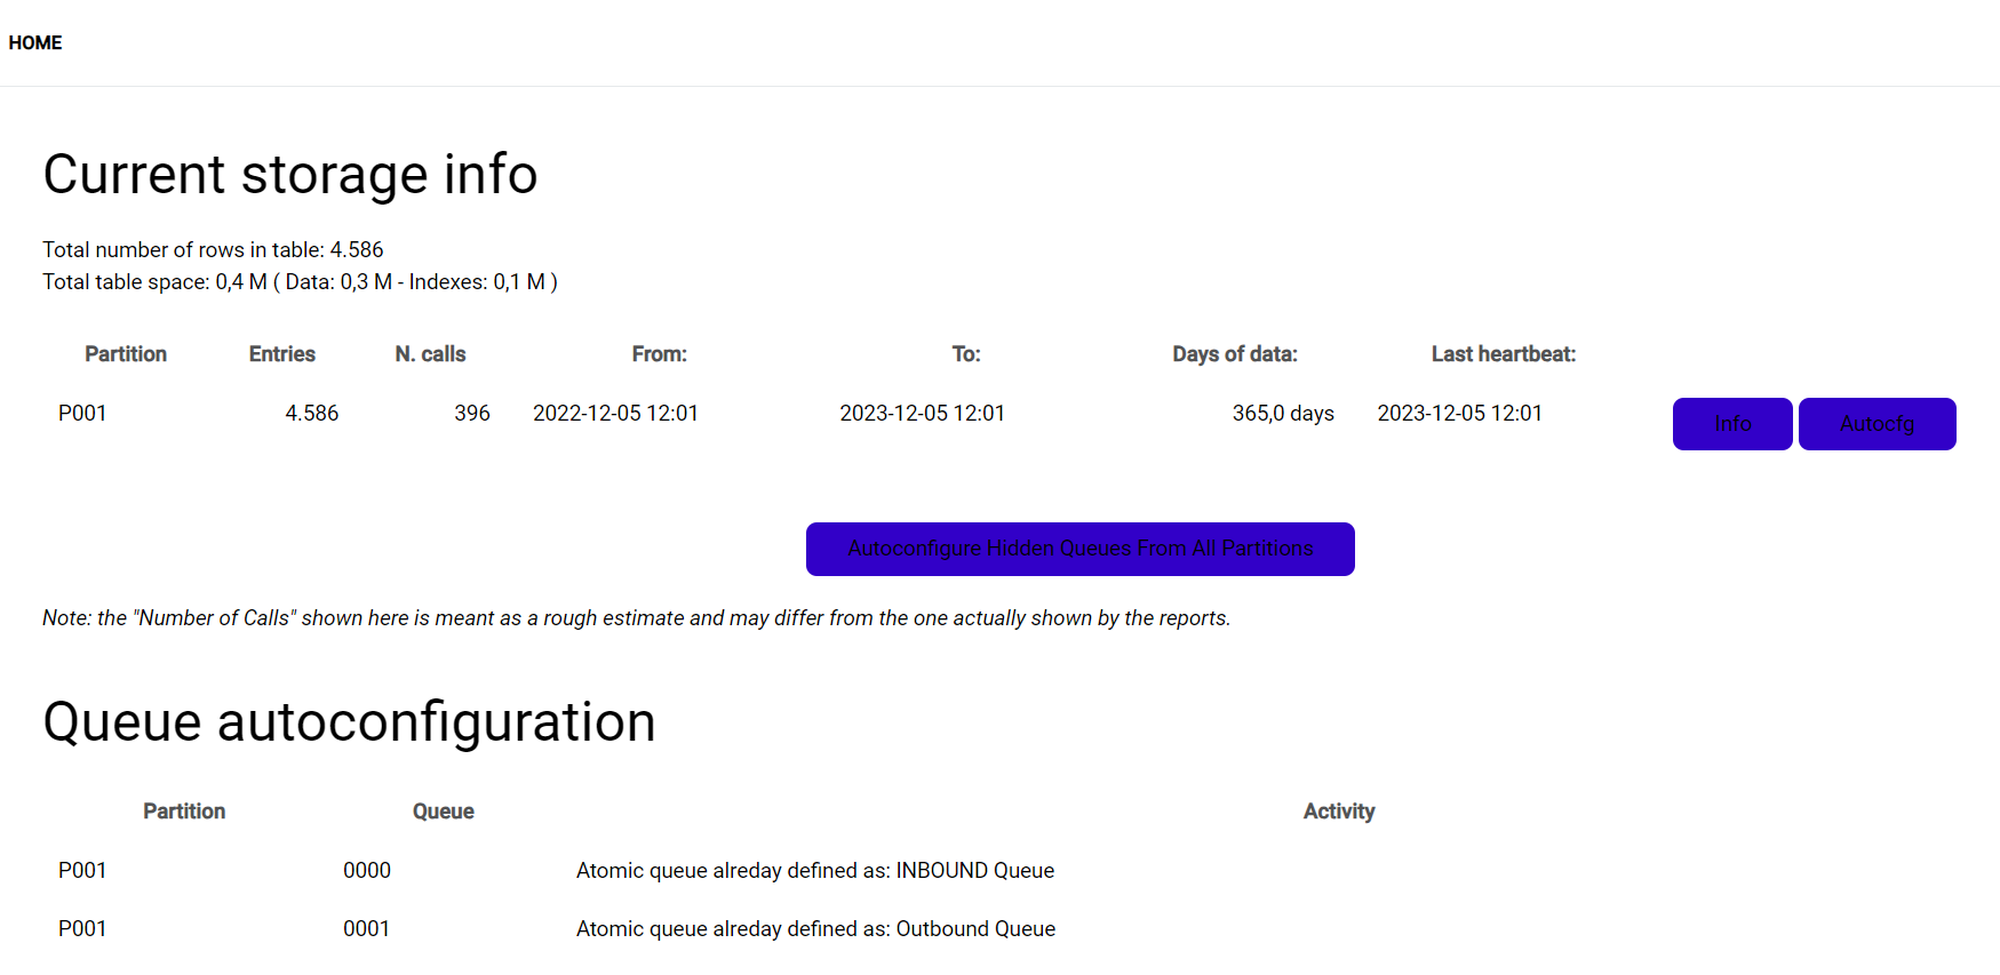
Mysql storage information
Cick Info” or Audit to switch between the two views, Details for partition and Queue autoconfiguration.
Editing system parameters
Only system amdinistrators can edit system parameters for your NMQ system. Please note that a system administrator is not equivalent to the user class of an administrator as defined in the user class configuration.
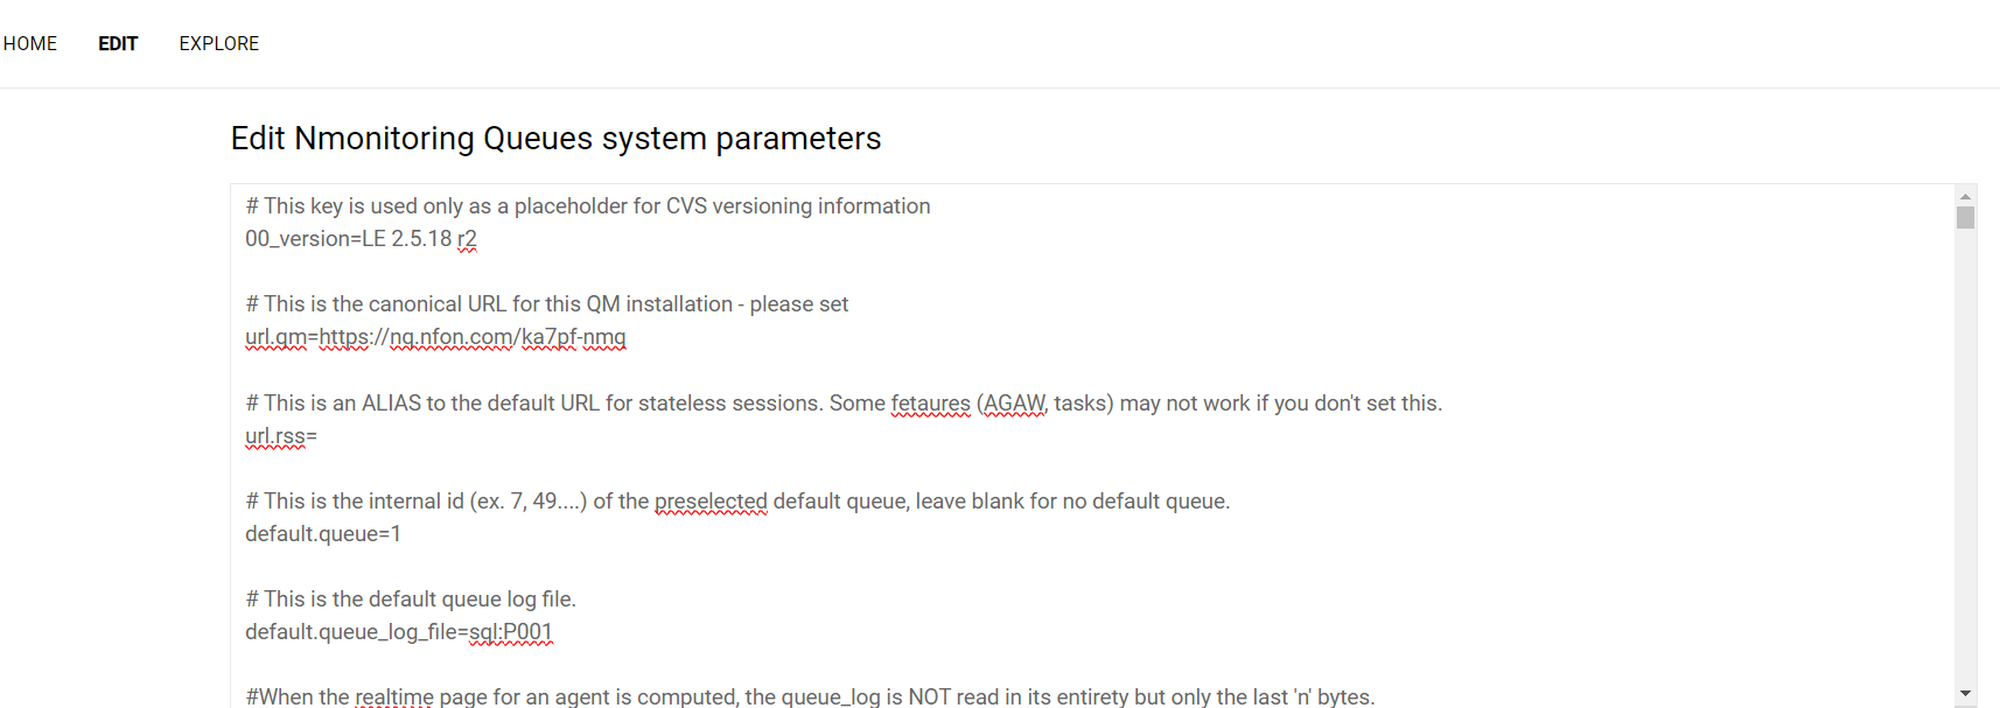
Note
We recommend using the standard NMQ configuration. However, if you want to make changes to the system configuration, consult the Loway database for more detailed information.
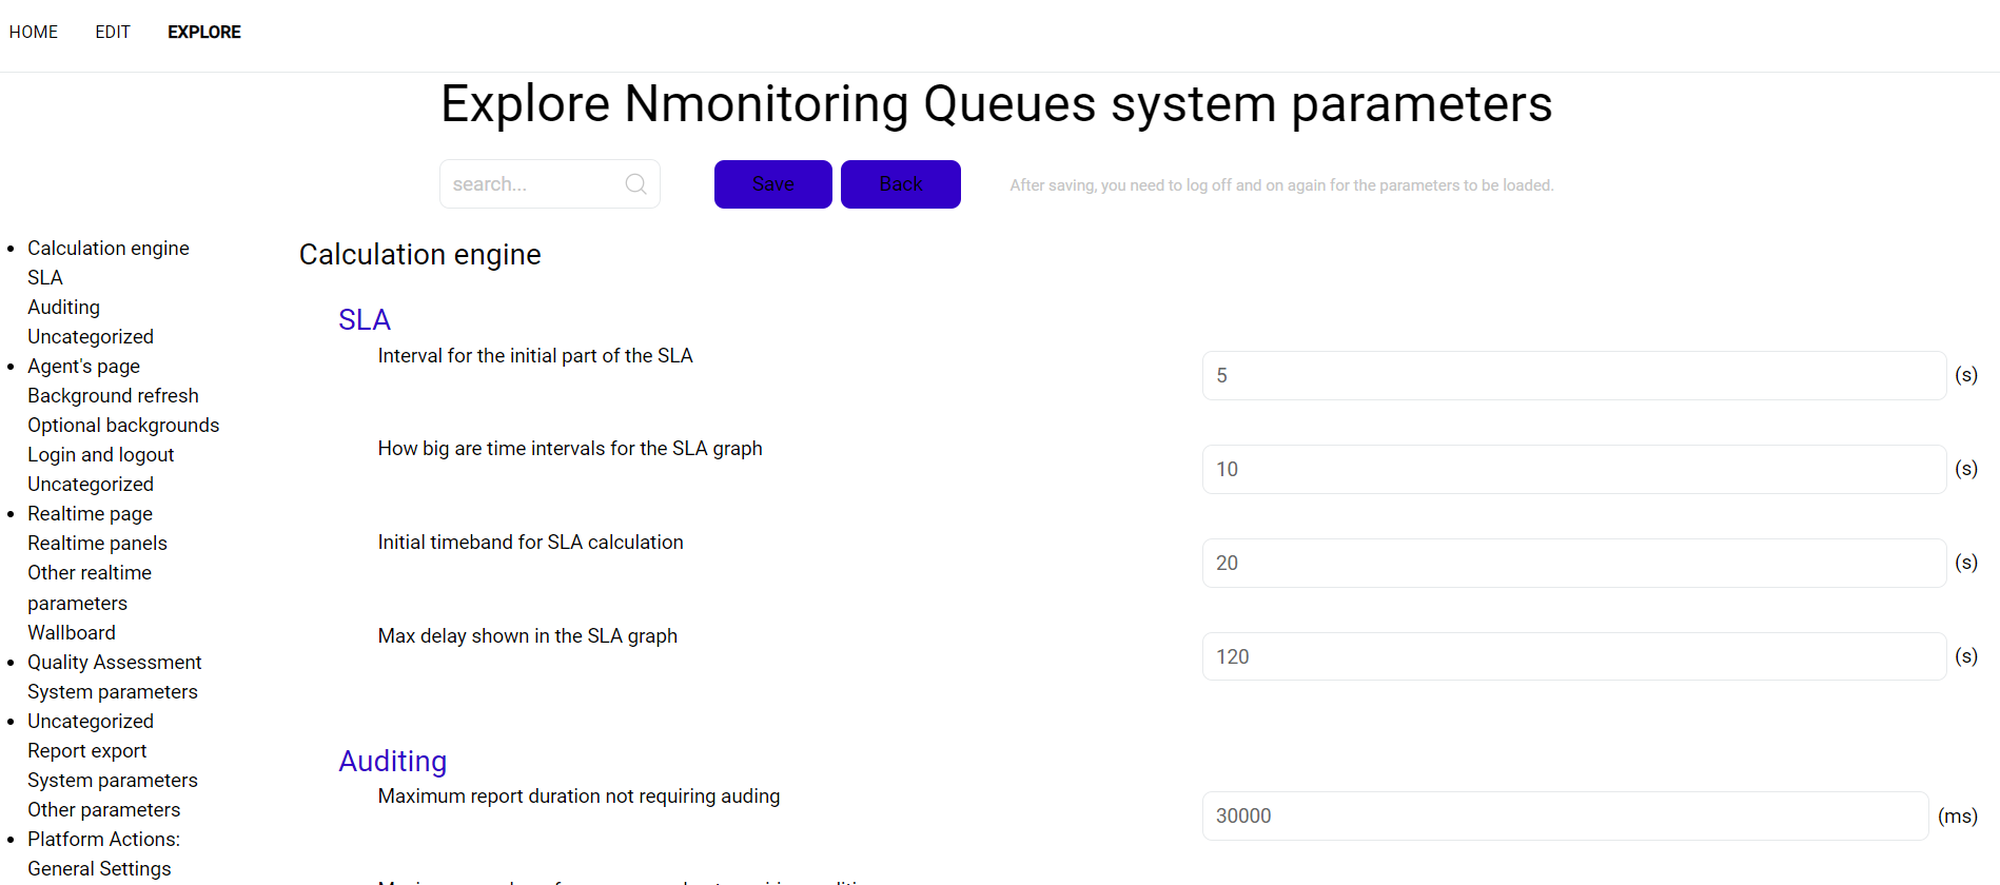
NMQ system parameters
In this section, you can find an overview of the NMQ system parameters.
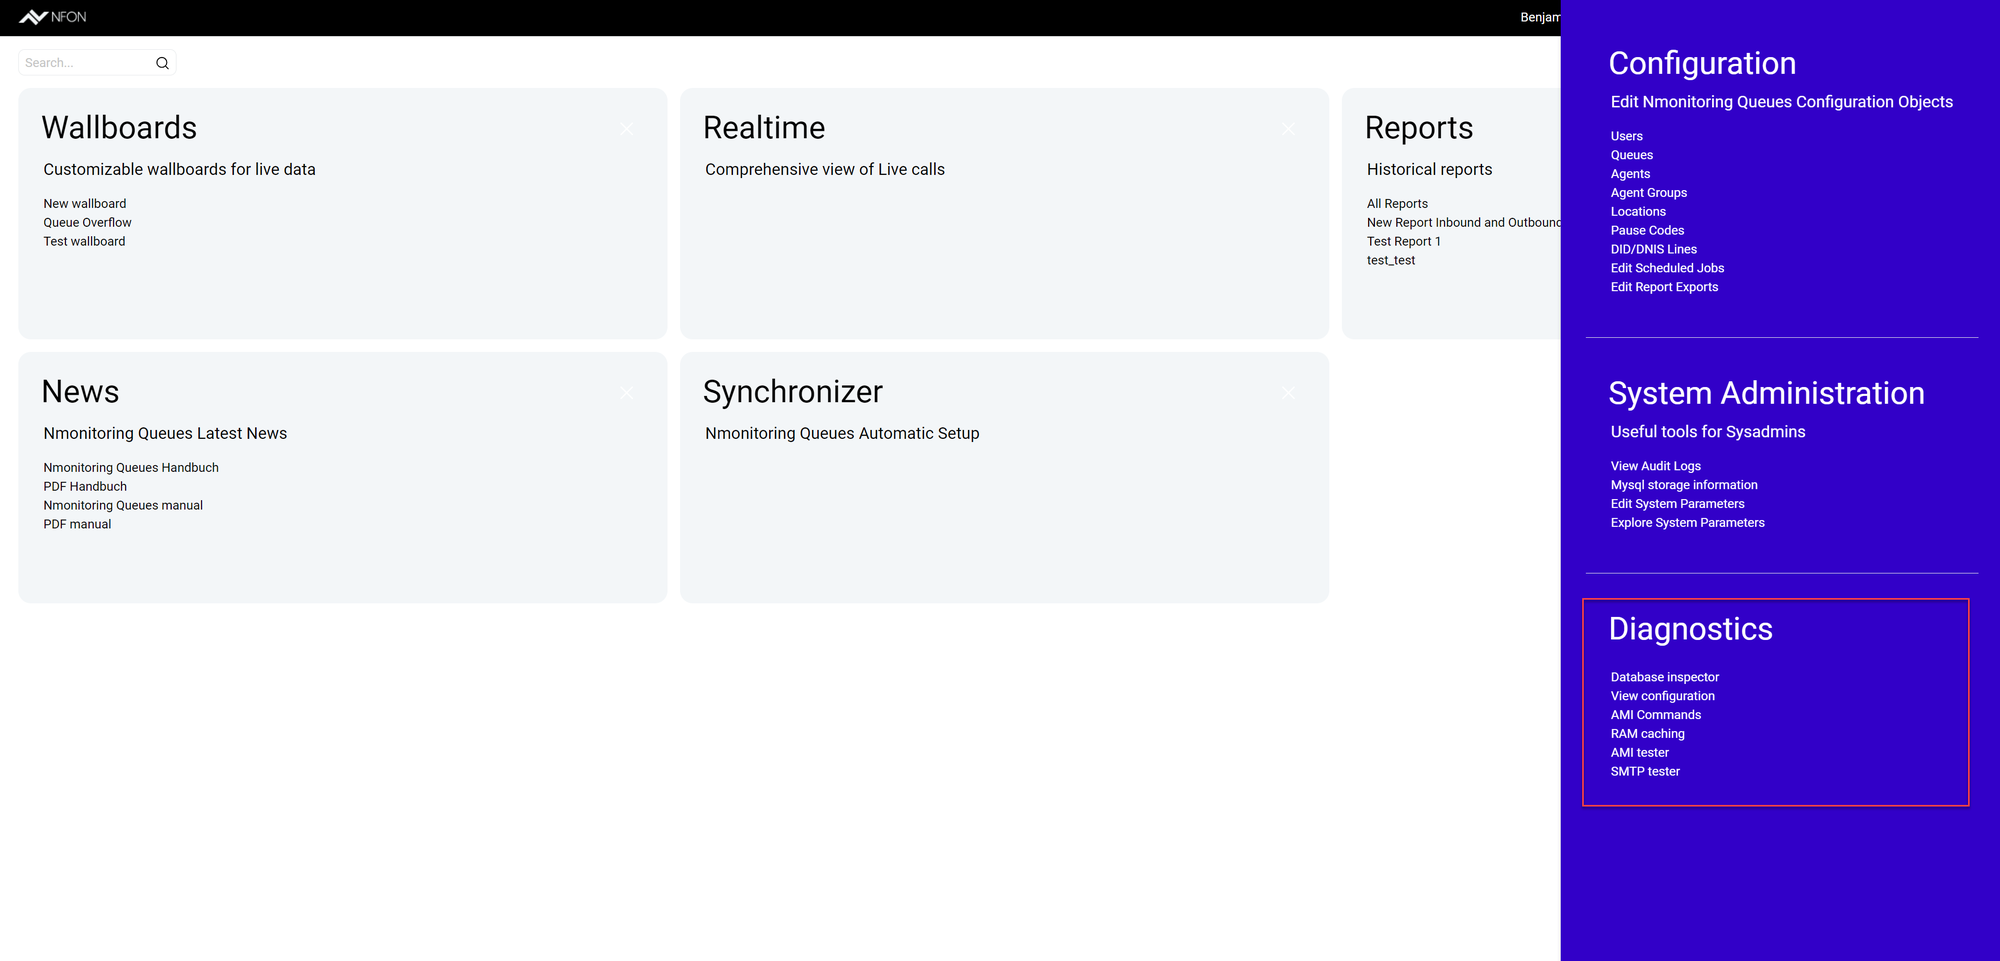
7.3 Diagnostics
In this section, you can edit and configure a variety of different objects. Click on Diagnostics to open the diagnostics page, or use any of the listed configuration objects as a direct link to that area of the diagnostics page.
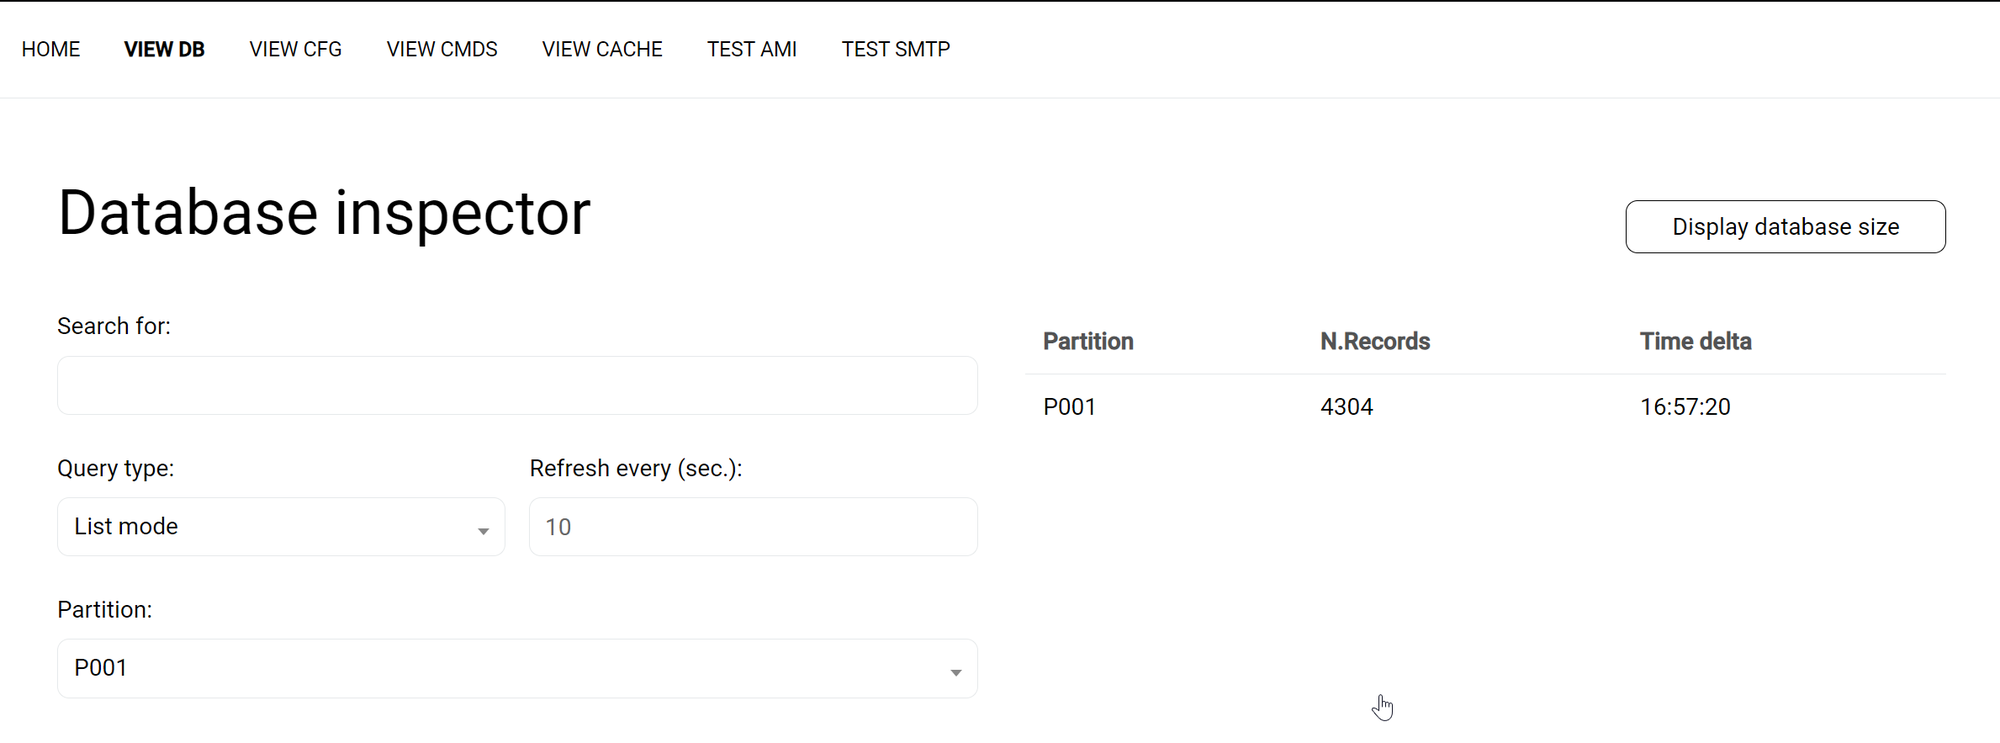
Database inspector
This page displays the current contents of the queue_log table. In this section, you can find the live data as appended from your PBX.
Click Display database size to inspect the size of database tables.
Click the button again to go back to the live Database inspector.
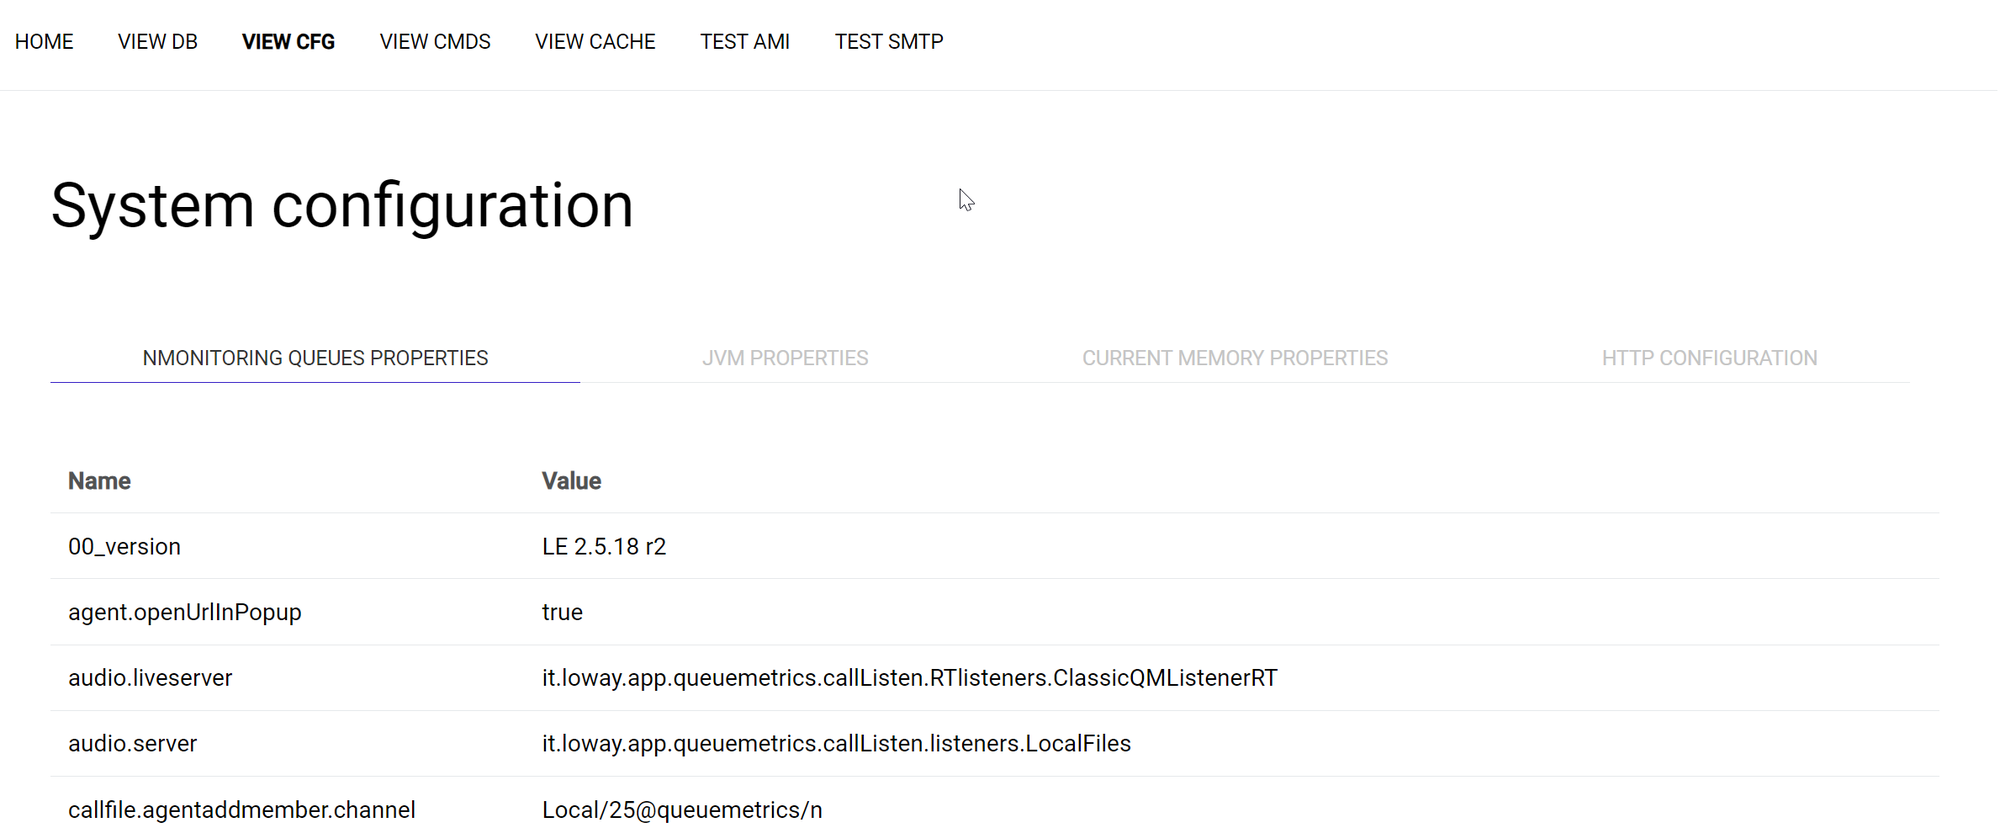
System configuration
In this section, you can find the properties of your system configuration divided into four tabs, NMQ, JVM, Current memory, and HTTP configuration.
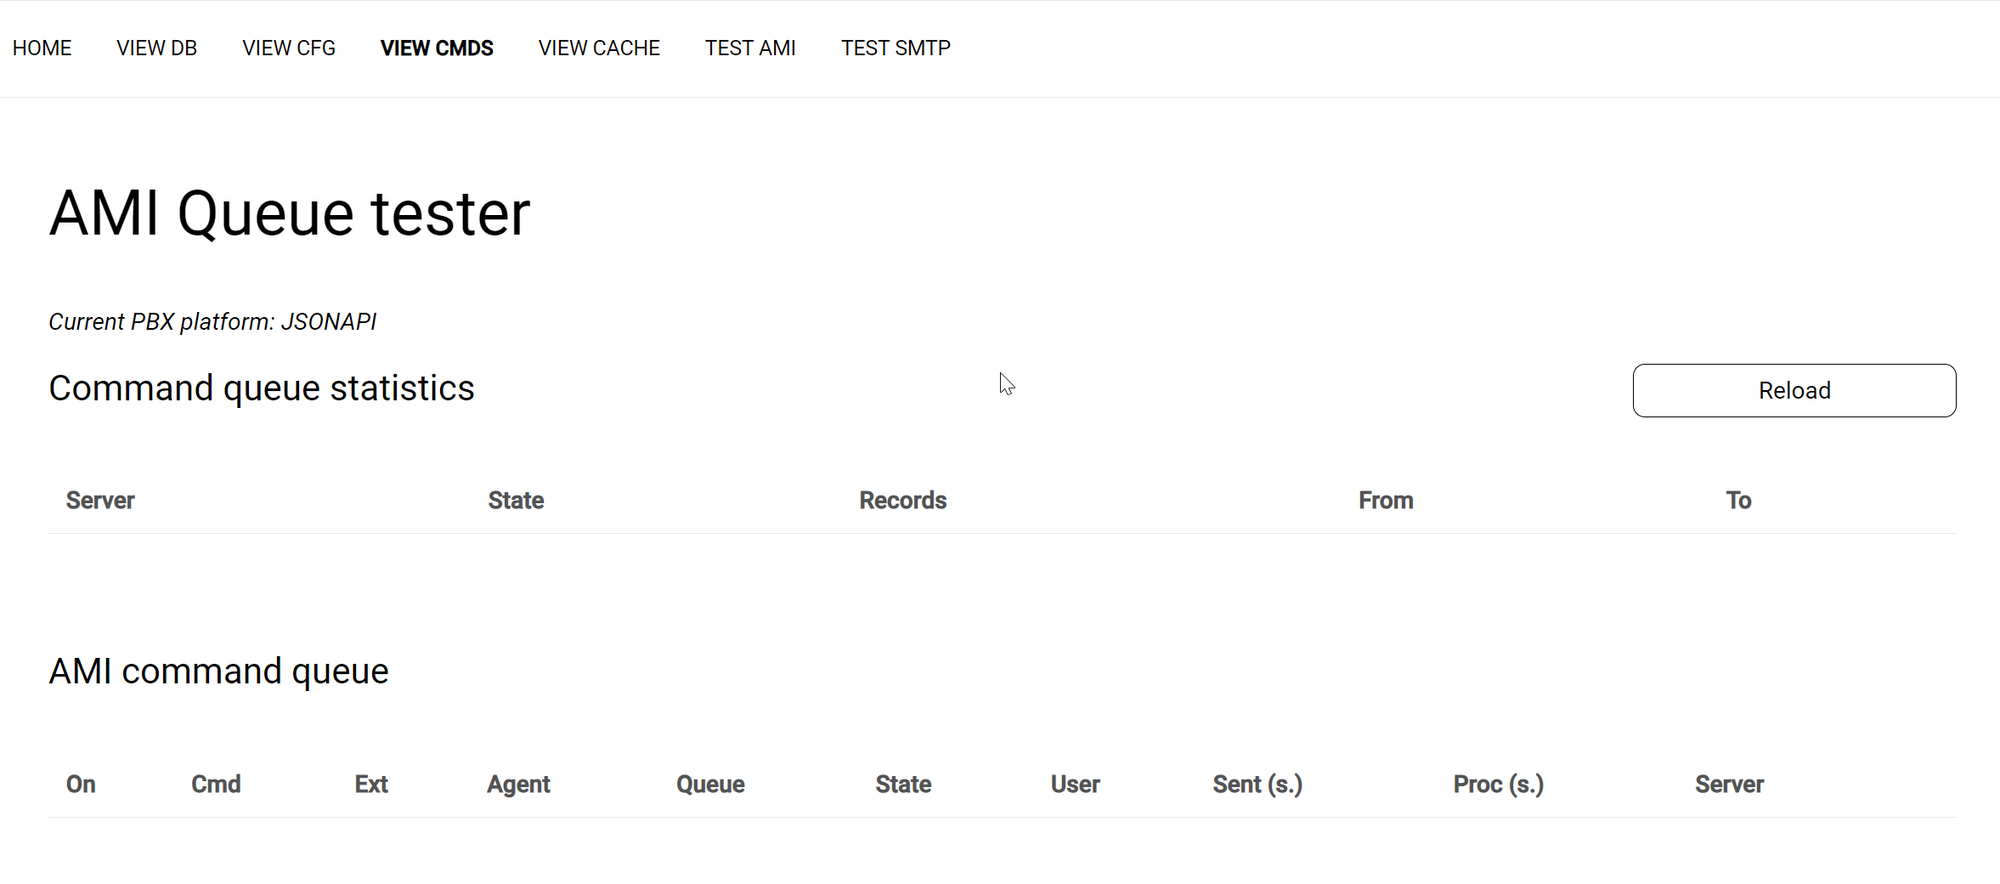
AMI queue tester
In this section, you can test an AMI (Asterisk Management Interface) port from the command line. Uniloader will also check whether the NMQ context is present on the system, and whether the AMI user has the required "originate" privilege.
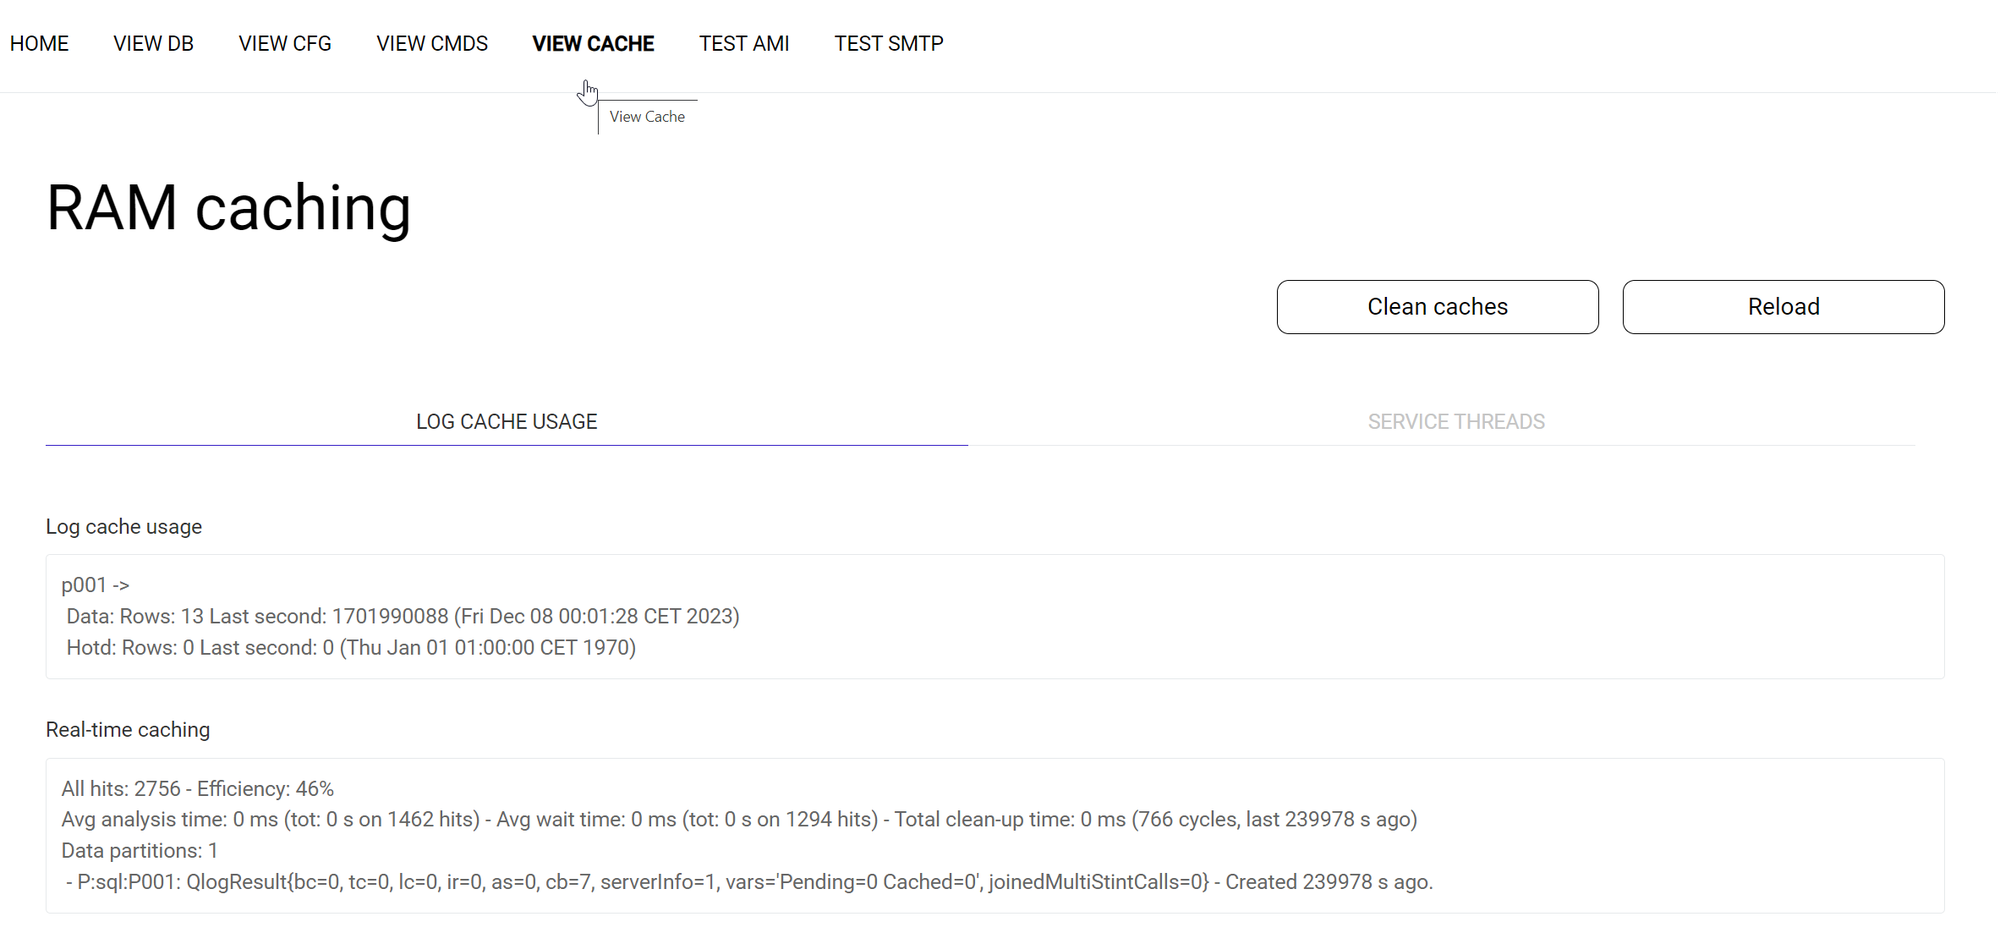
RAM caching
This section displays the current status of the different caching layers used within NMQ.
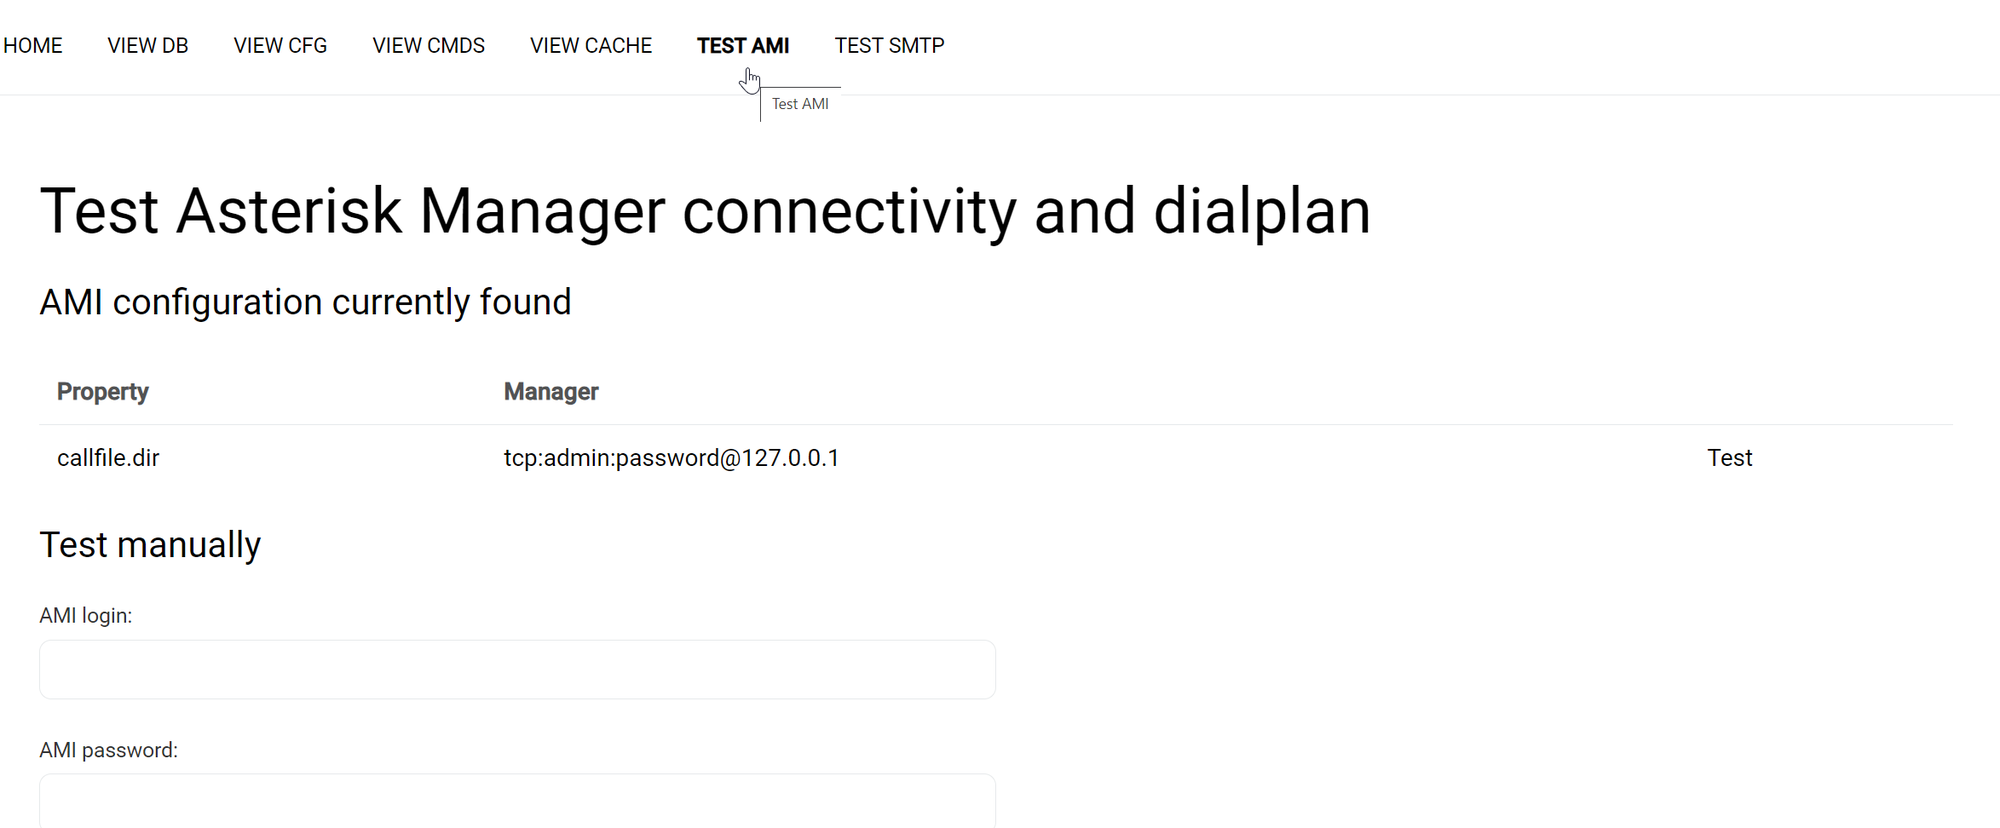
Testing asterisk manager
In this section, you can check an AMI connection to your PBX server.
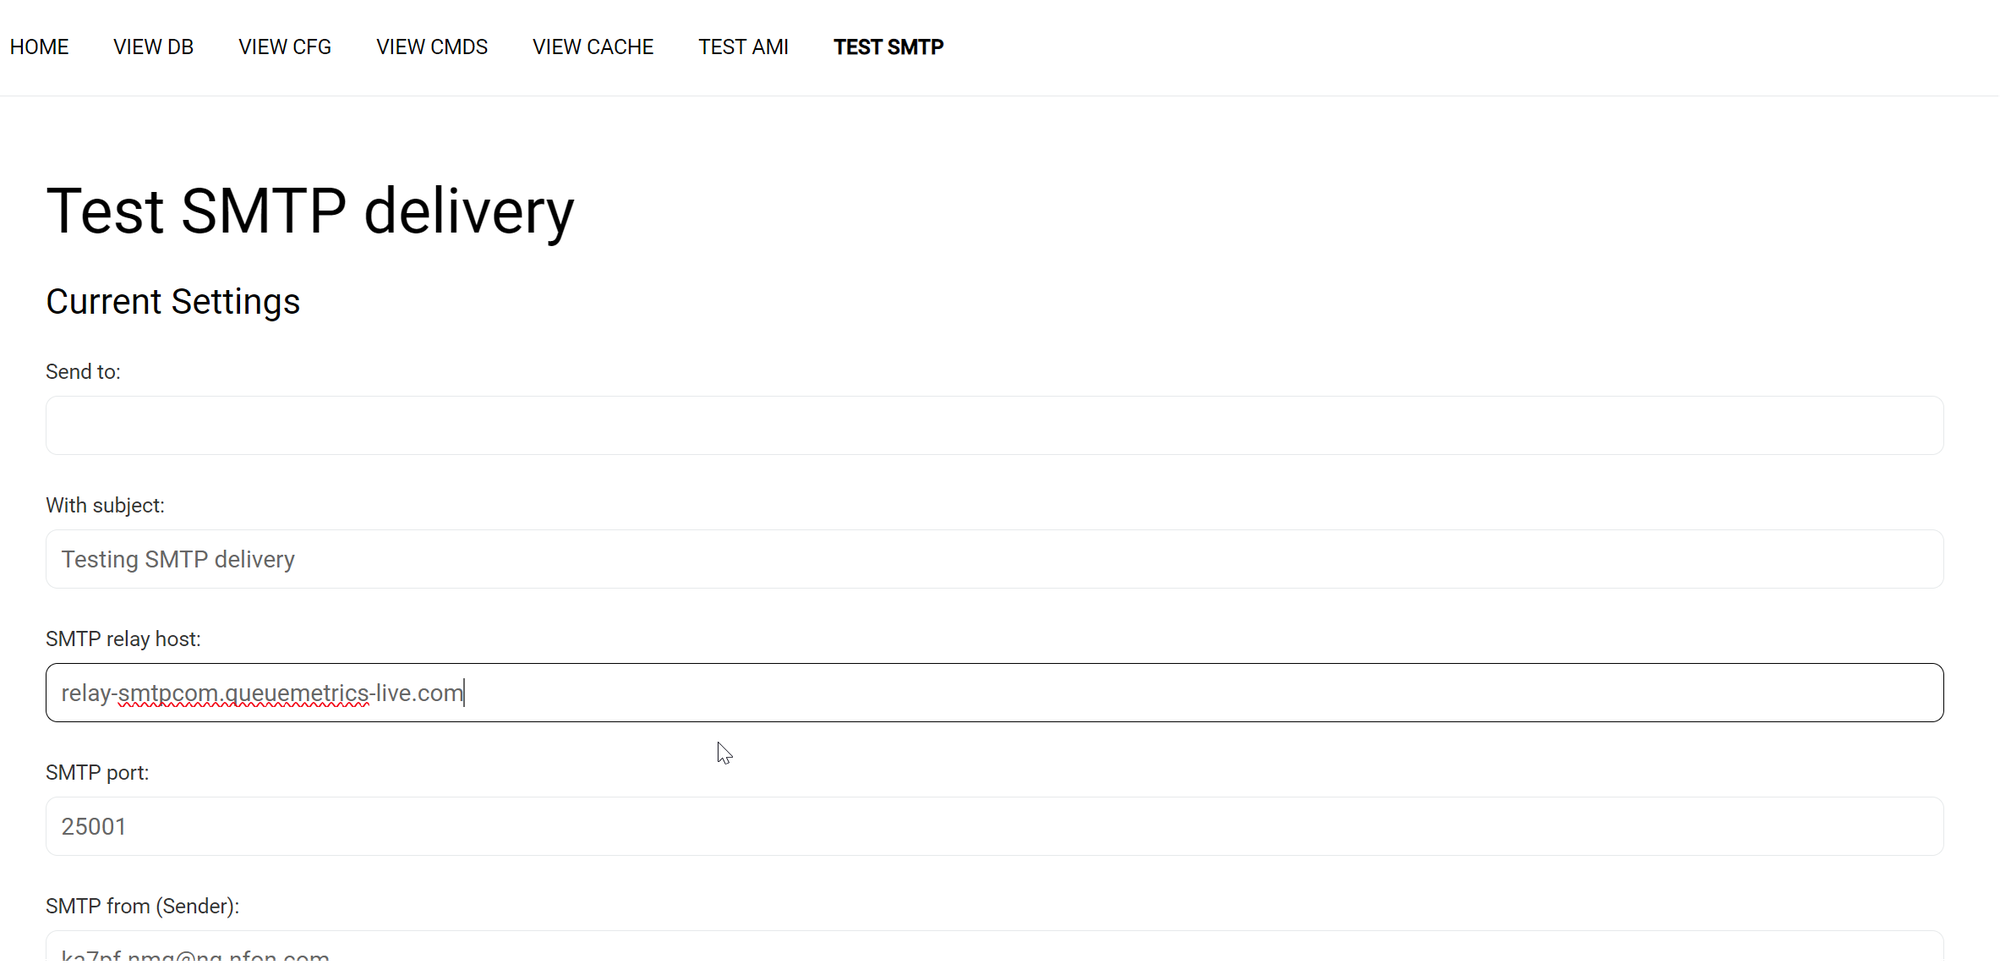
Testing SMTP delivery
In this section, you can check the SMTP configuration by entering all parameters and then trying to send an email. As this often requires some adjustments in the setup of a scheduled job, we recommend starting from a known working configuration.