10. Meet & Share Add-in
With the Cloudya Outlook add-in, you can create an Outlook appointment as a Cloudya meeting.
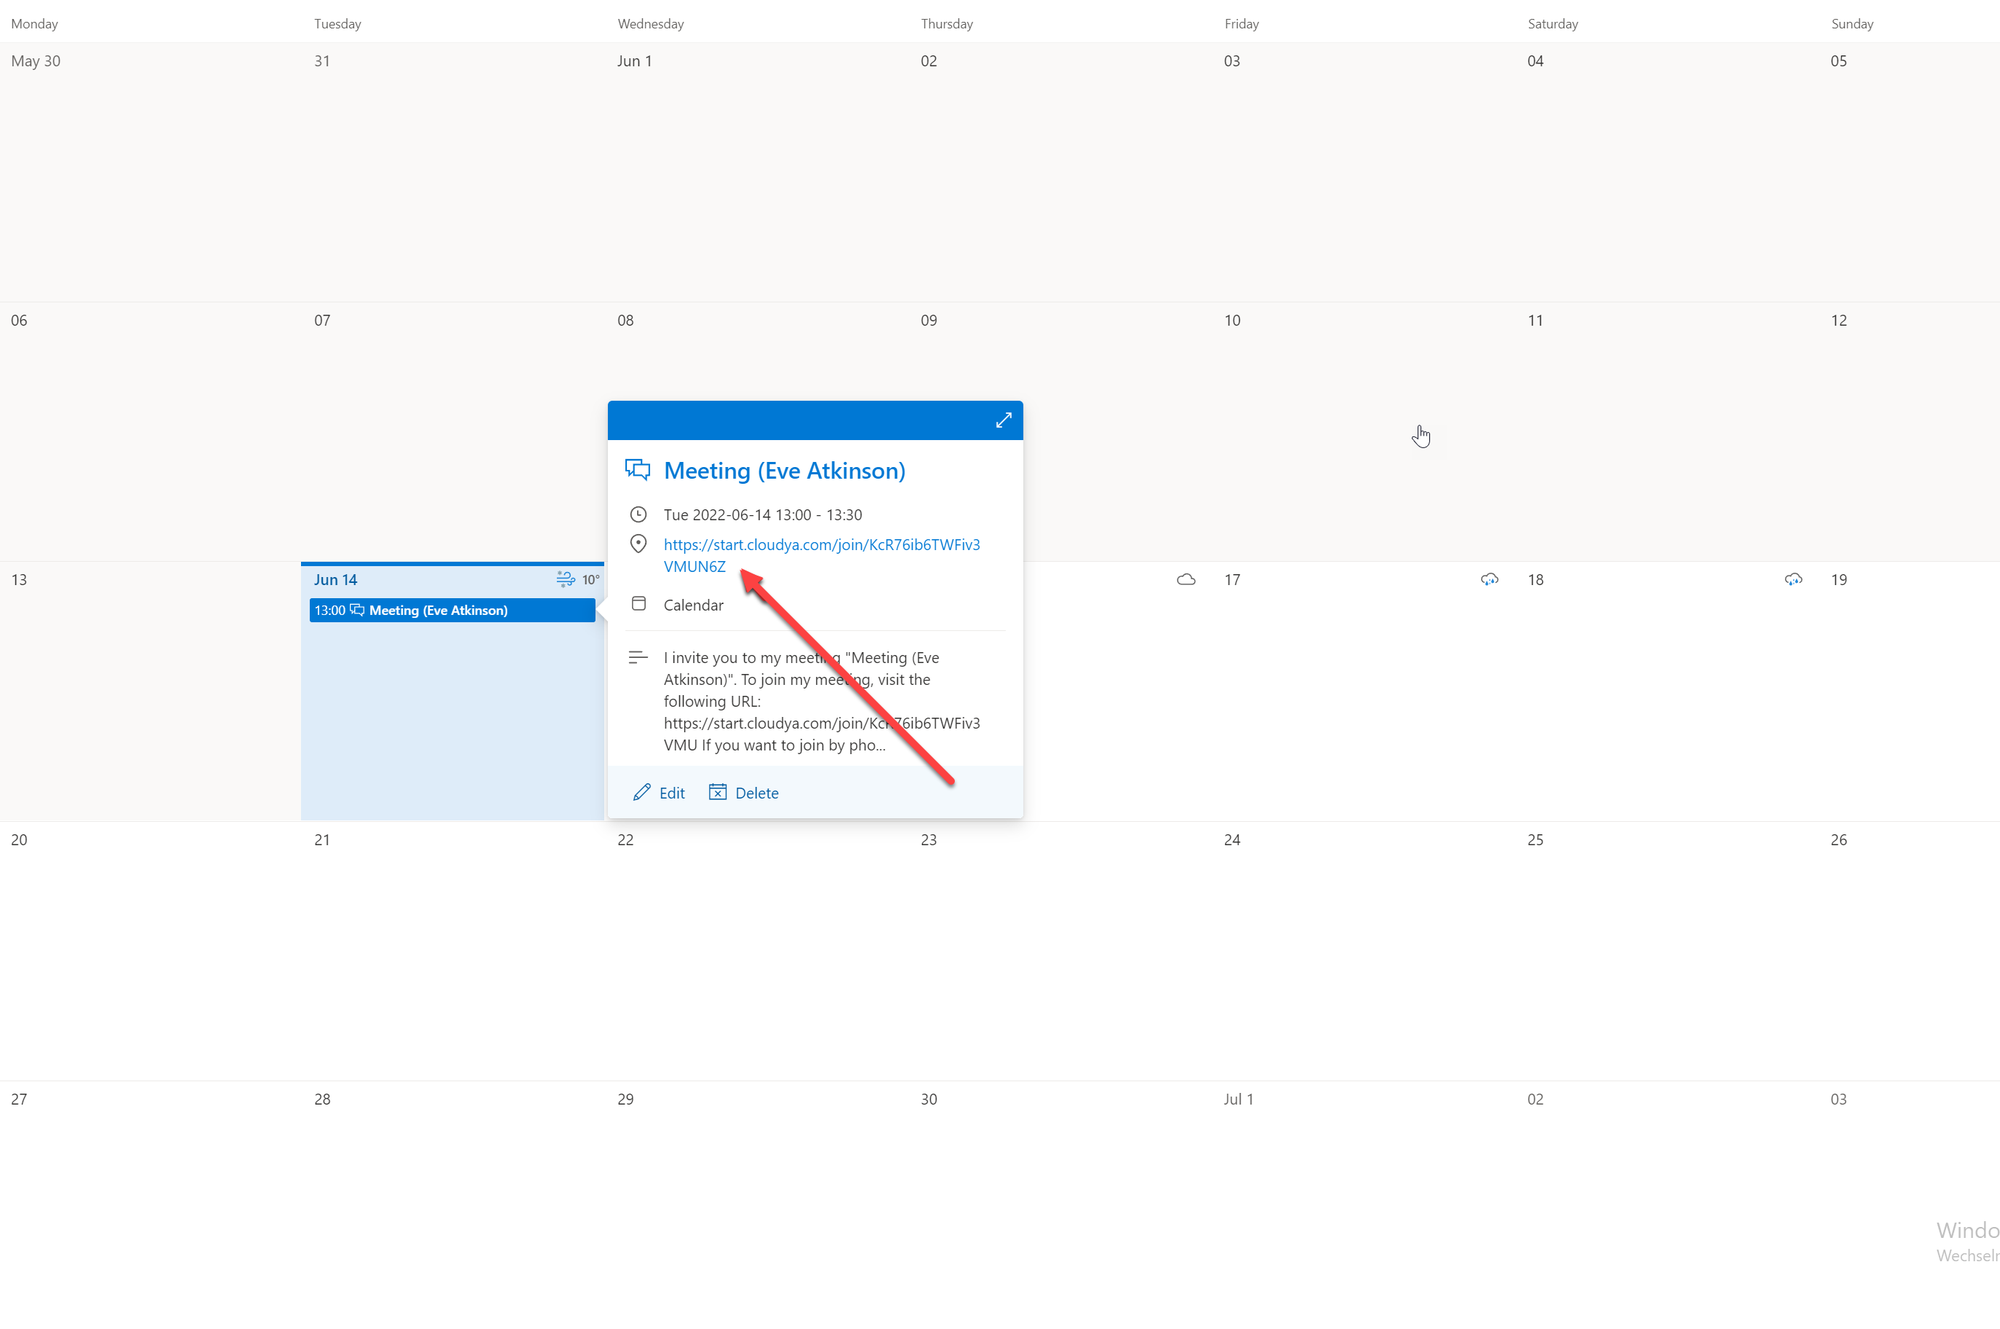
To do so, simply click on the Outlook add-in button to create a URL for your Cloudya meeting. This URL will automatically be added to your appointment’s description.
Requirements and Availability
To use the Cloudya add-in with your Outlook, your PC must meet the following requirements:
Outlook version: Microsoft Outlook 2016 or later
OS: MacOS 10.12 (Sierra) or later
Windows 7 or later
Cloudya License: Cloudya Business Premium & Meet and Share Plus
The language you have selected in Outlook will automatically be used for the Cloudya Meet & Share add-in. Currently we support the following languages:
German
English
French
Italian
If you are using a different language, the standard language for the Cloudya add-in will be English.
Note
If you are using a different version of Outlook, the details may differ from those shown in the screenshots.
10.1 Installing the Cloudya Meet & Share Add-in
10.1.1 Installing the Cloudya Meet & Share Add-in as User
Installing the Cloudya Meet & Share add-in in the Outlook desktop app
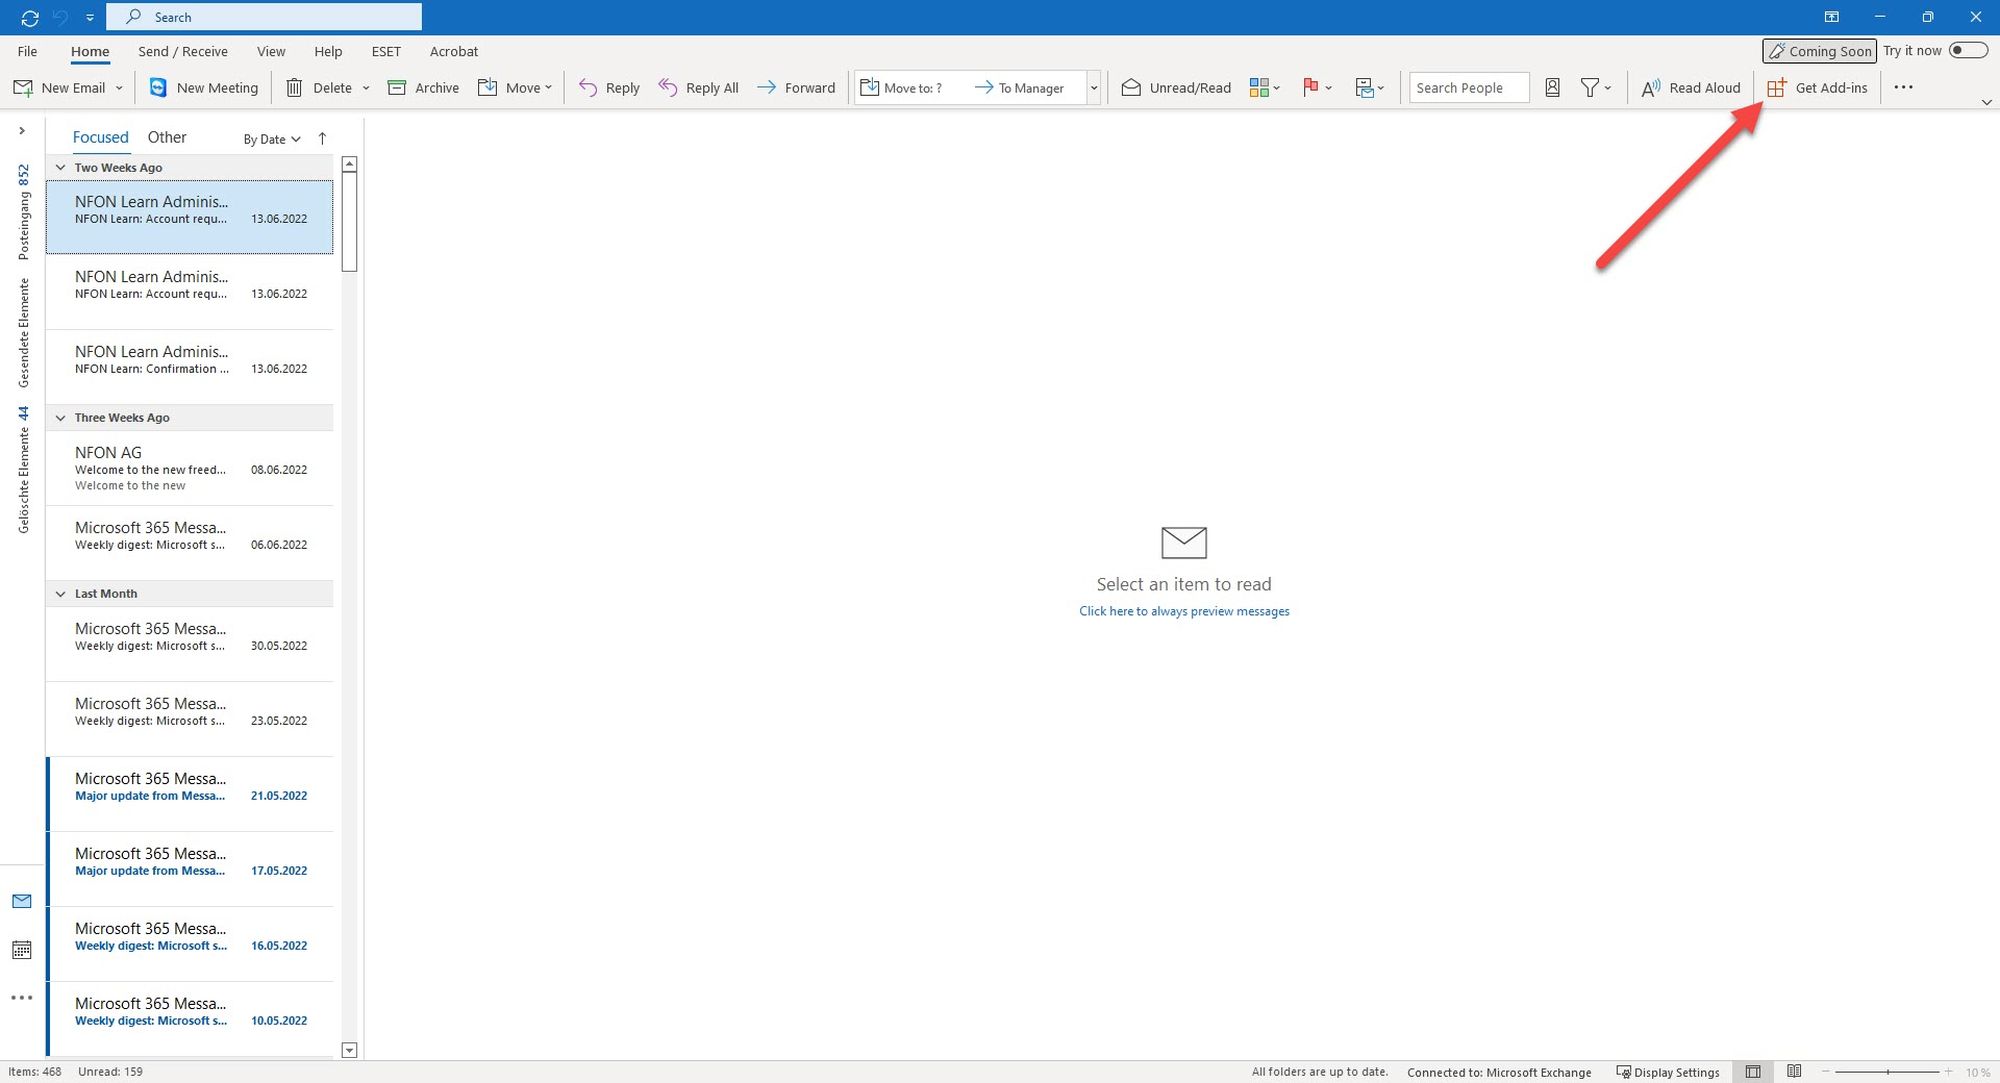
1. Click on the Get Add-ins button in the upper right-hand corner. The Outlook Add-ins window opens.
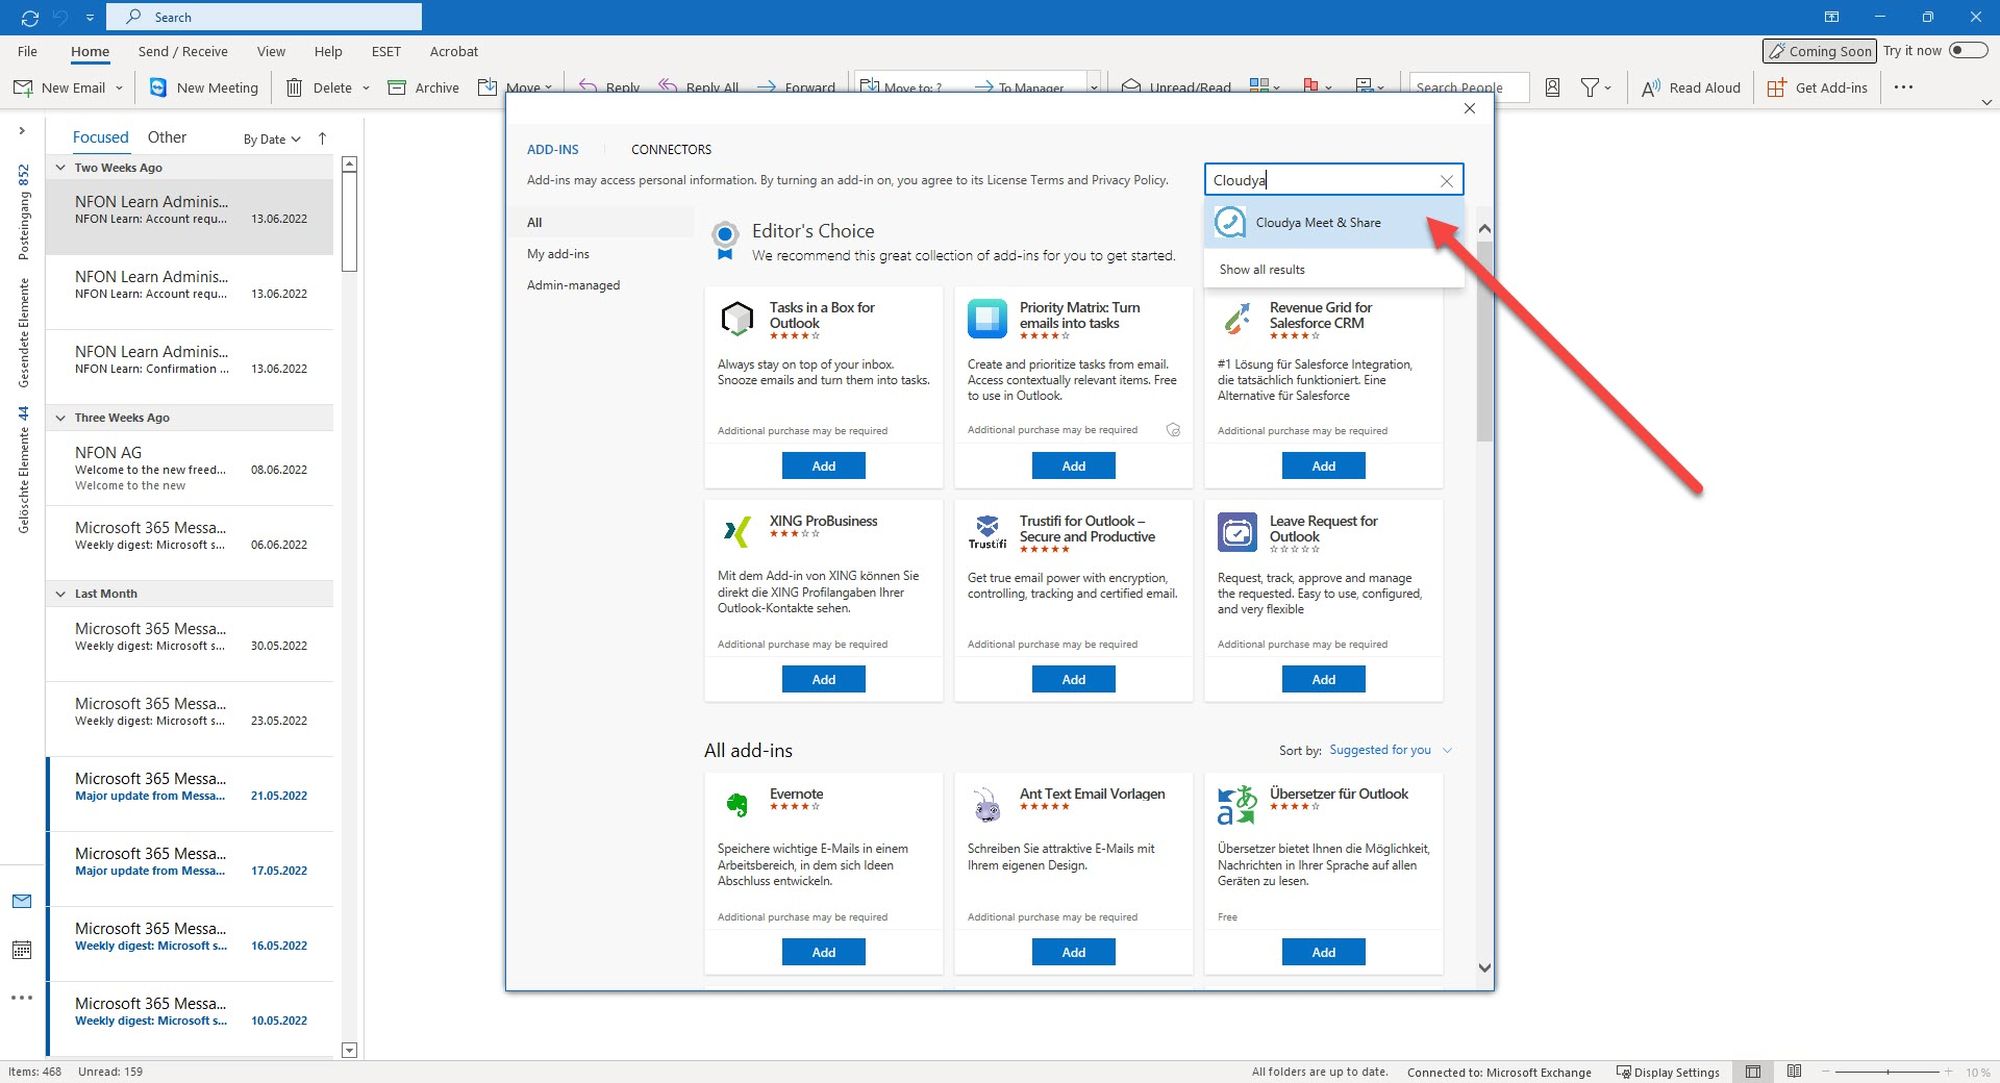
2. Search for Cloudya. Select Cloudya Meet & Share from your search results.
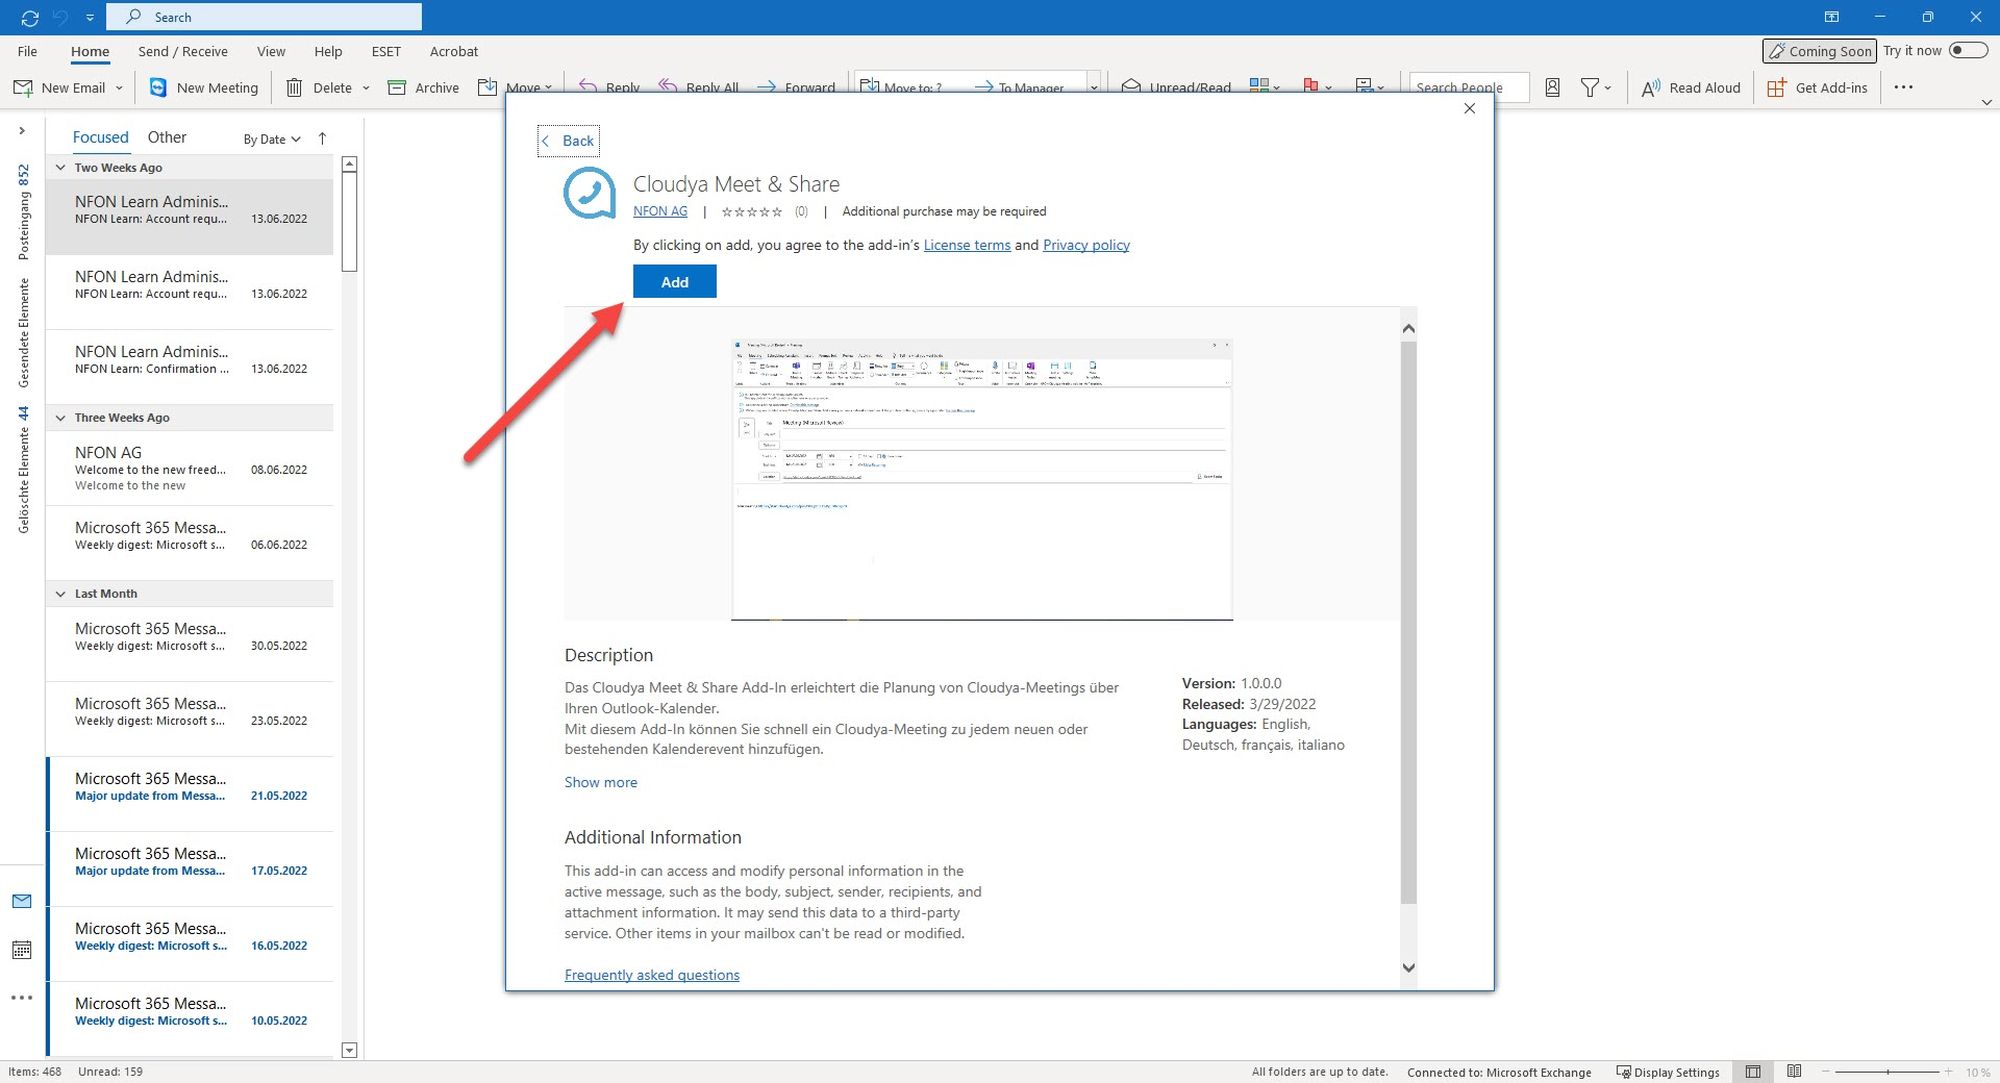
3. Click on Add.
Installing the Cloudya Meet & Share add-in in the Outlook web app
1. Open Outlook in your browser.
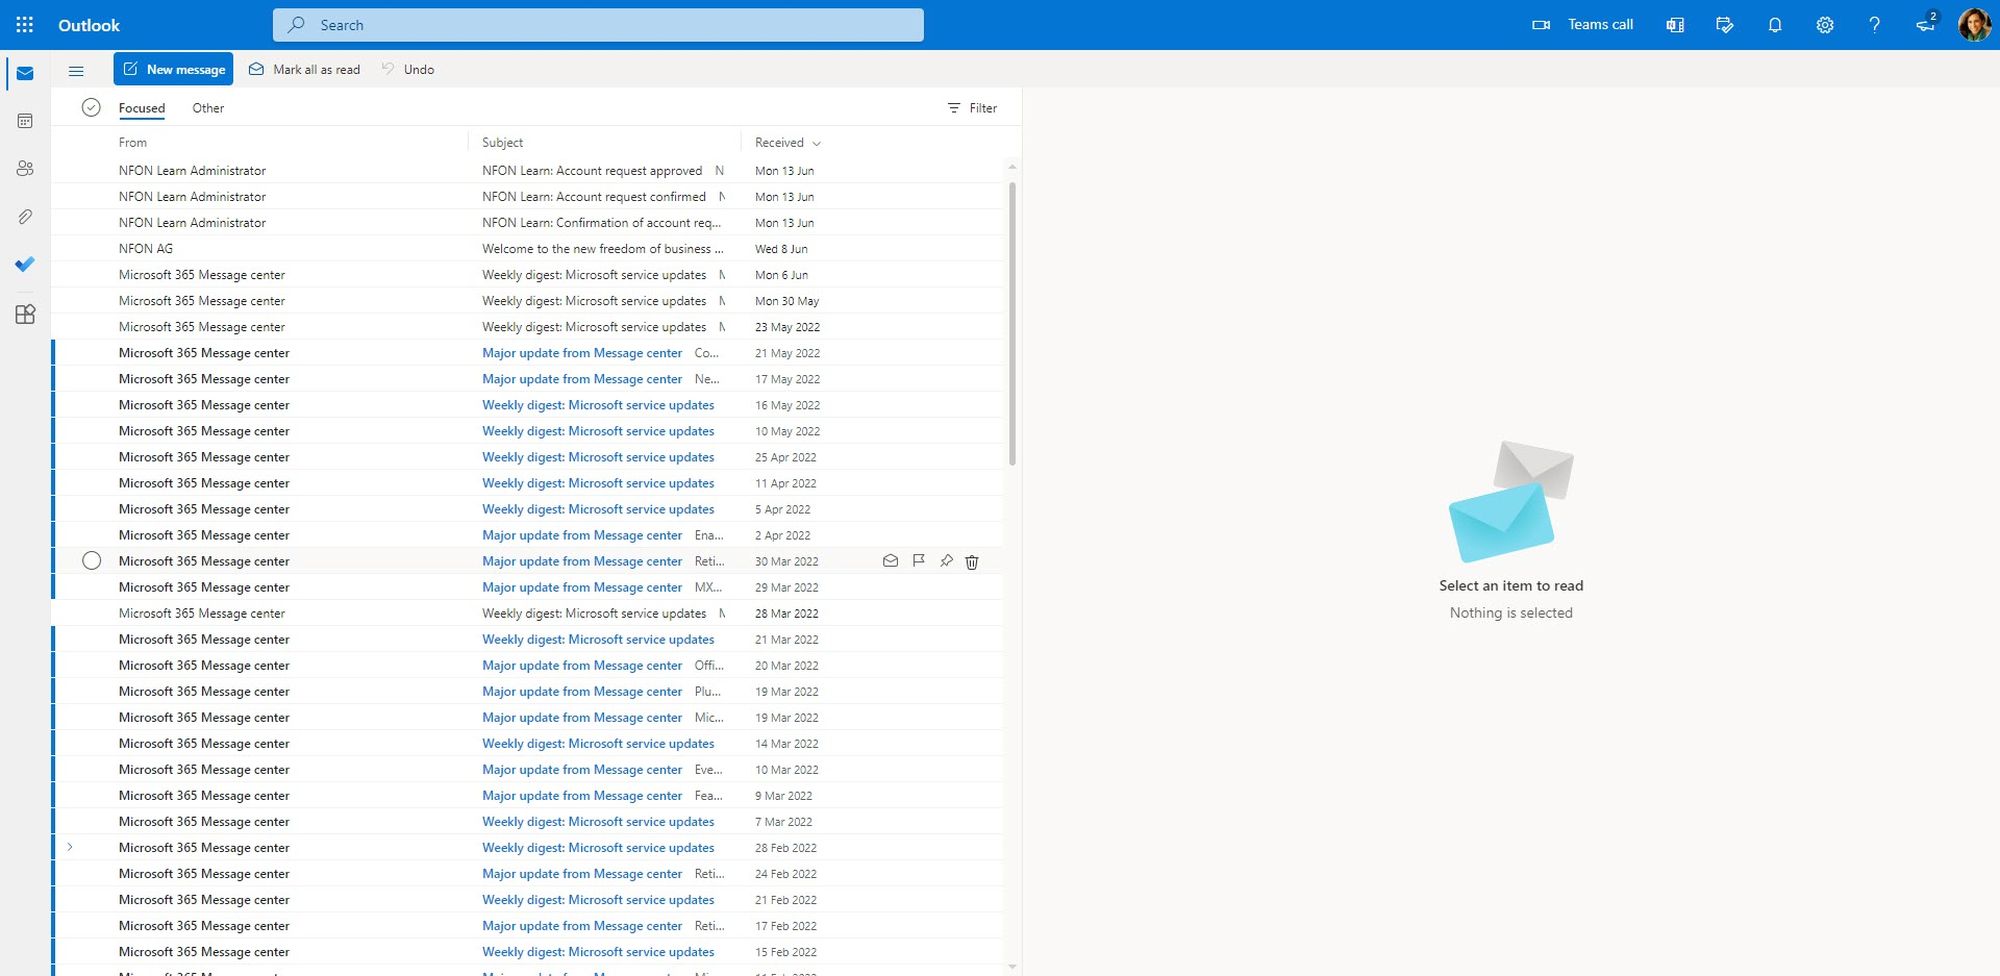
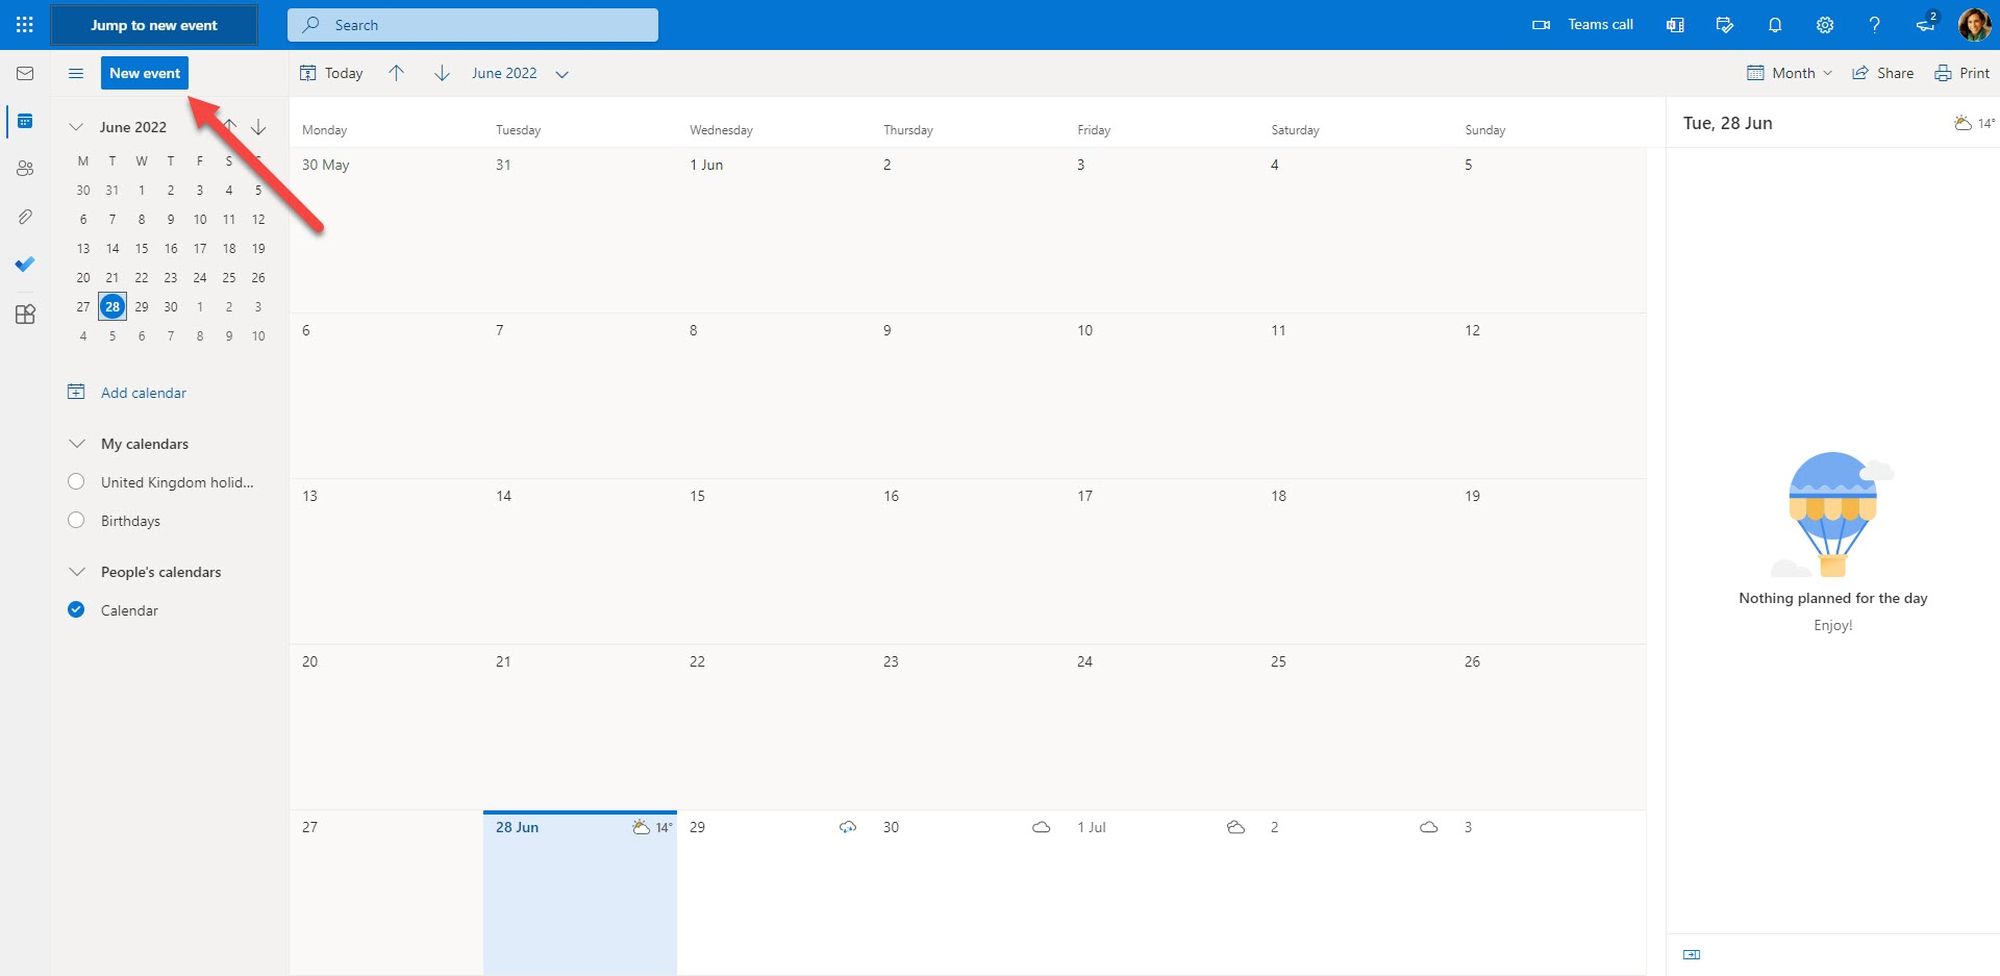
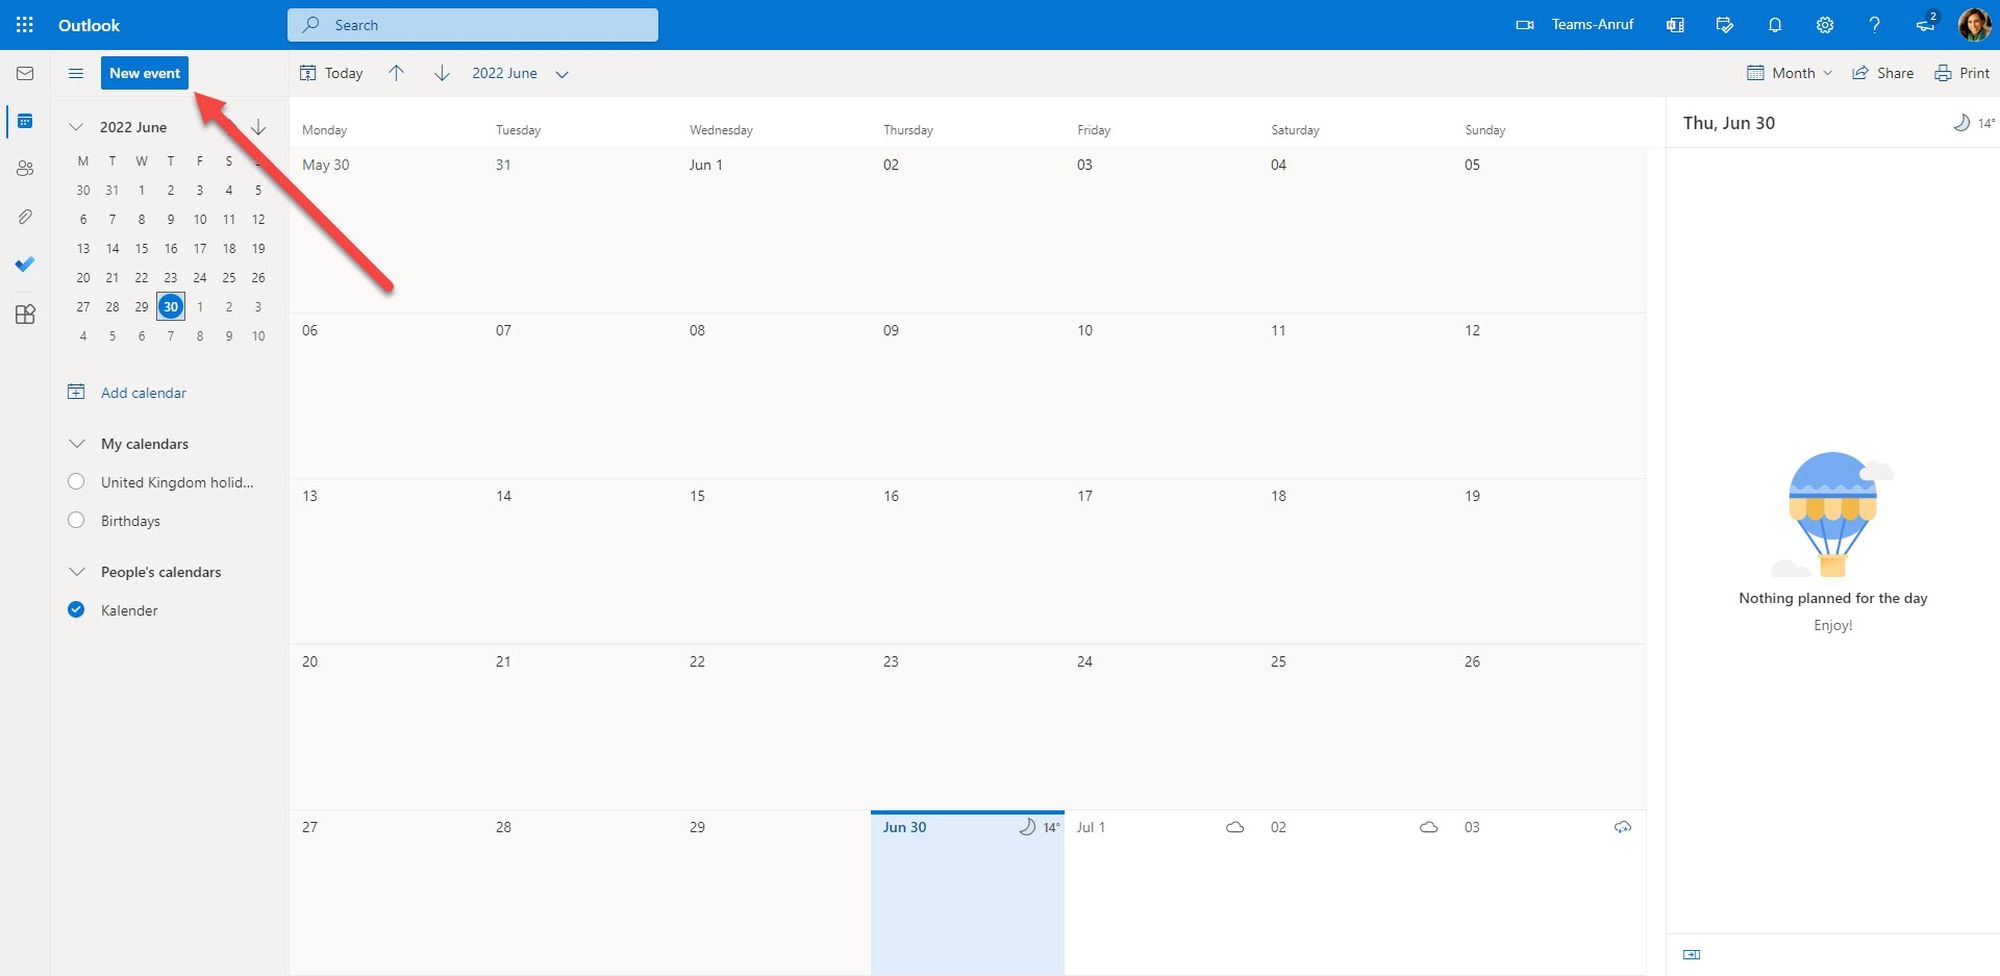
2. Click on your Calendar and create a New event. A new window for the configuration of the event opens.
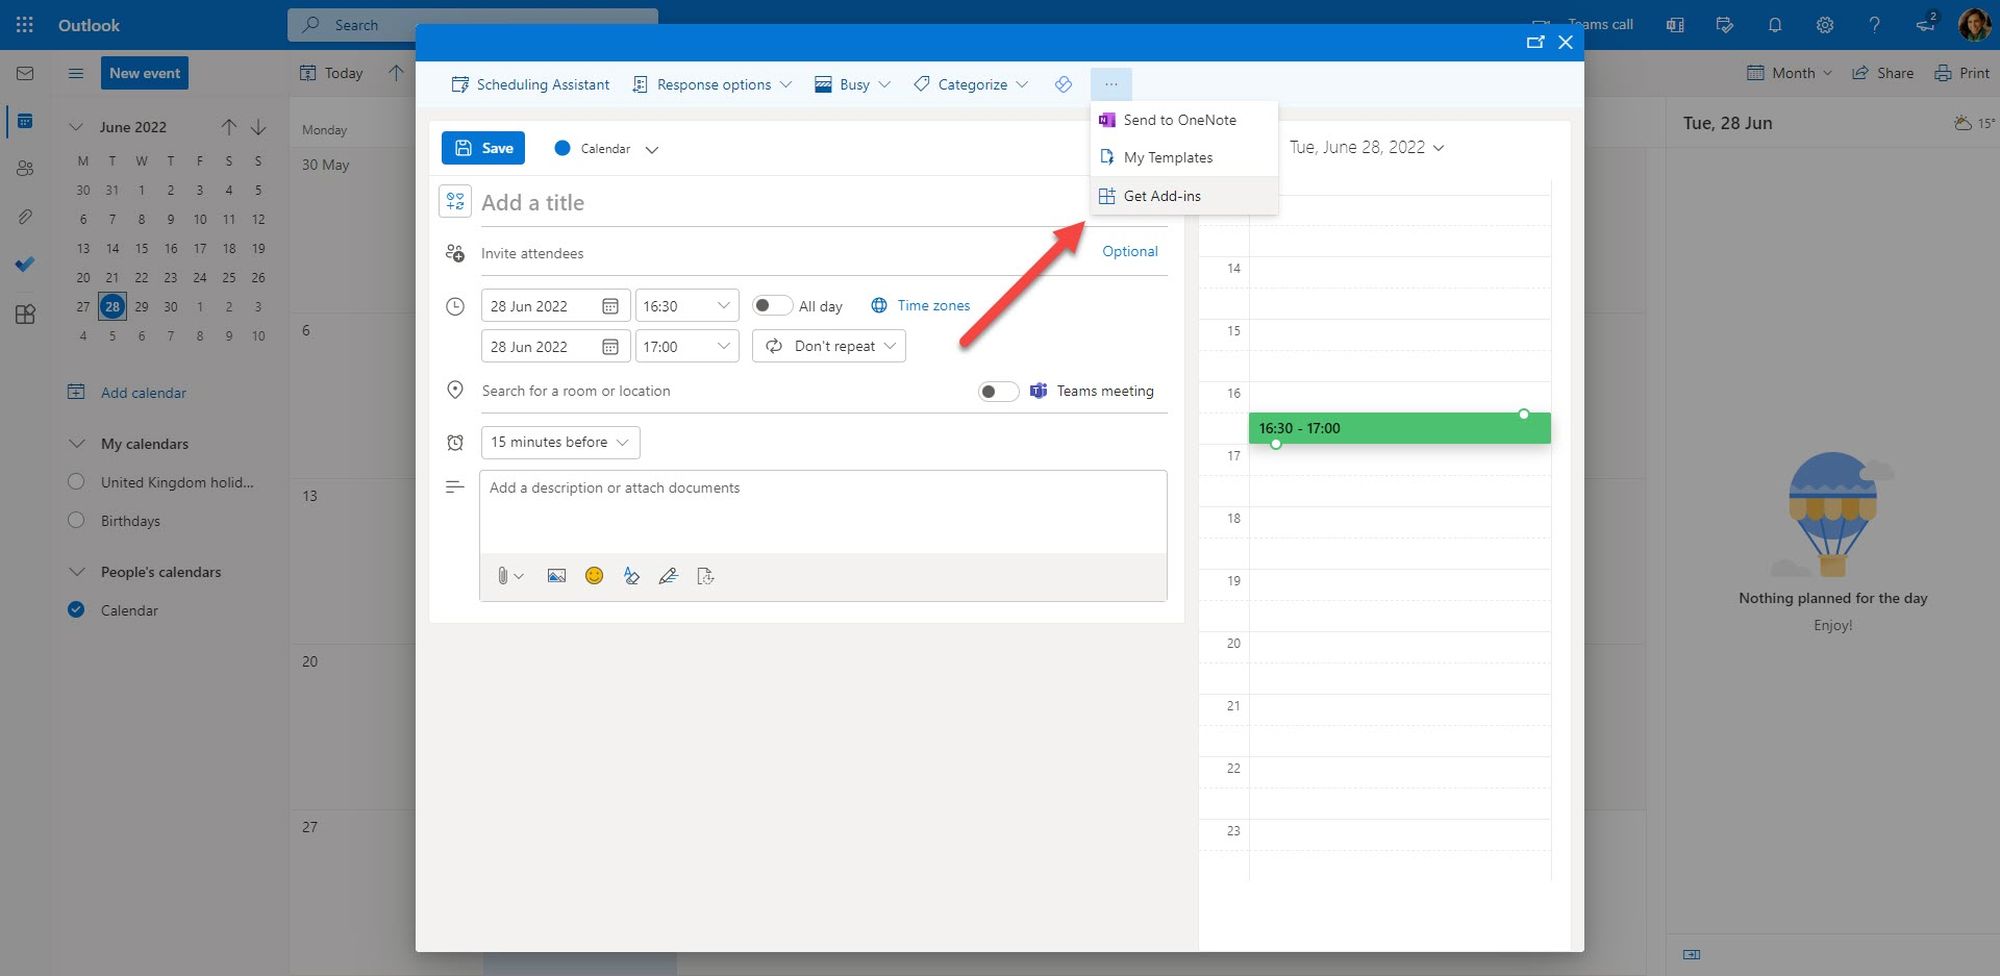
3. To open the the options menu in this window, click on the three dots in the upper right corner. Open the options menu and click on Get Add-ins.
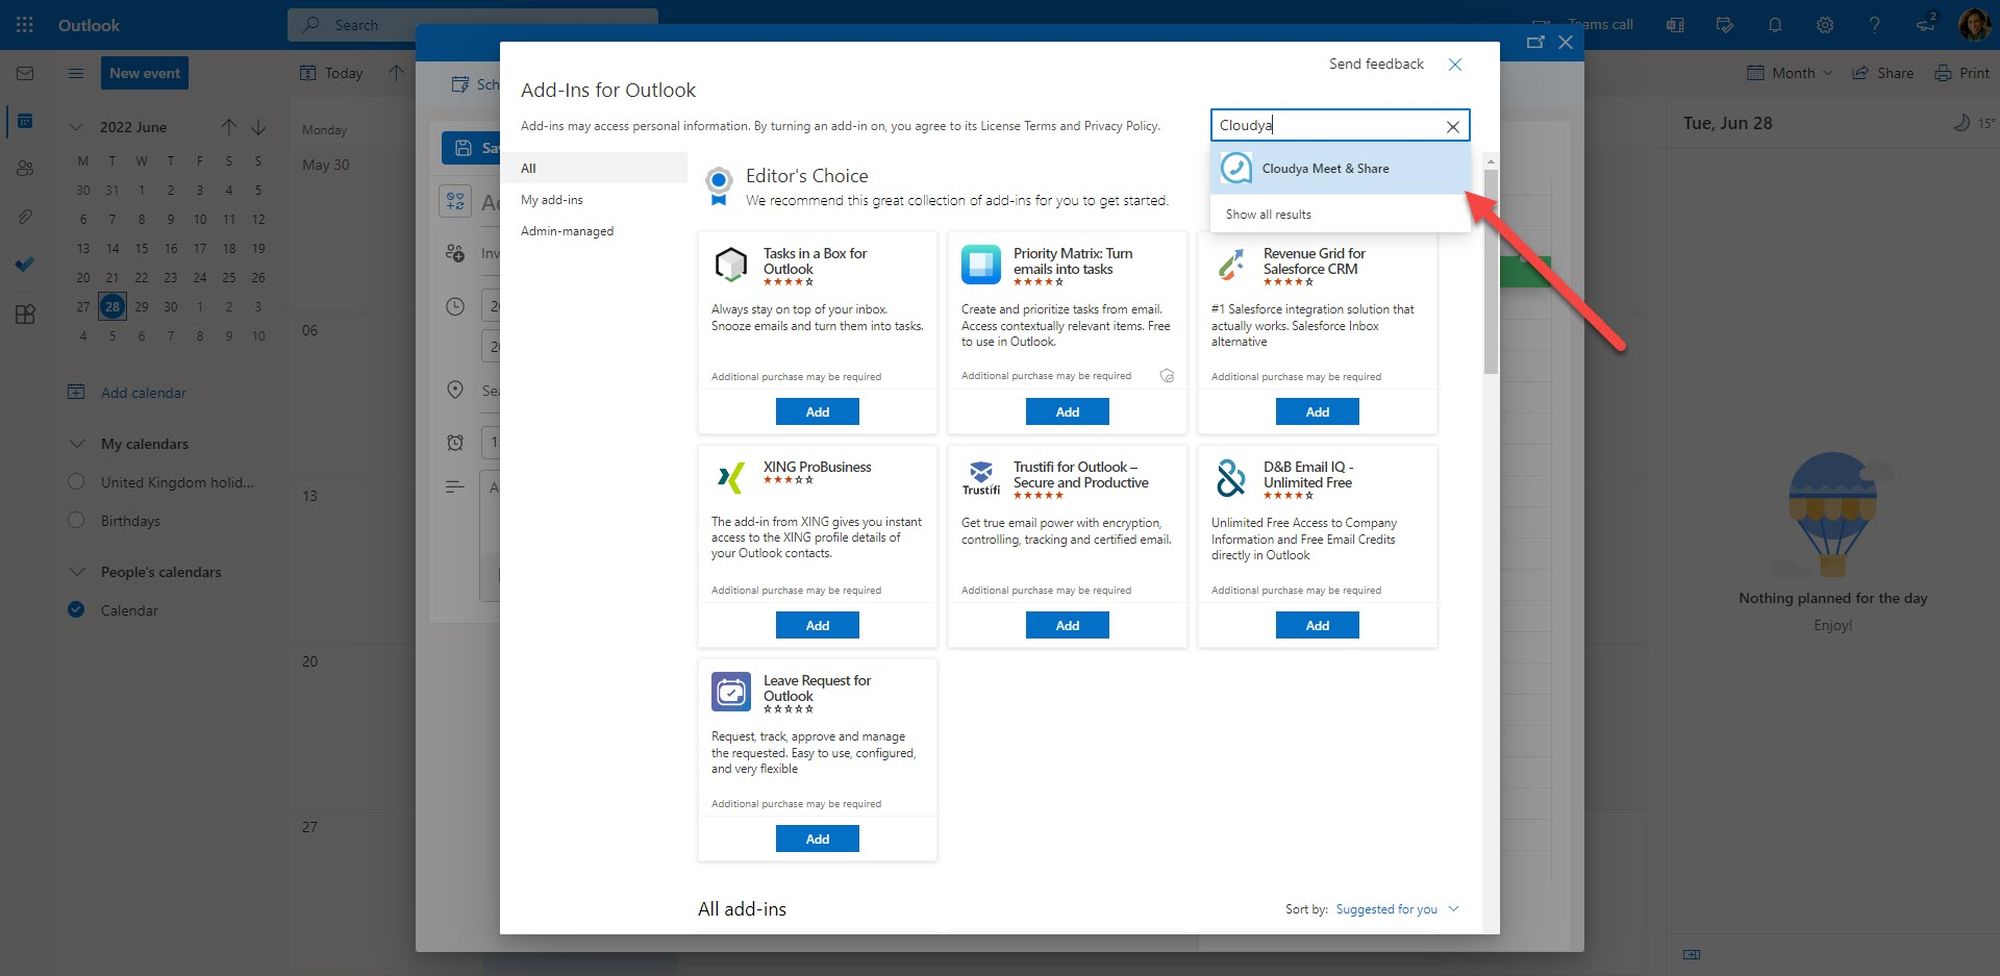
4. Search for Cloudya. Select Cloudya Meet & Share from your search results.
5. Click on Add.
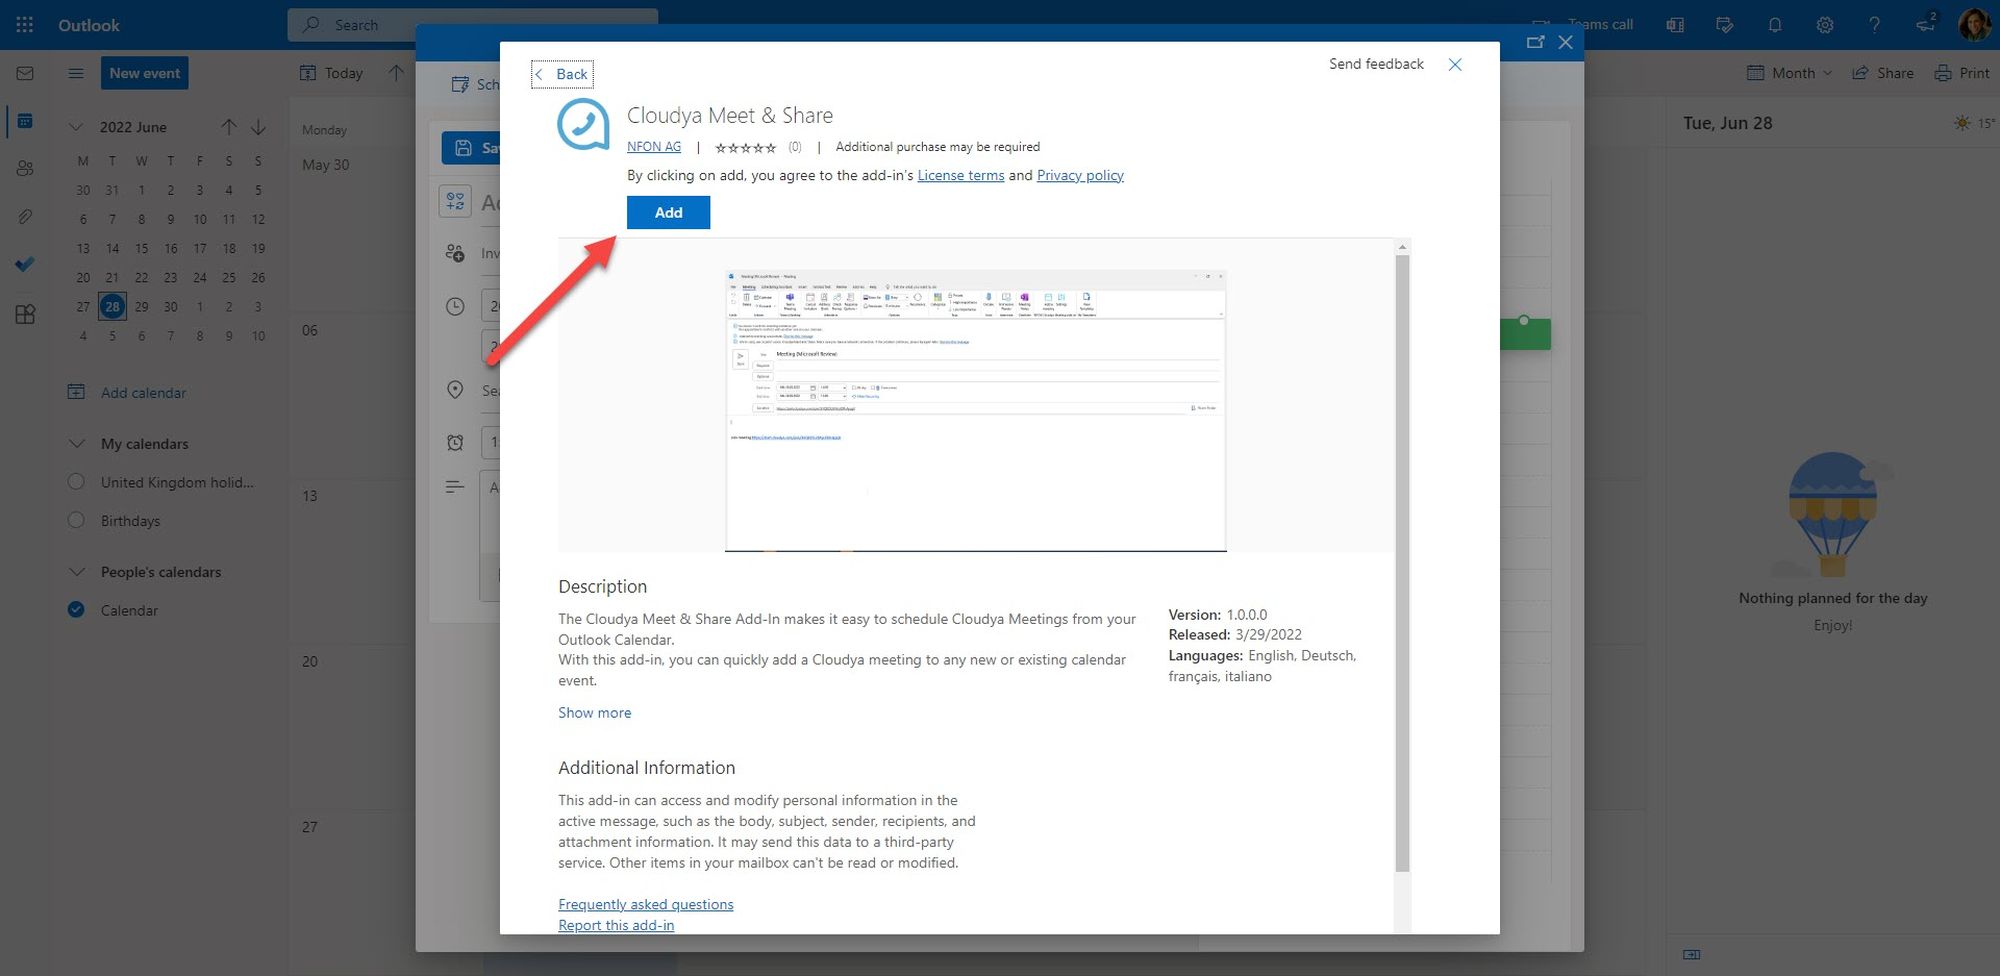
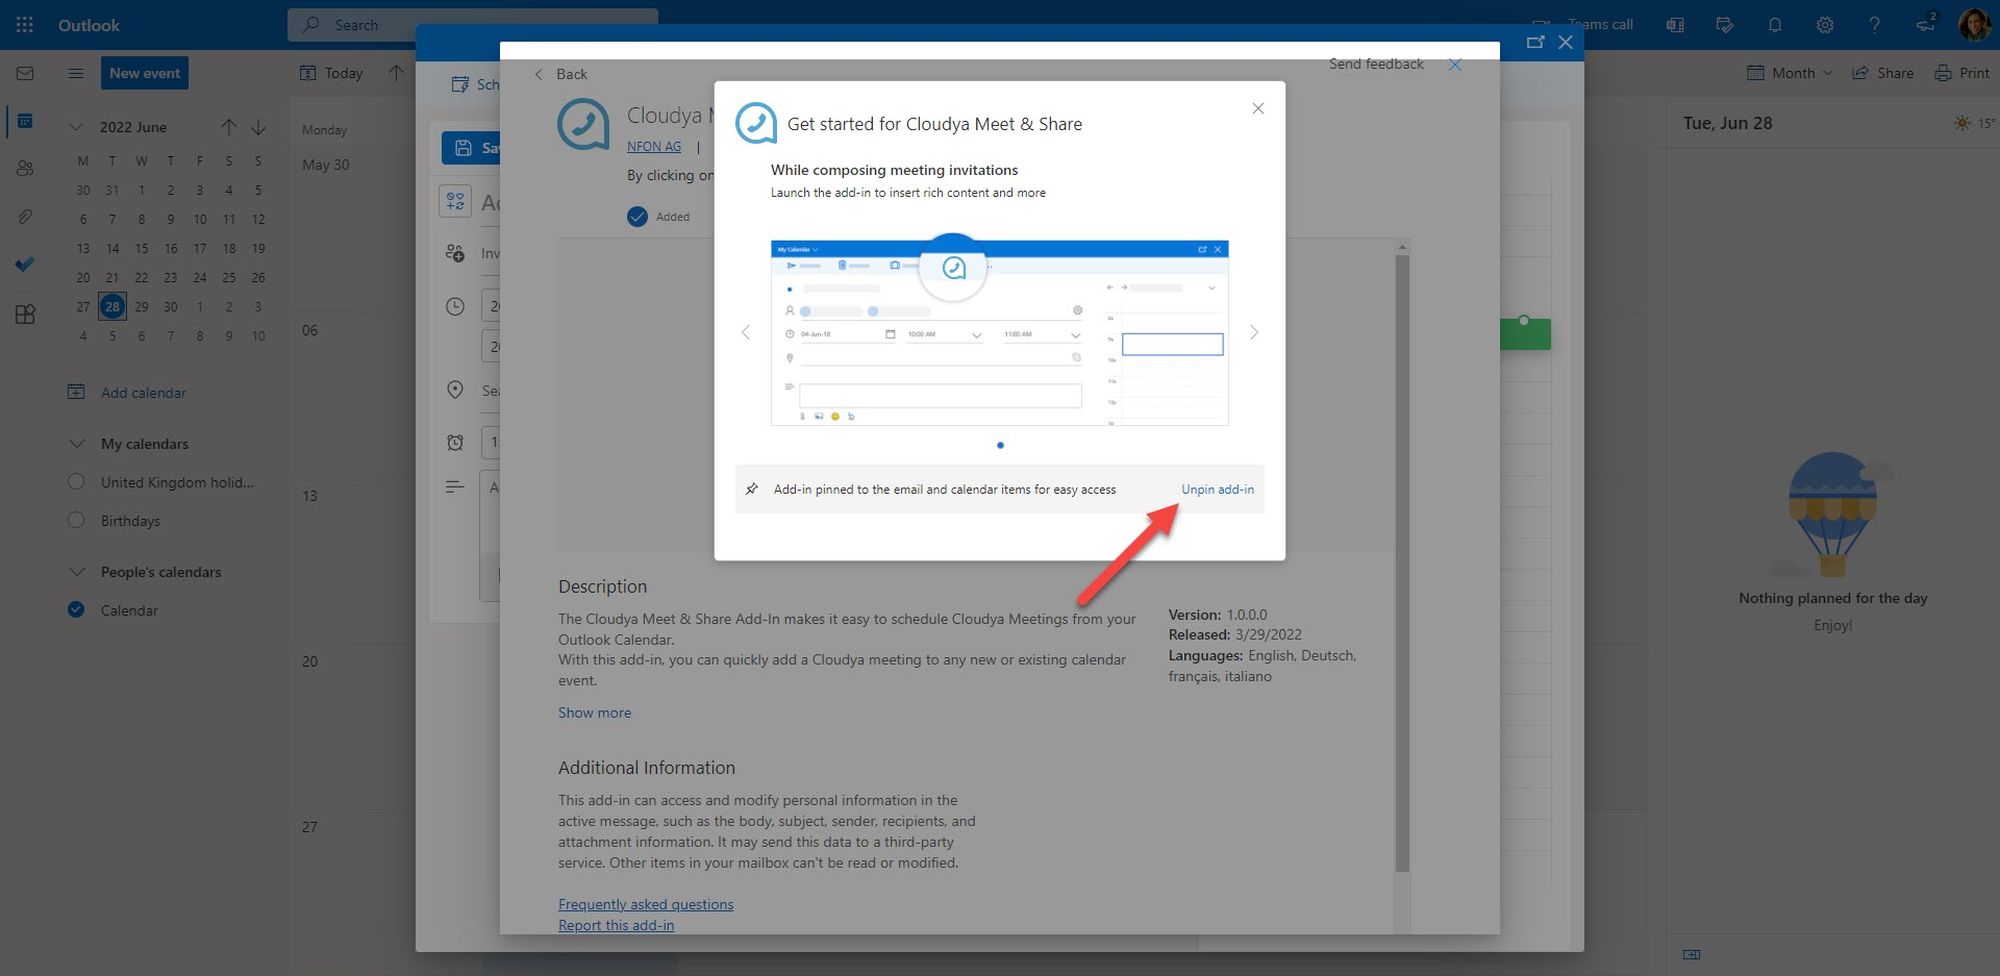
6. You have installed the Cloudya add-in. In addition, you will get a notification about the Cloudya button that has been pinned to your taskbar. If you don’t want the button to be pinned, click on Unpin Add-in in the bottom right-hand corner. You can still use the Cloudy add-in via the options menu.
10.1.2 Installing the Cloudya Meet & Share Add-in as Admin
Installing the Cloudya Meet & Share Add-in as Admin
1. Open the Microsoft 365 admin center.
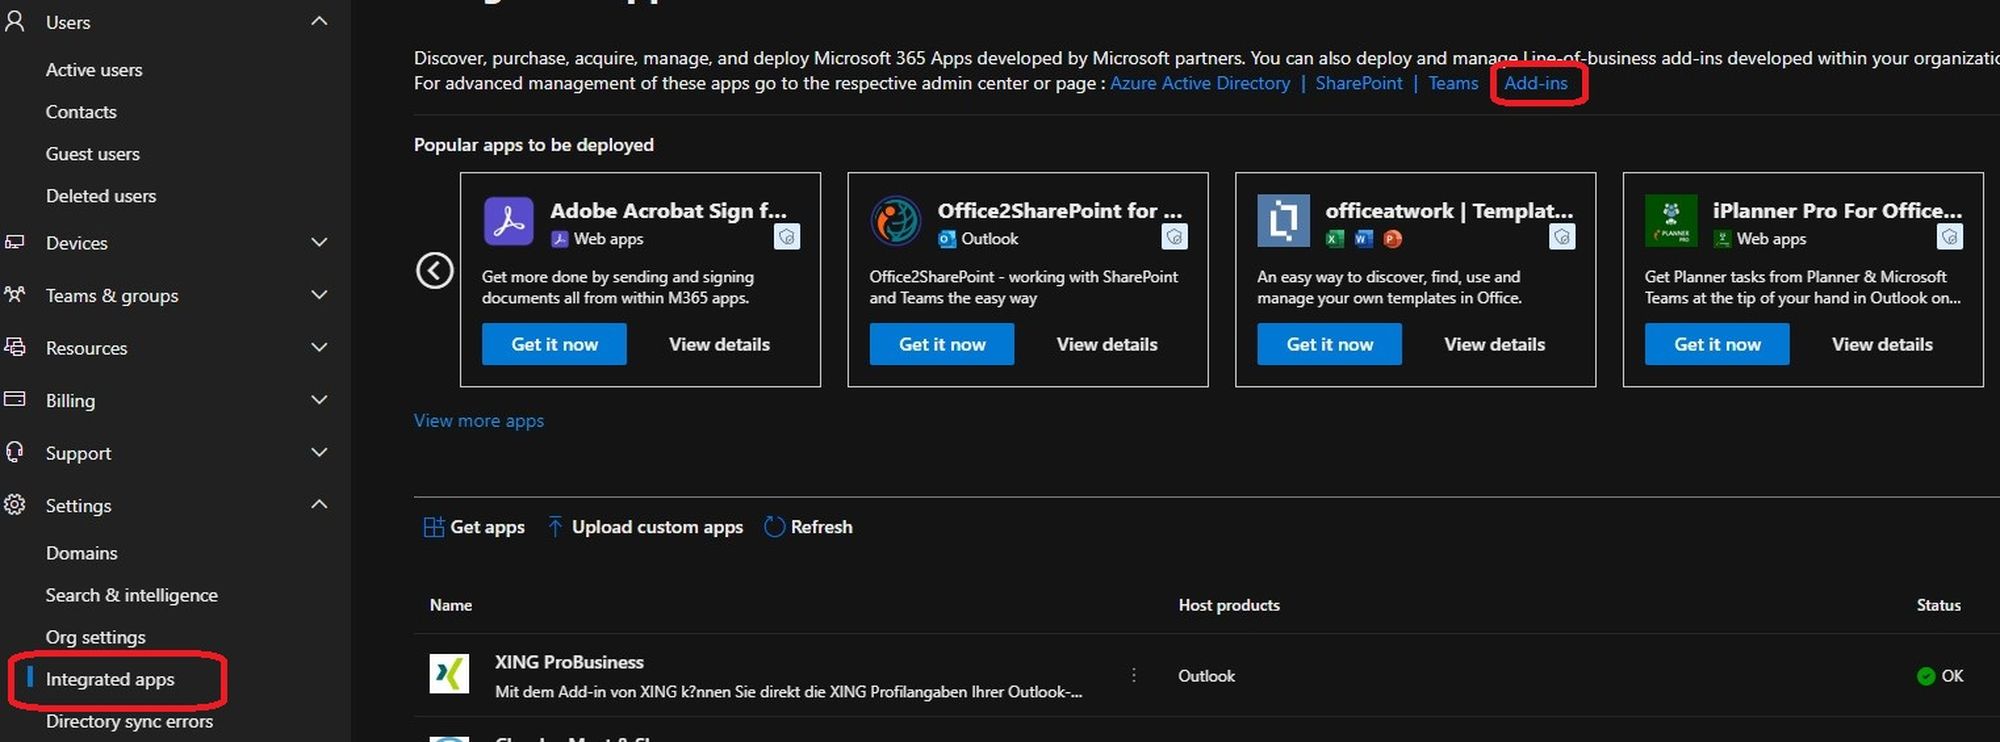
2. Go to Integrated apps under Settings > Integrated apps in the menu on the left hand side and click on Add-ins.
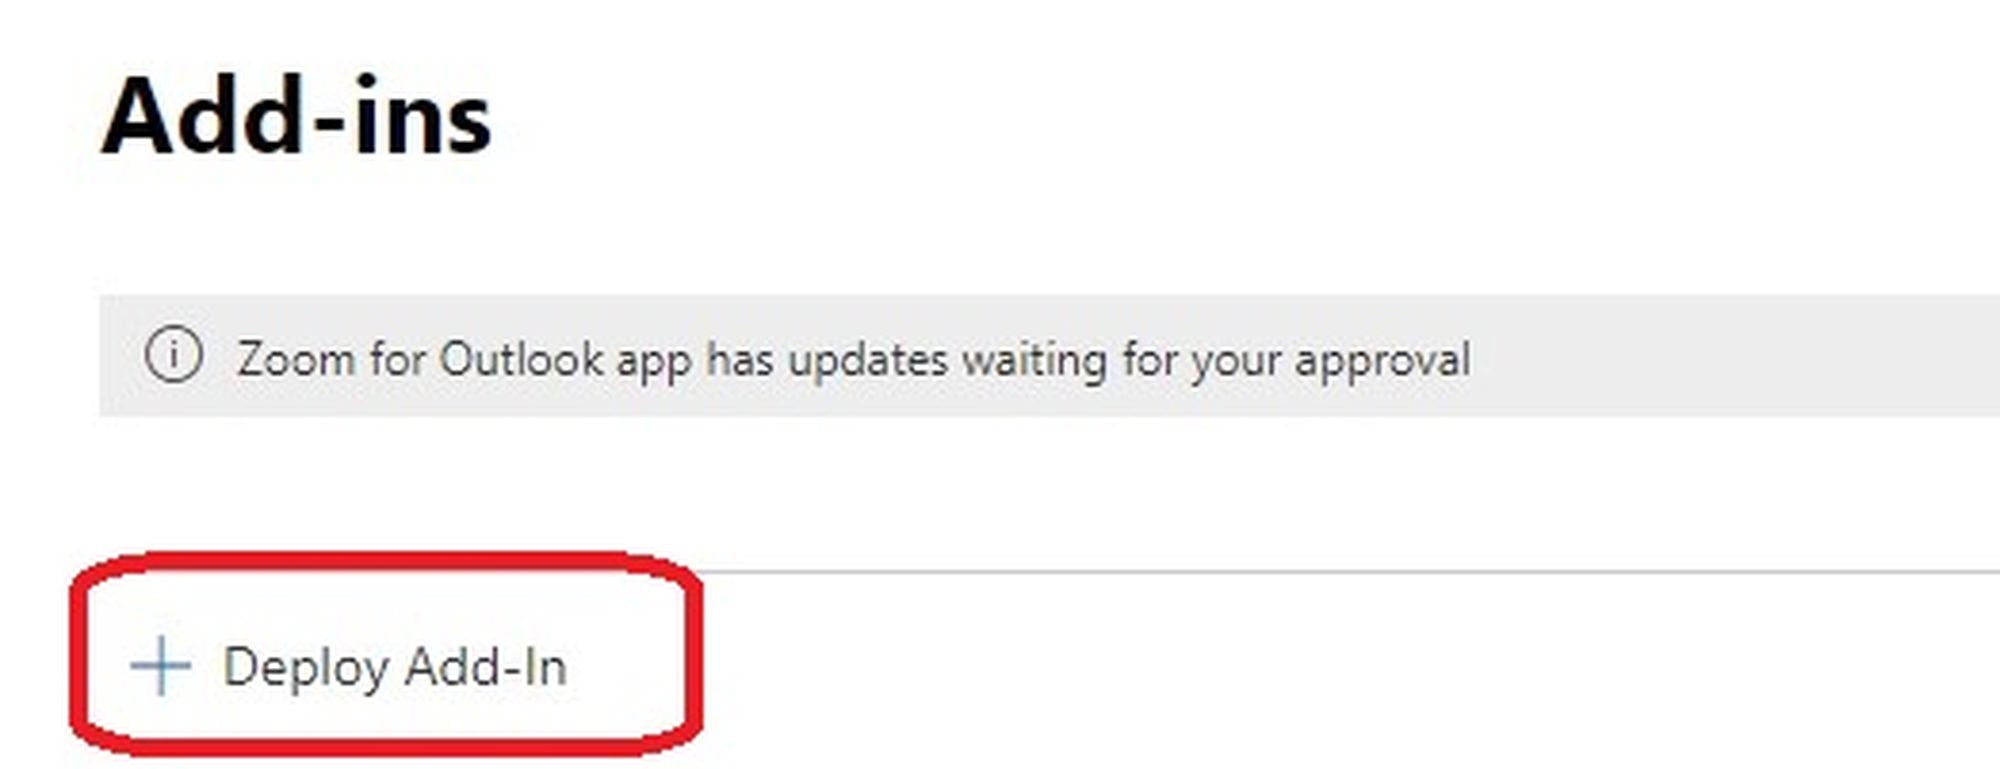
3. A new window will open, click on Deploy Add-in .
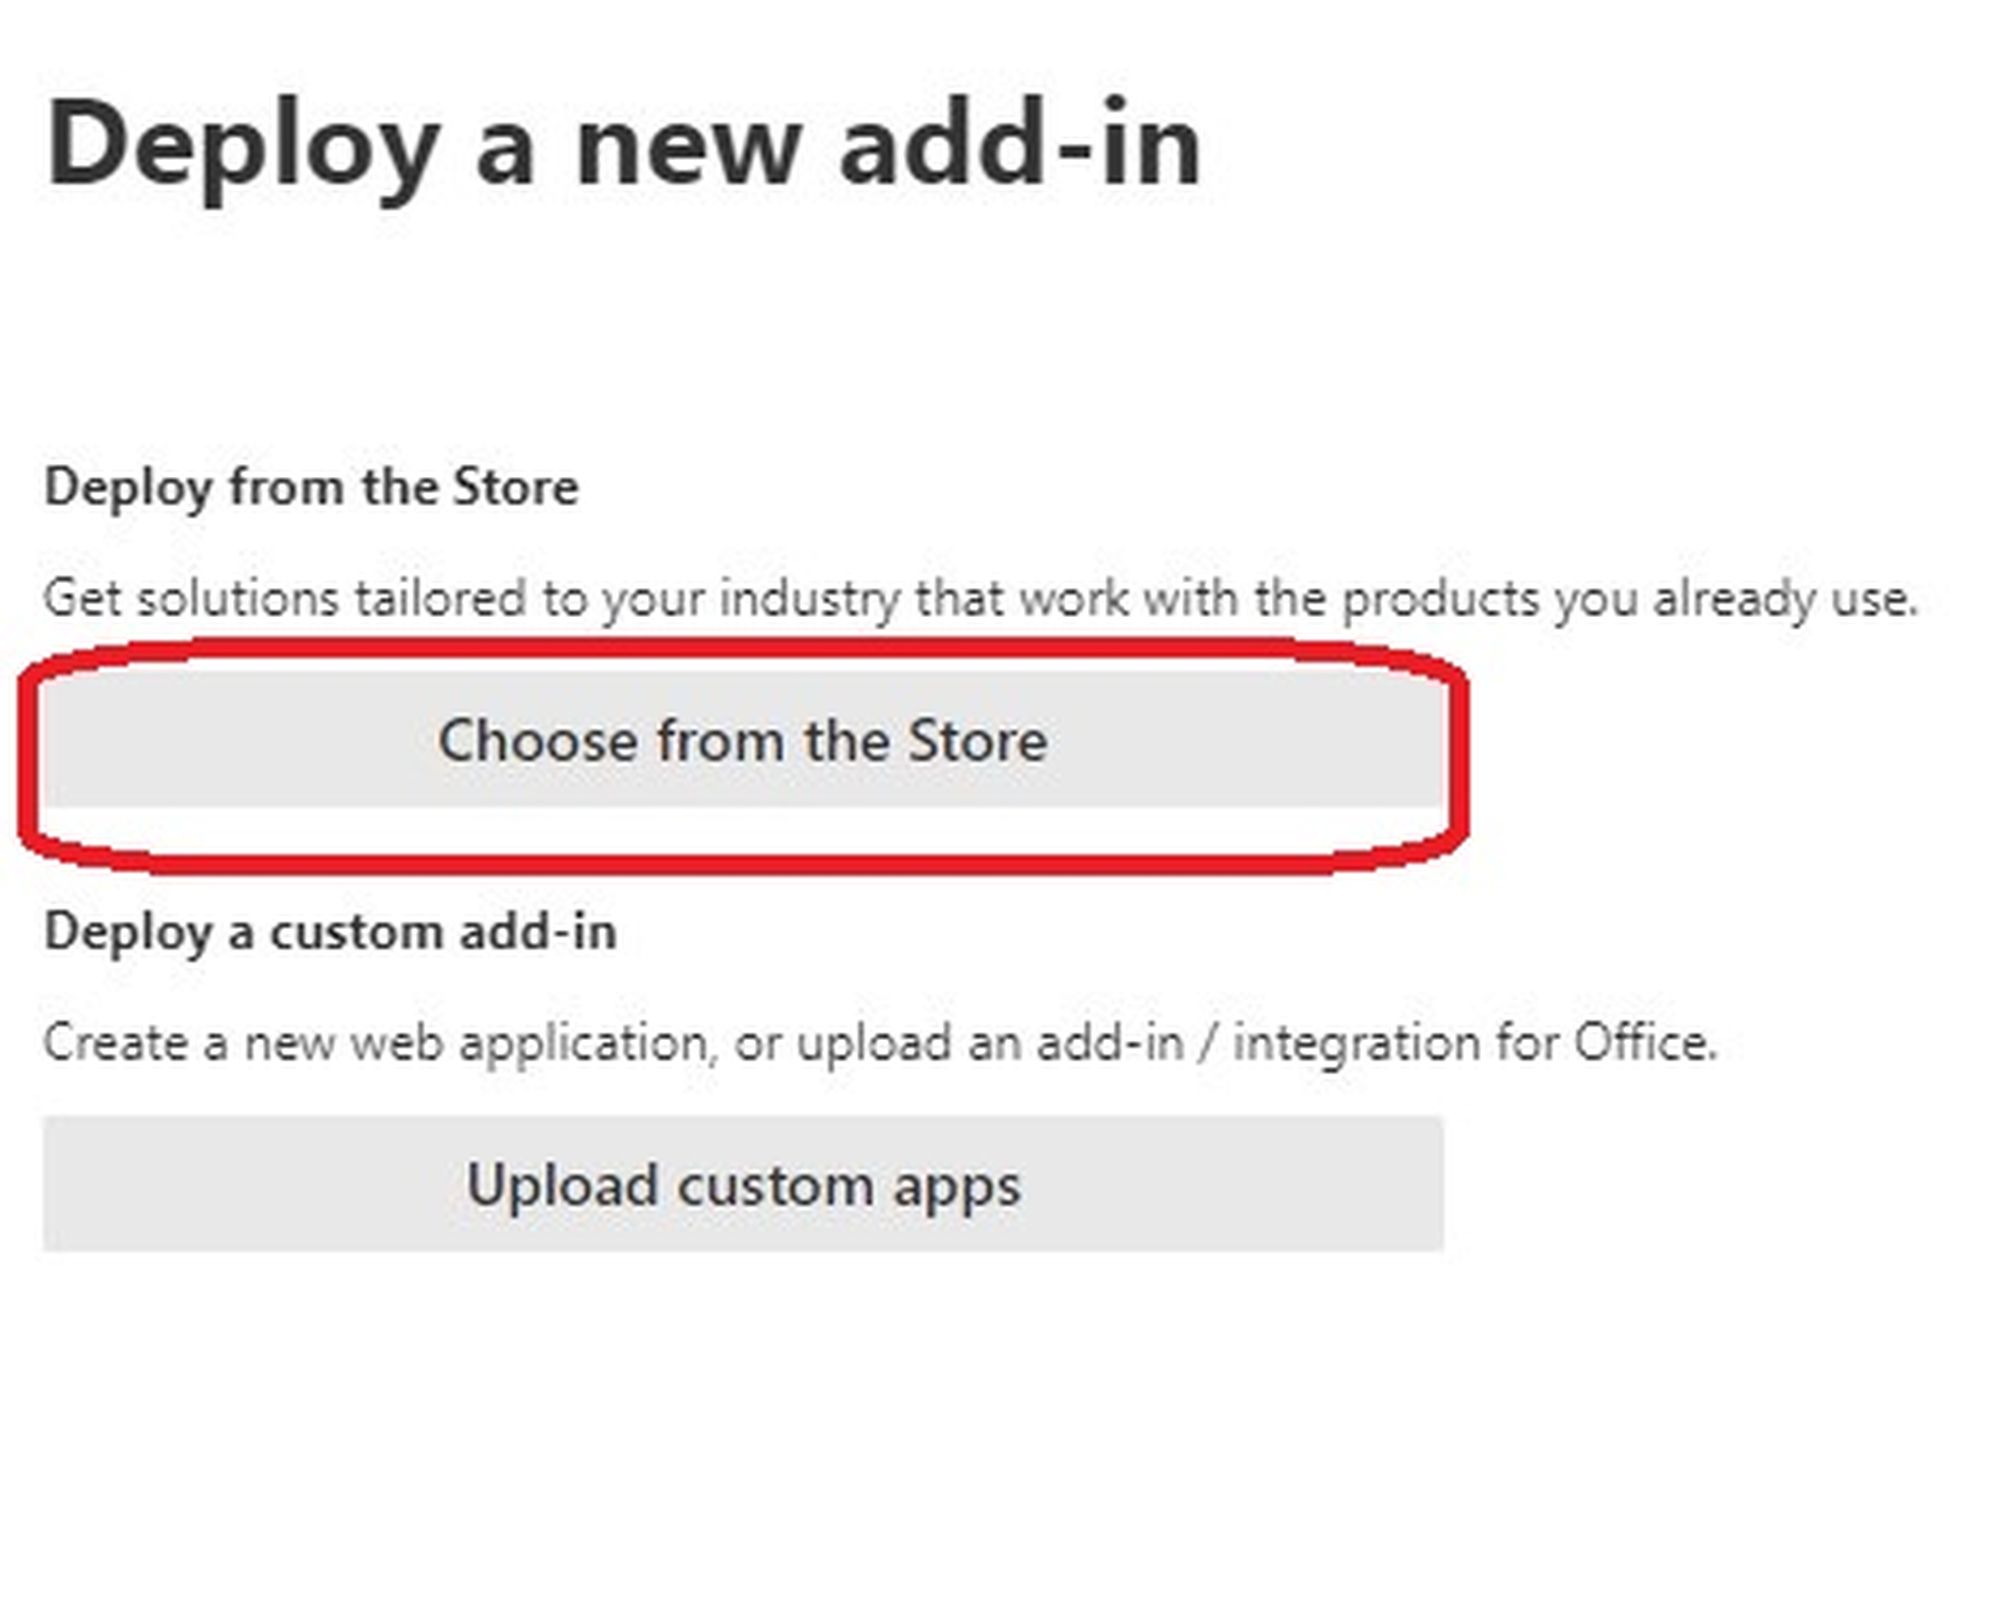
4. In the "Deploy a new add-in" window, click Next and then Choose from the Store.
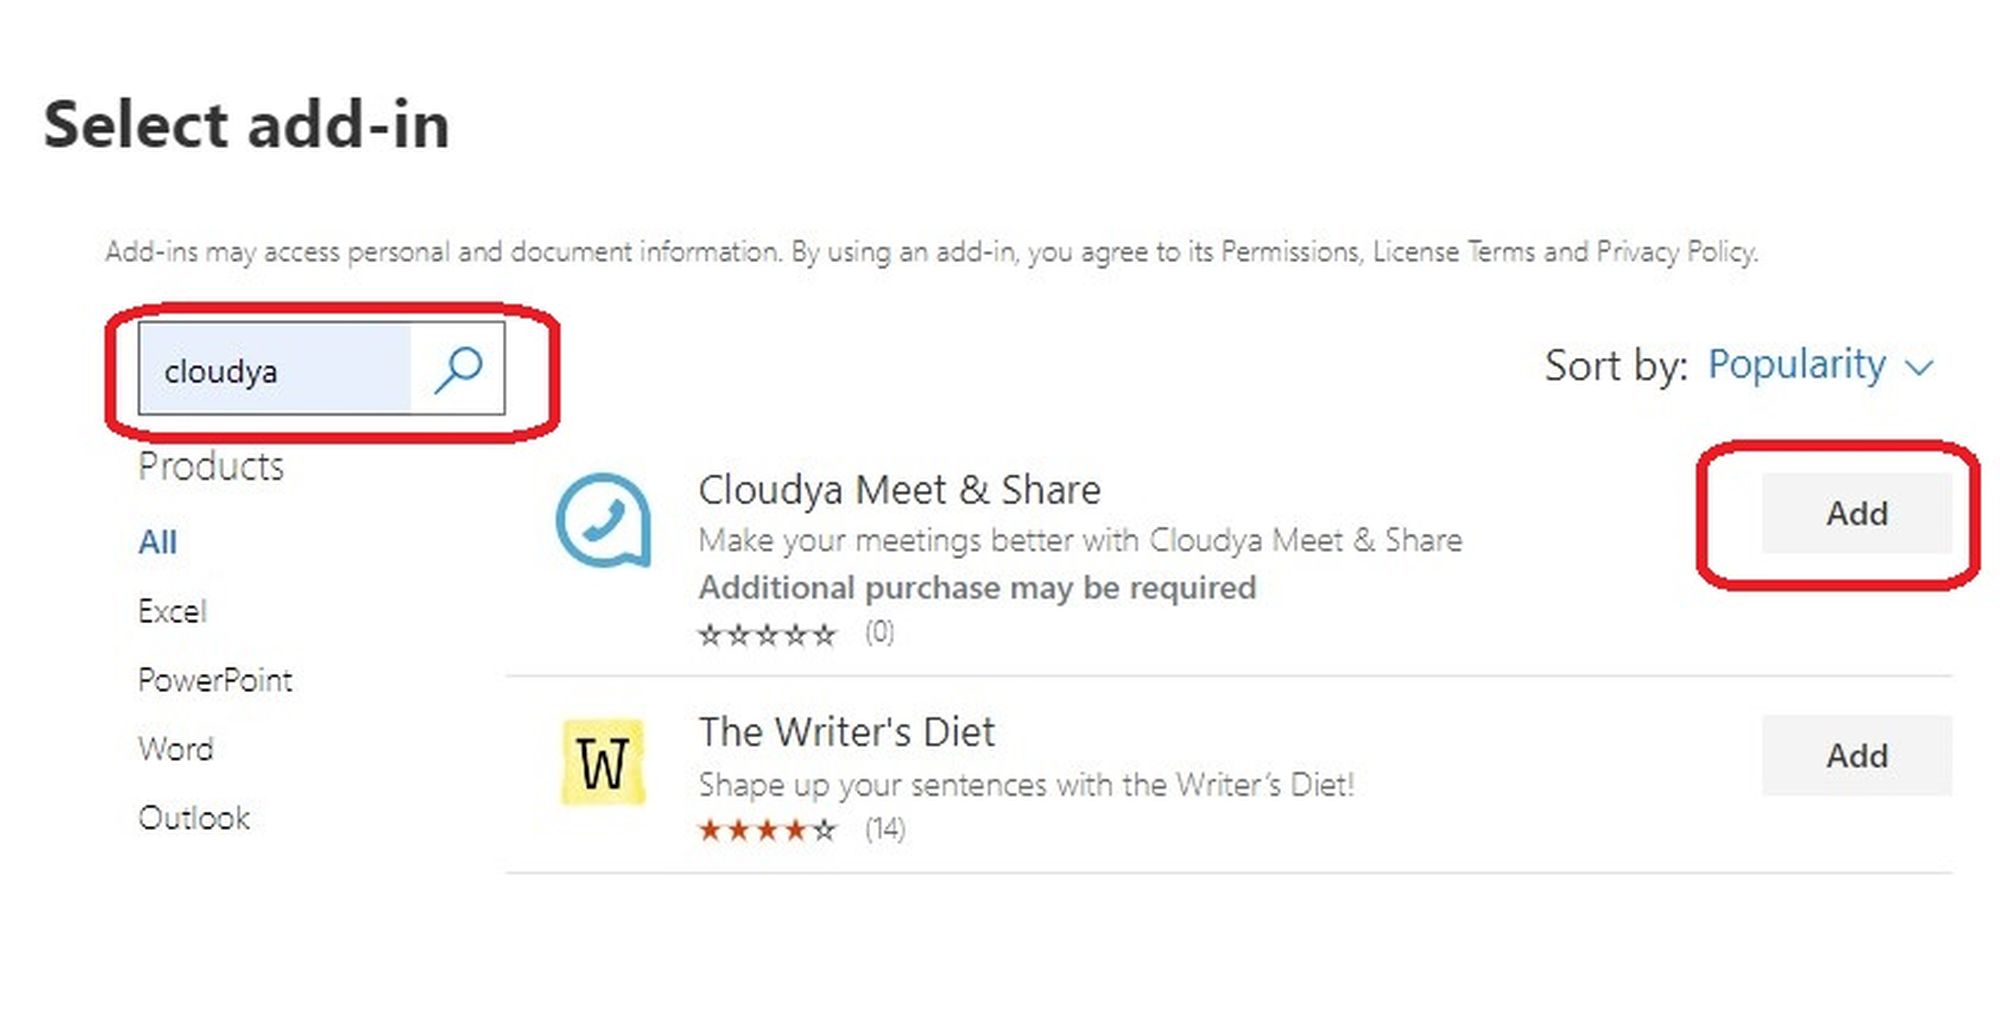
5. Search for "Cloudya Meet & Share" in the store and click on Add. To install the add-in, you have to agree the license terms and privacy policy by clicking on Continue.
10.2 Creating a Cloudya Meet & Share Meeting
Creating a Cloudya Meet & Share Meeting in Outlook
1. Open your Outlook calendar and create a new event (meeting or appointment).
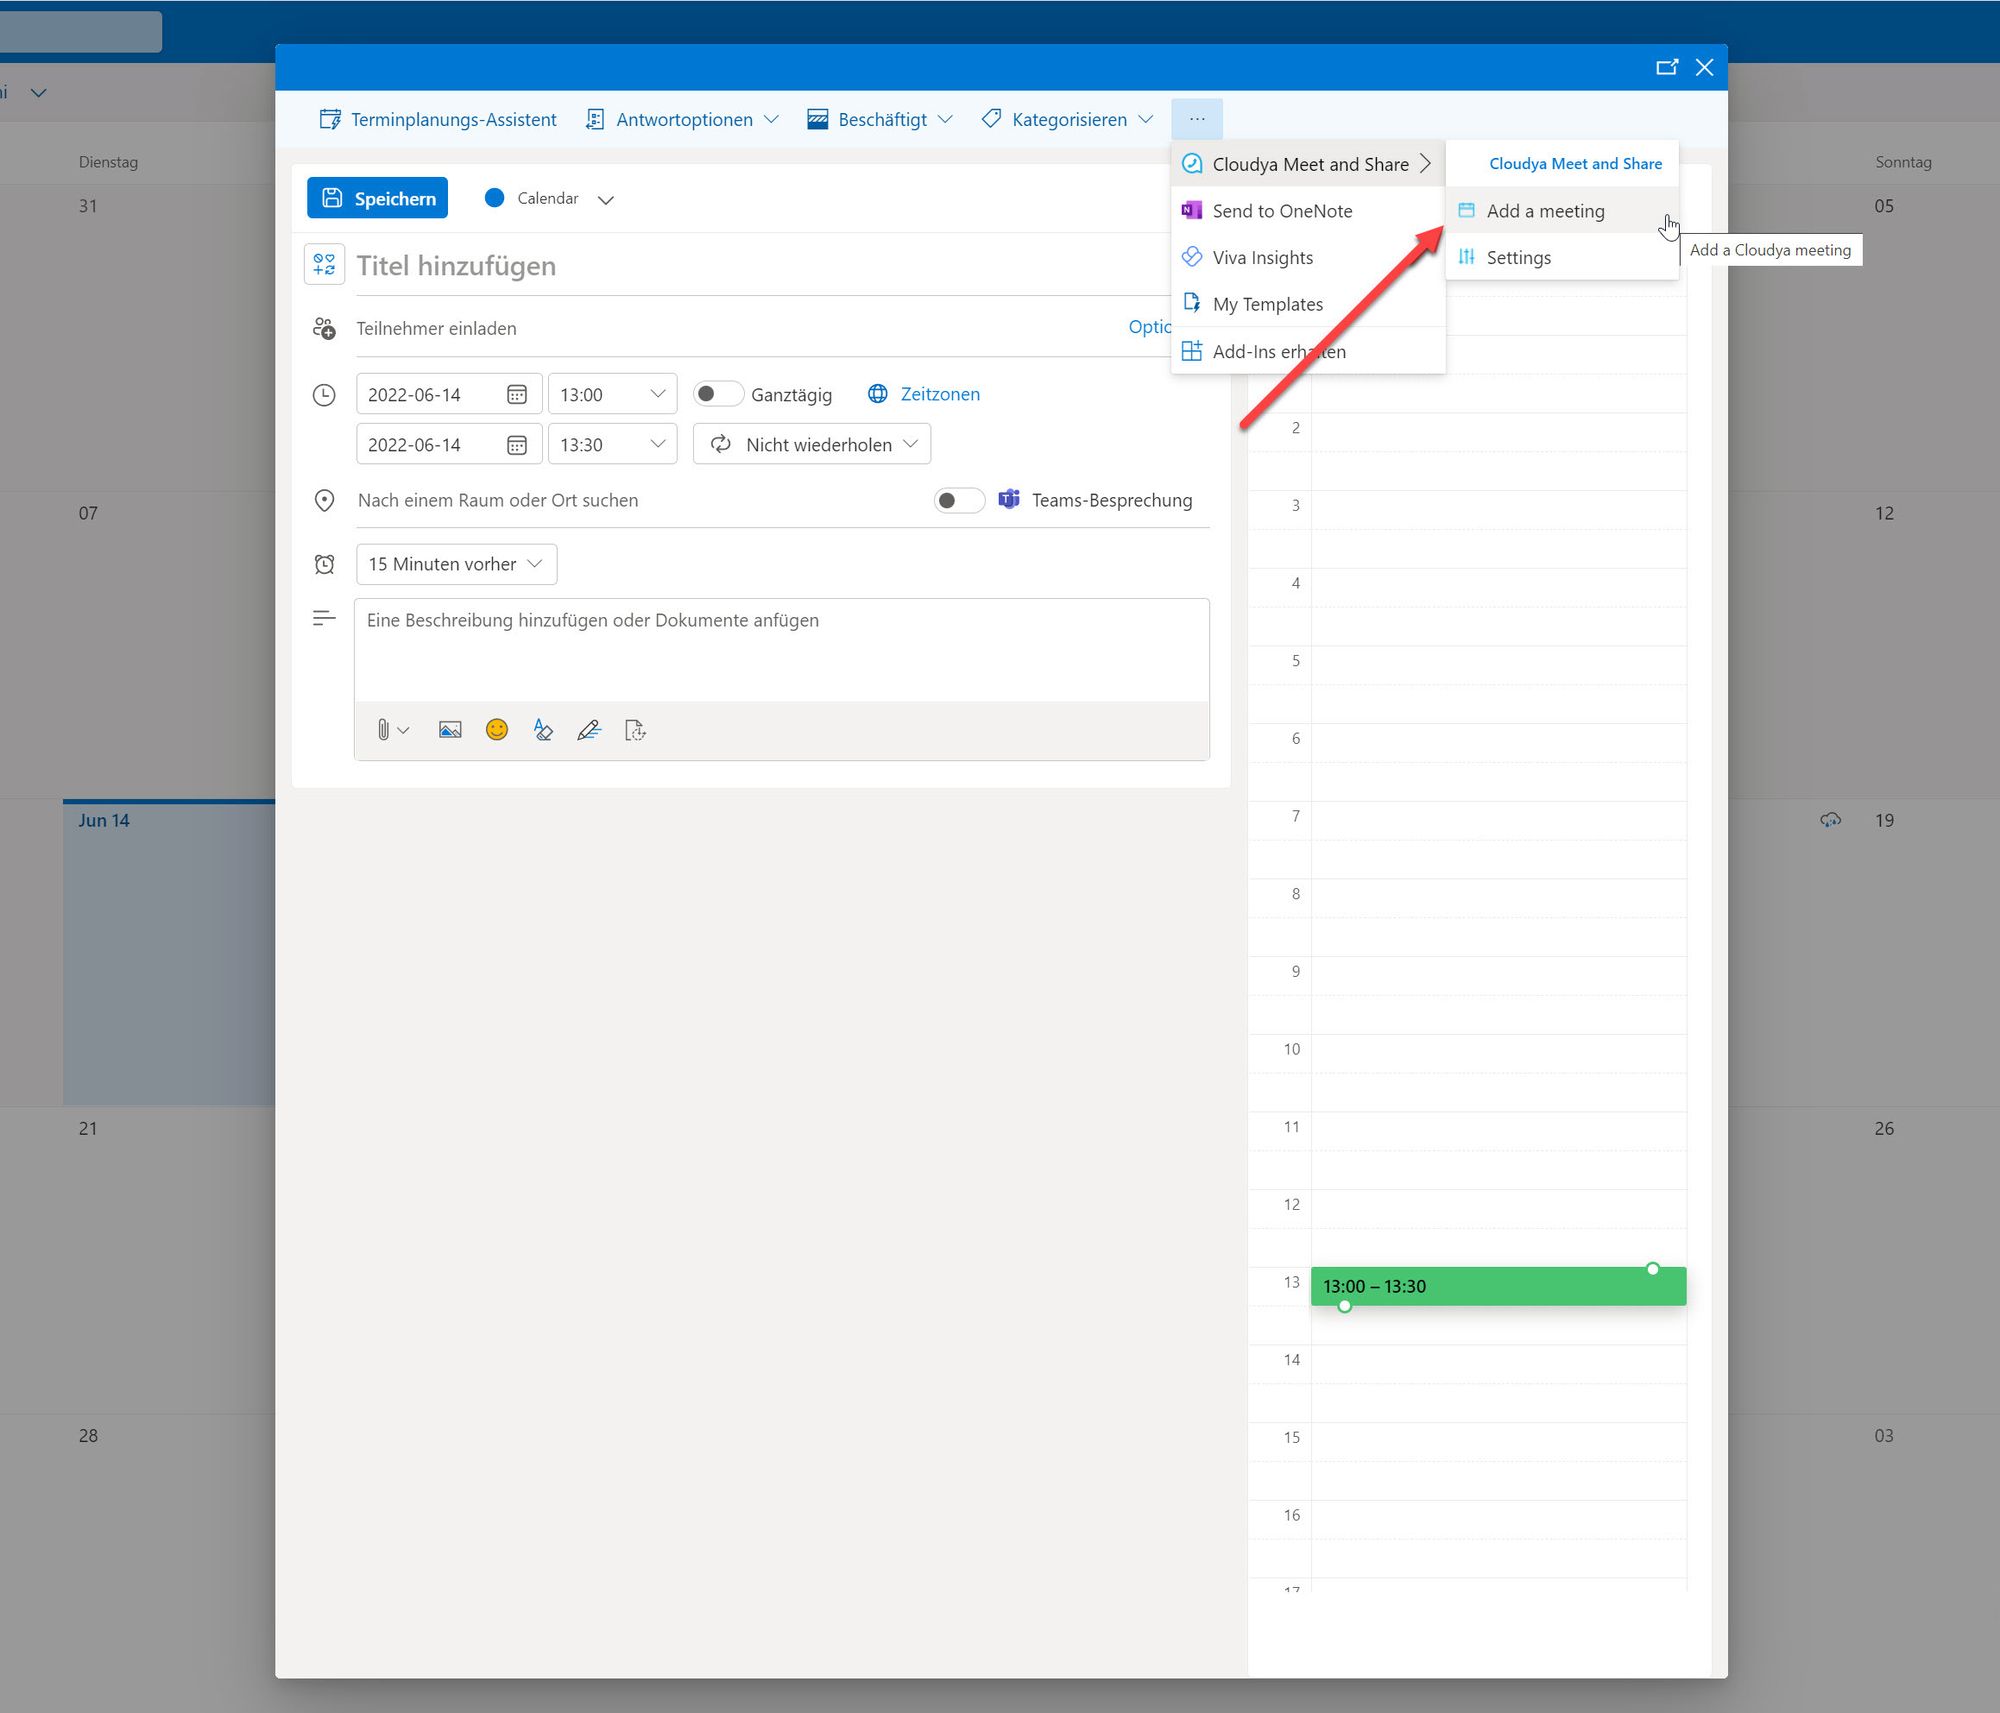
2. Open the options menu in the upper right-hand corner. Choose the Cloudya Meet & Share option and click on Add a meeting.
3. If you are not logged in to Cloudya, a login screen will automatically appear. Enter your Cloudya credentials.
You can skip this step if you are already logged in to your Cloudya account.
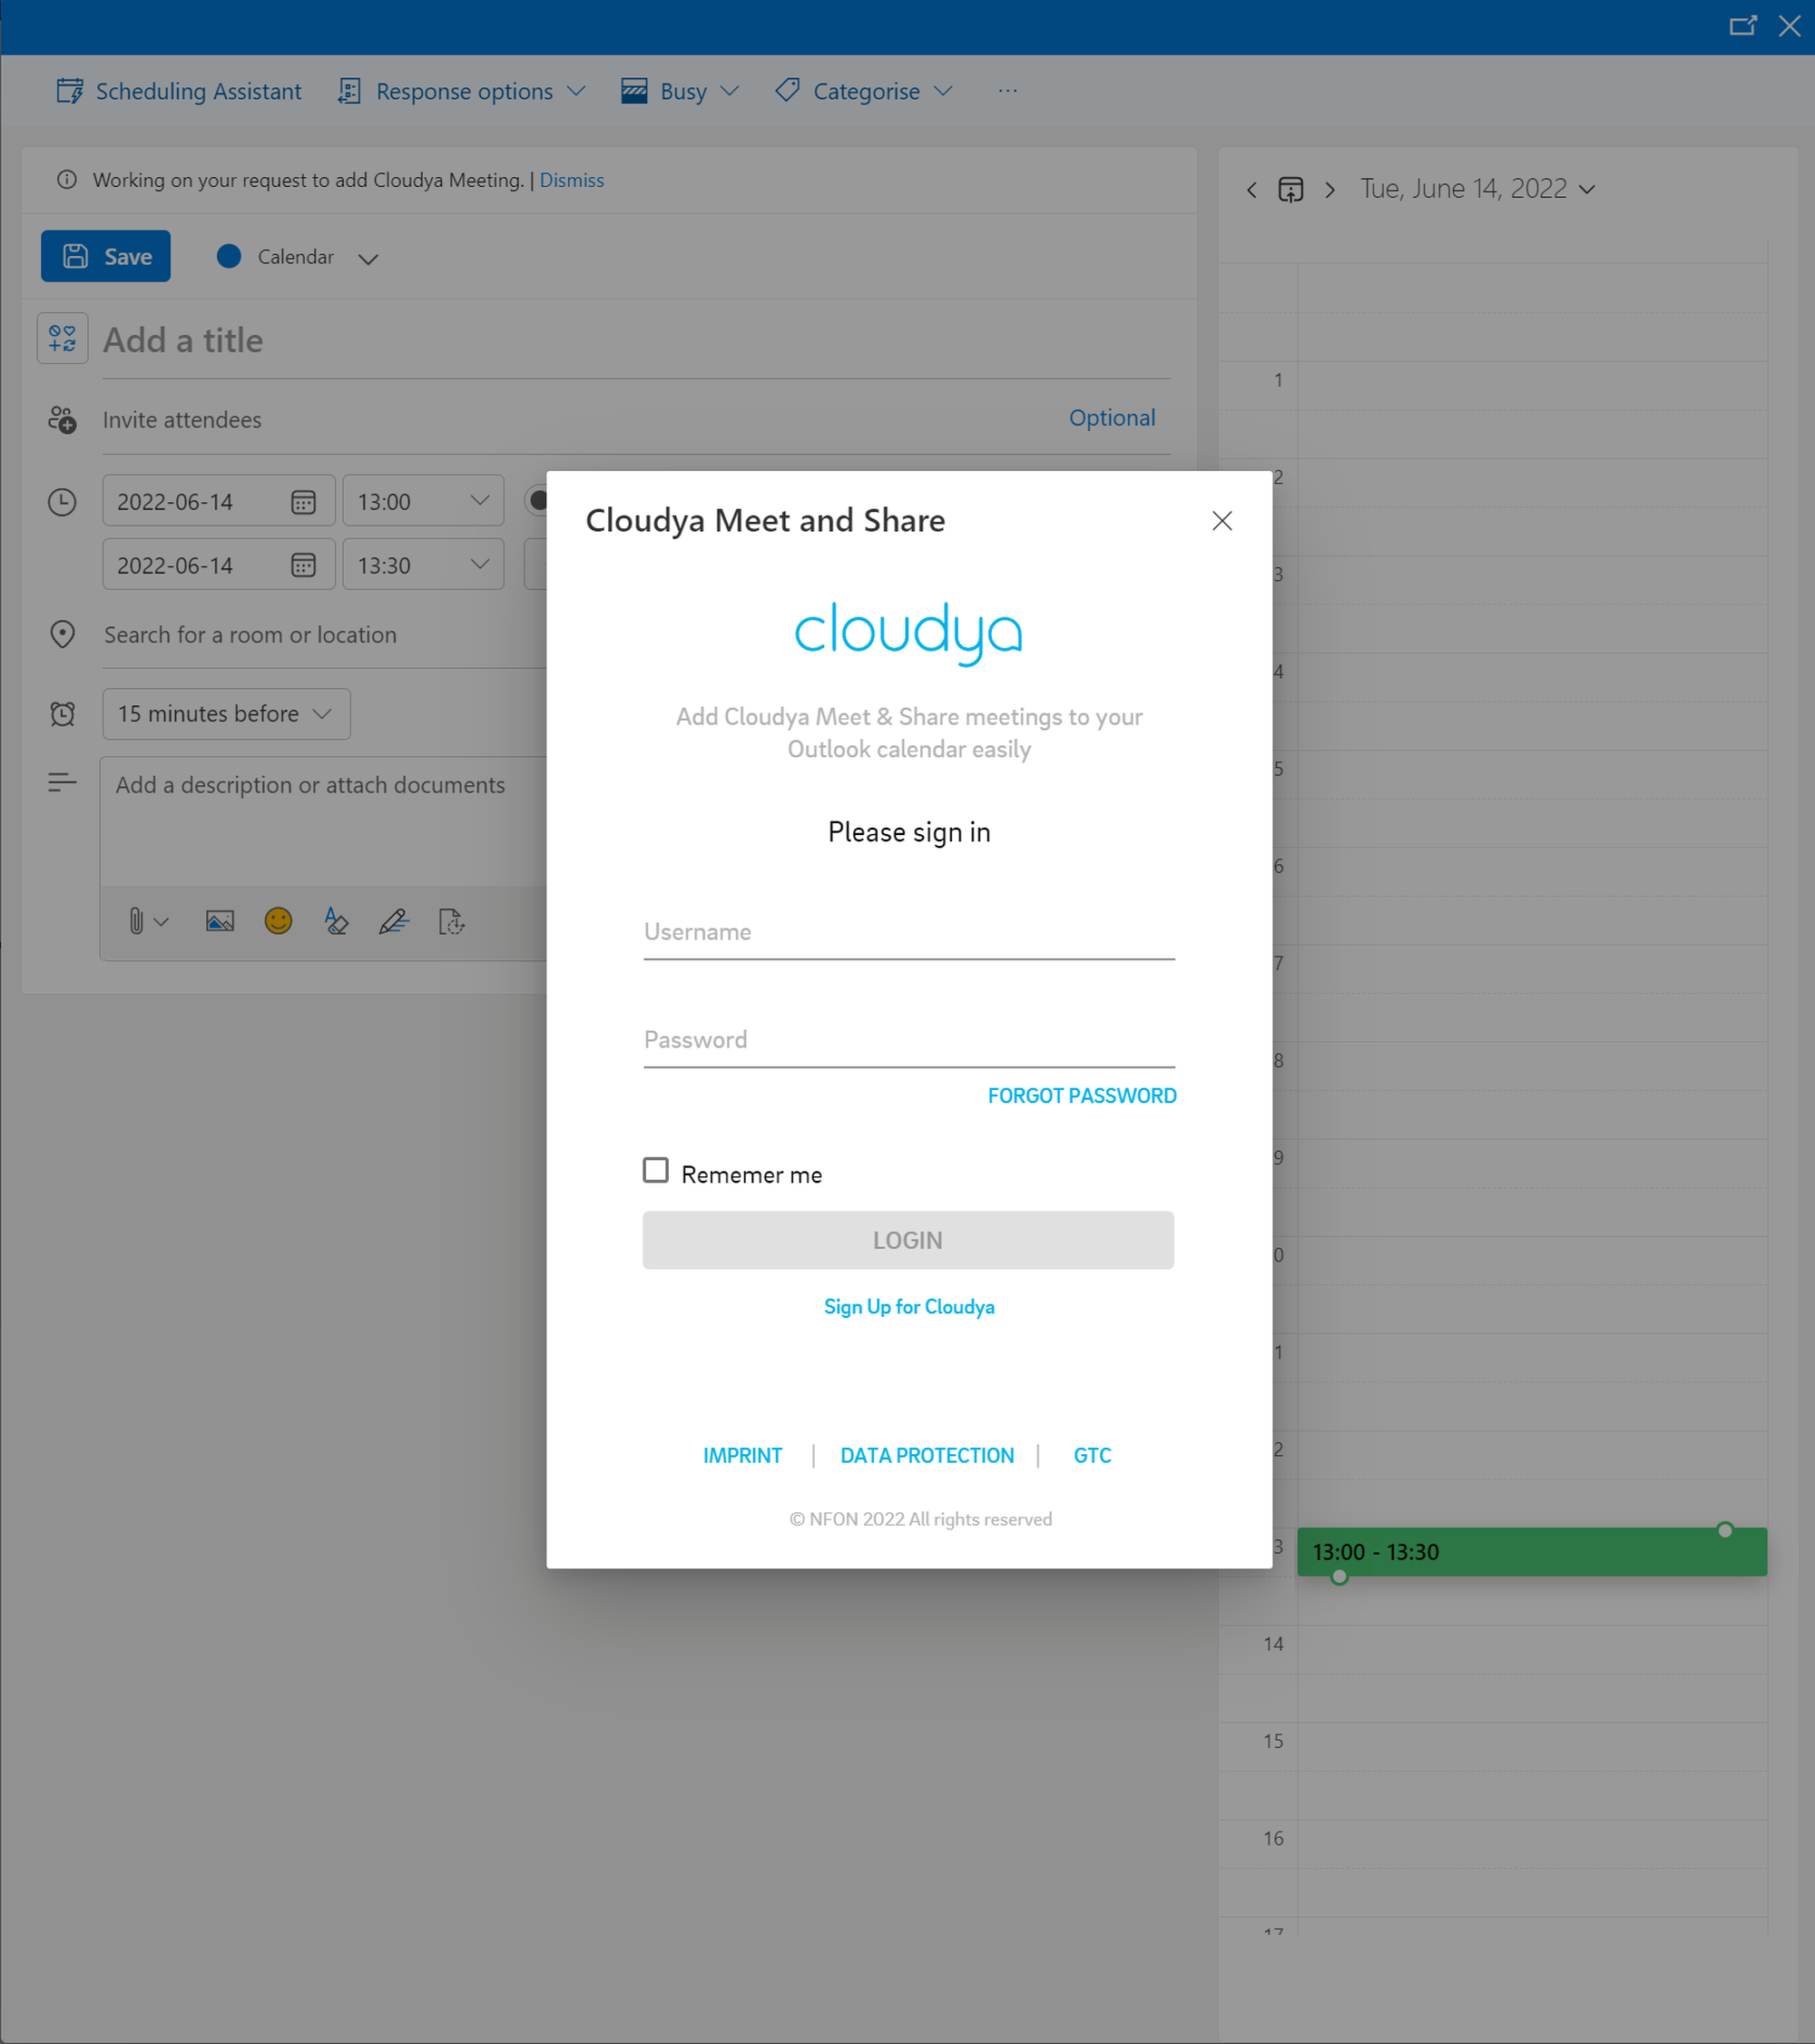
4. A URL for your Cloudya meeting has been added to your event.
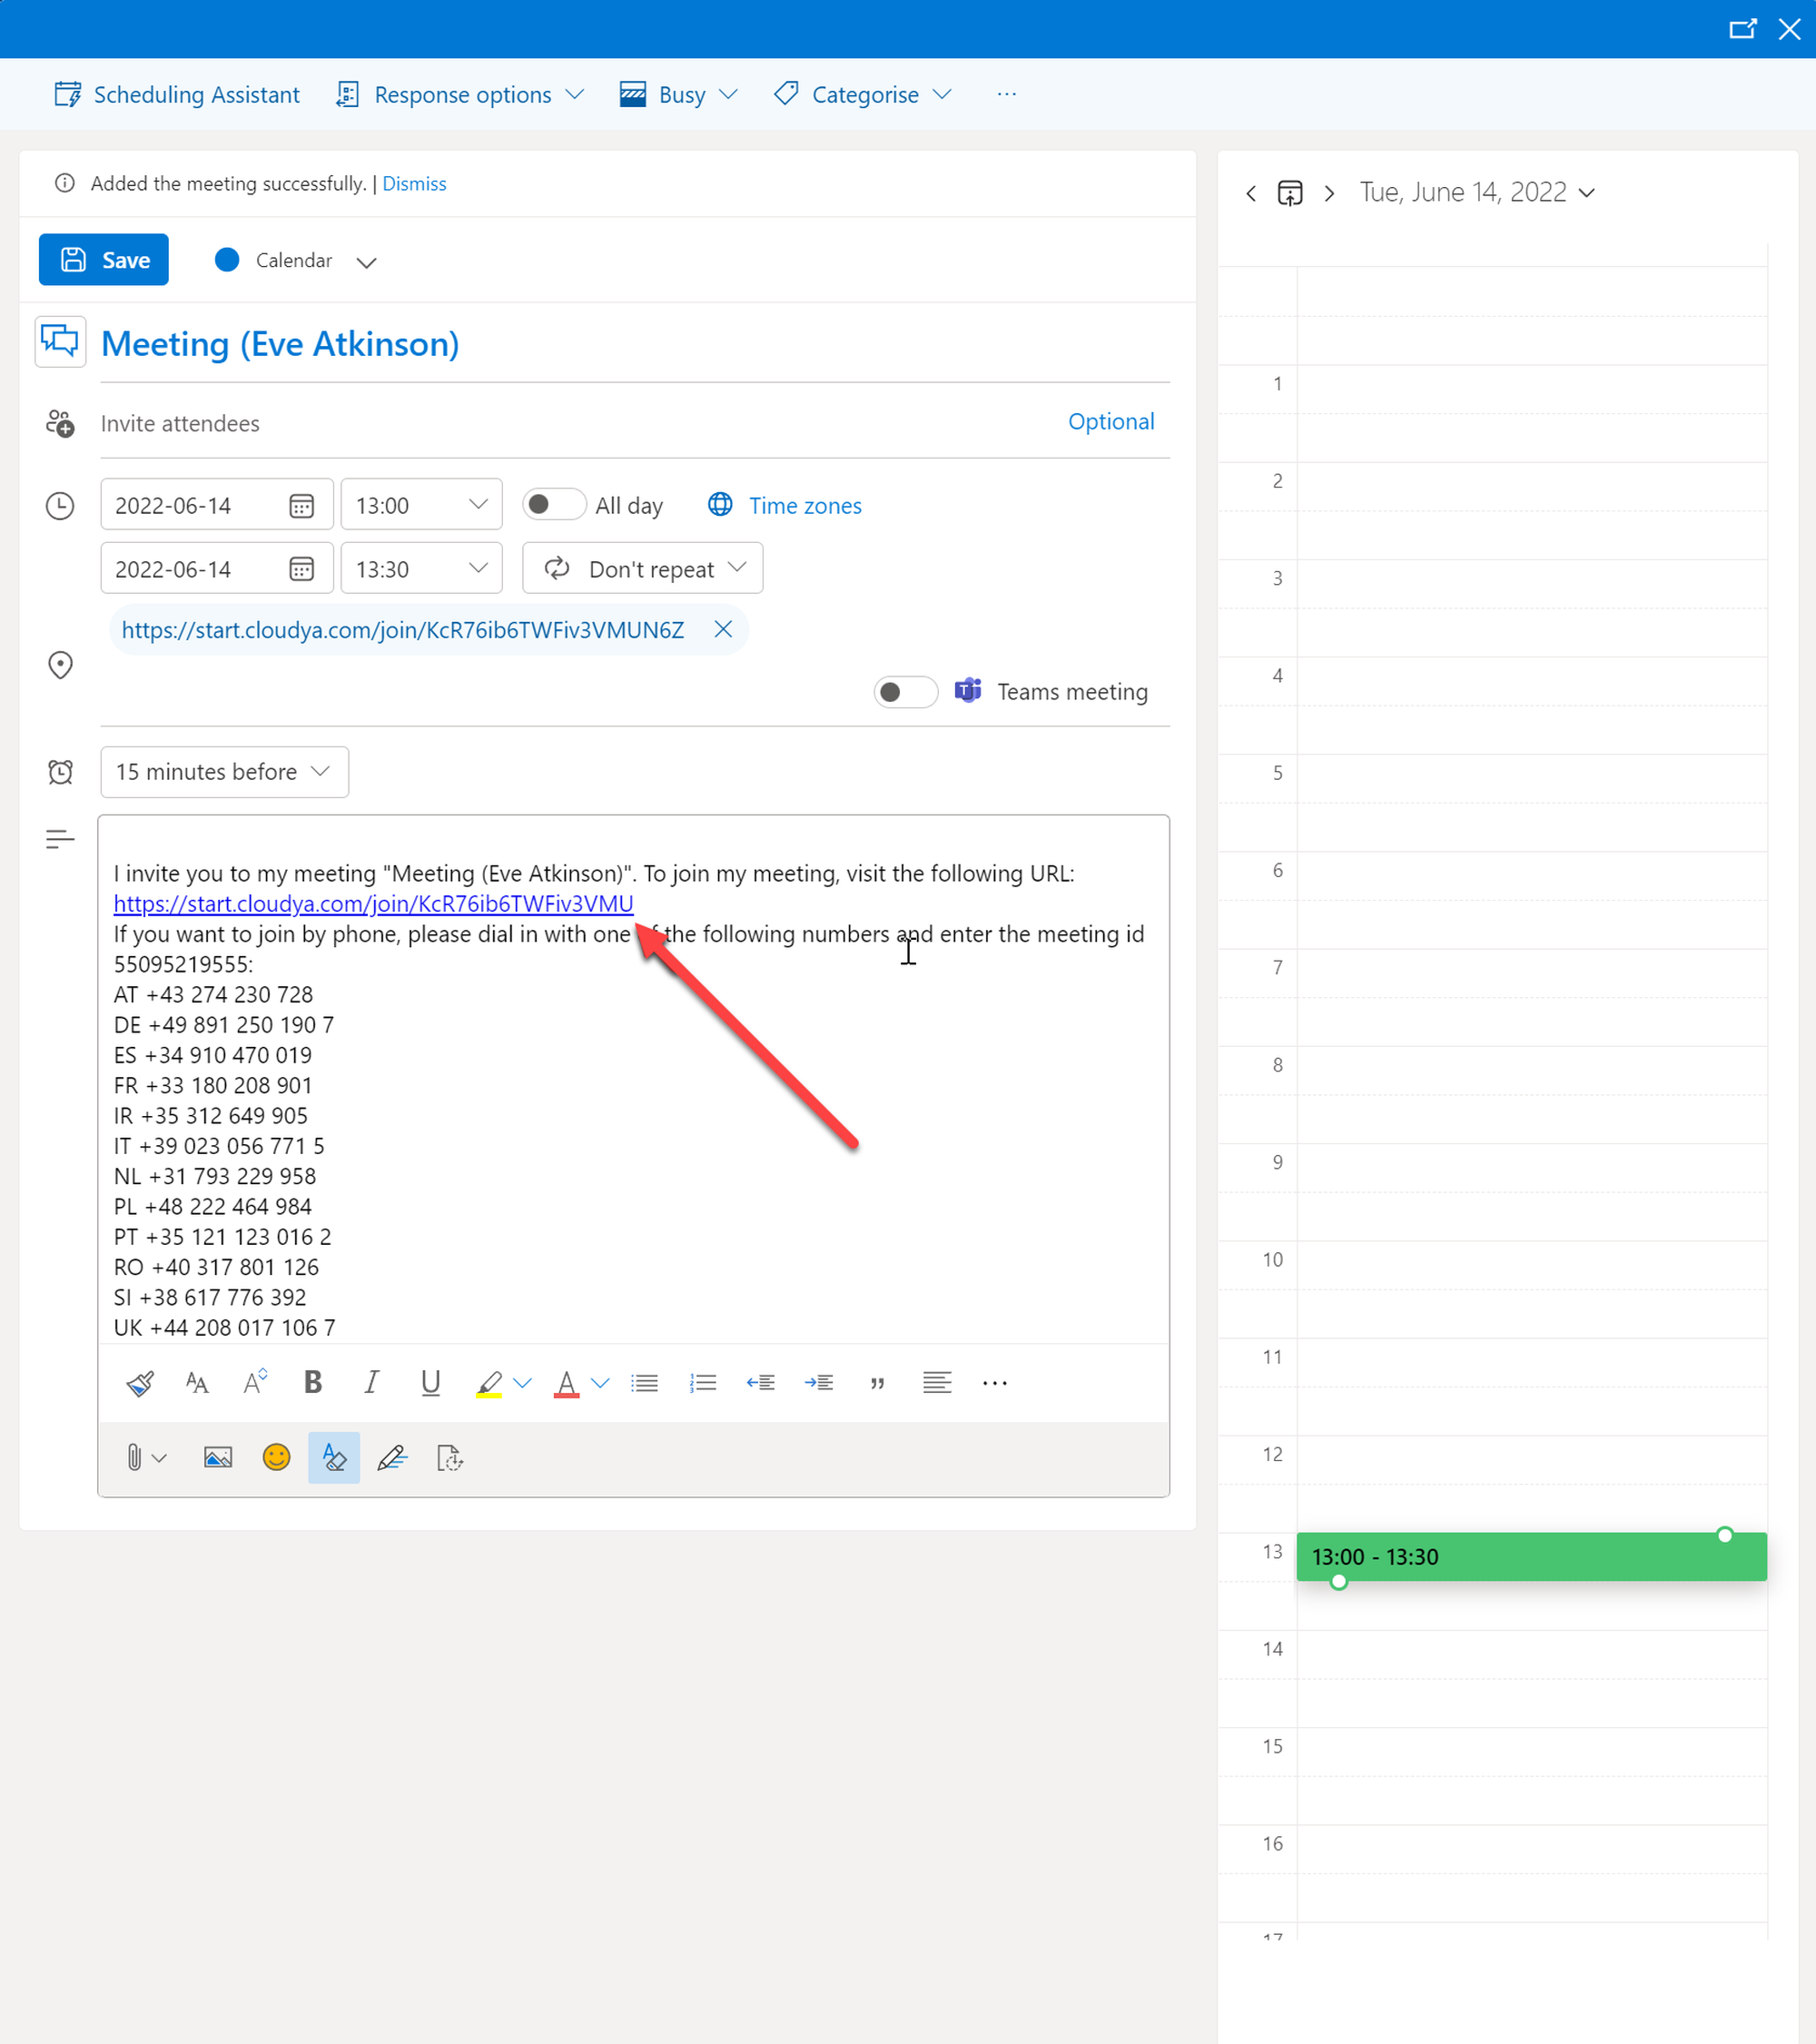
5. You have now created a Cloudya meeting. You will also find the URL for your Cloudya meeting in the event info of your calendar.