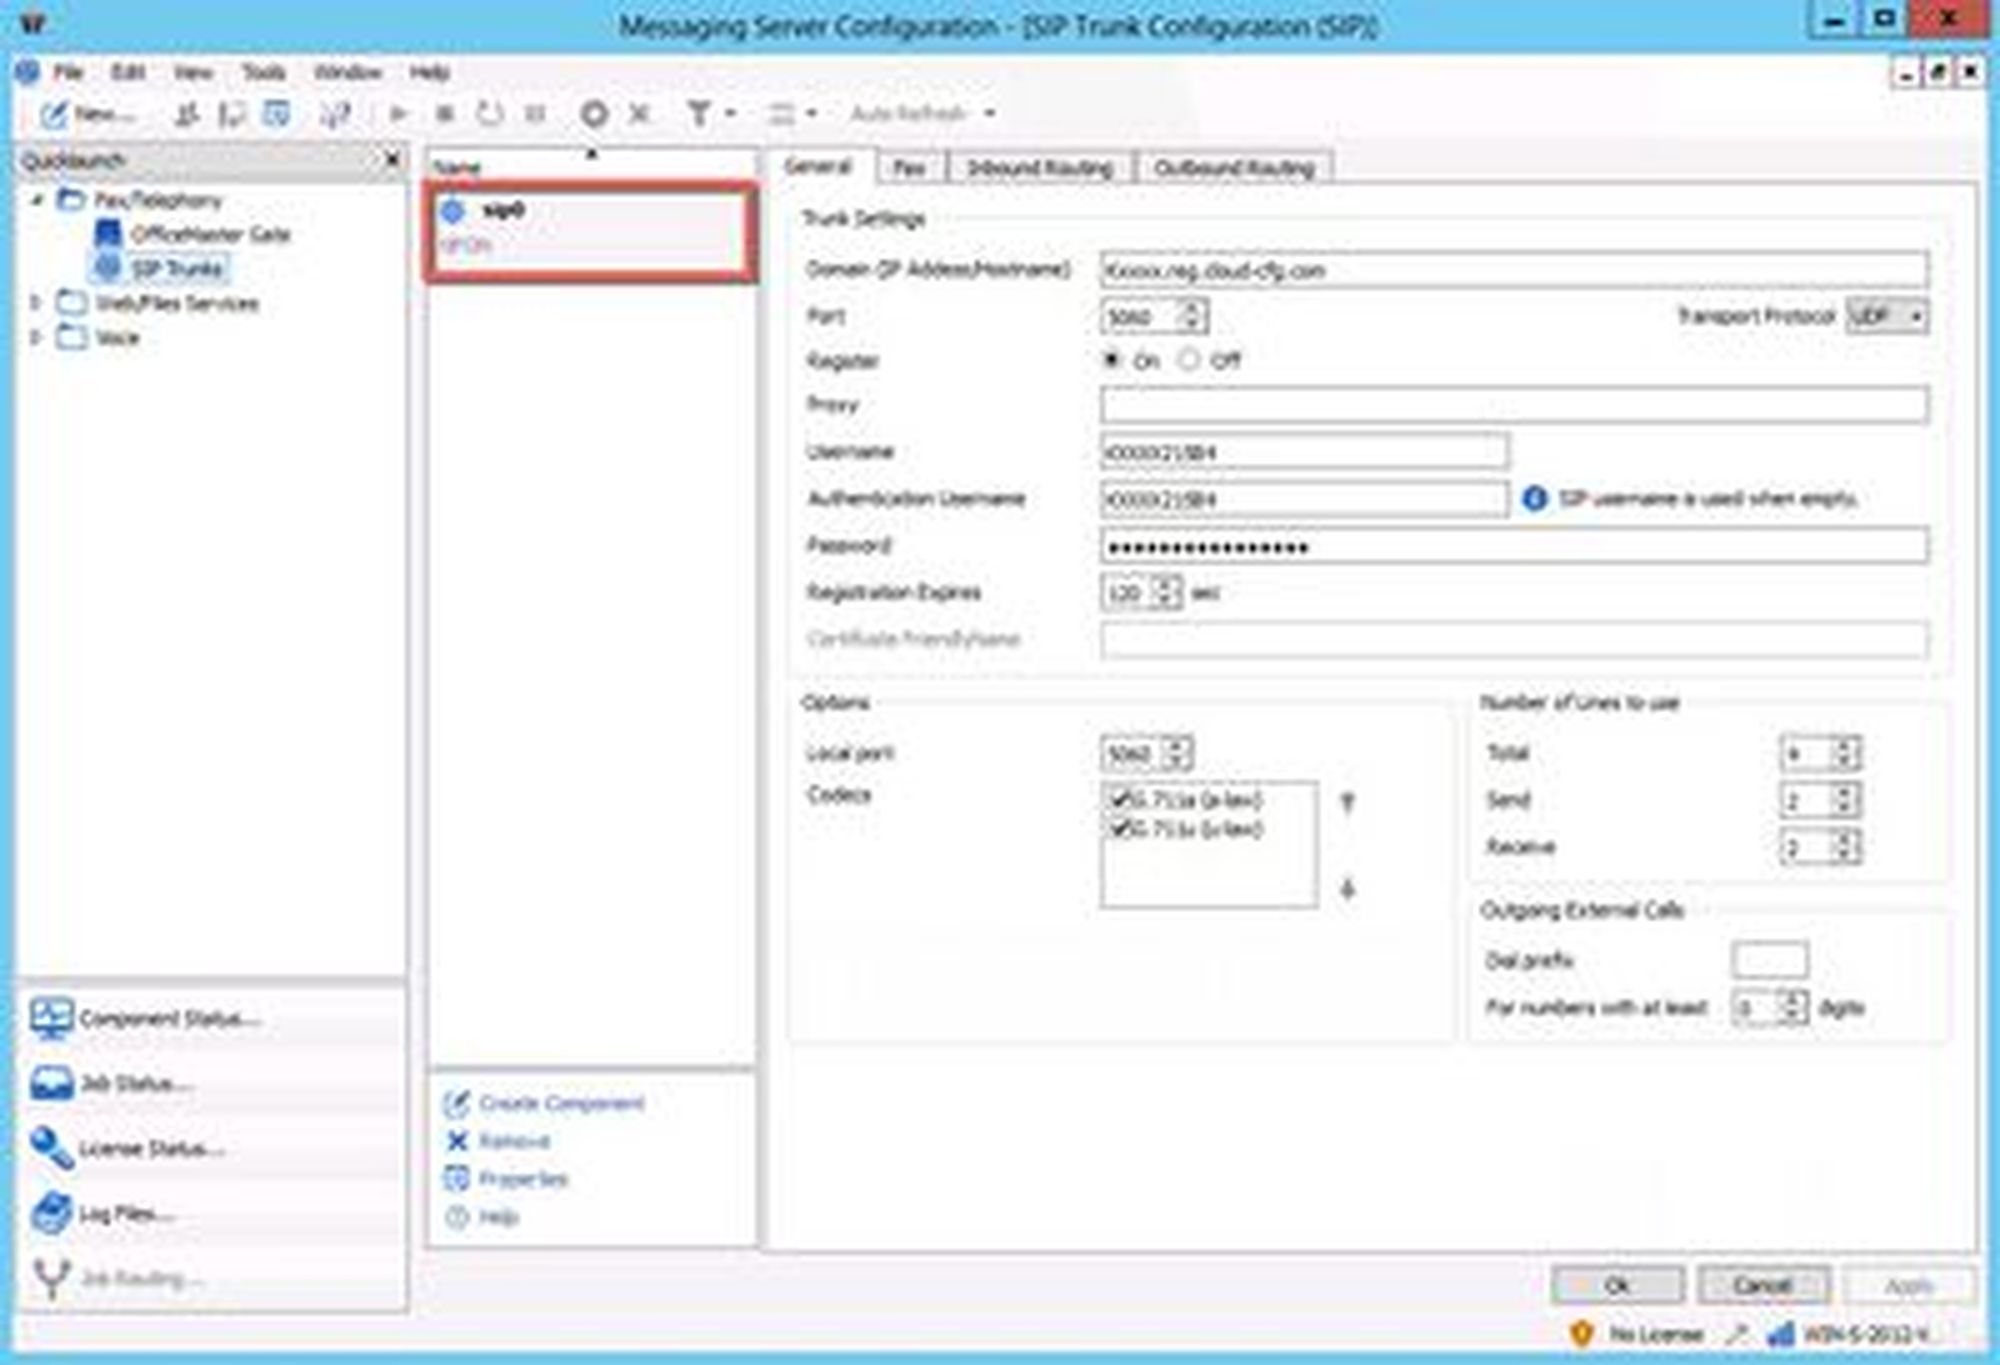
D. OfficeMaster Suite configuration
- Start the OfficeMaster Suit.
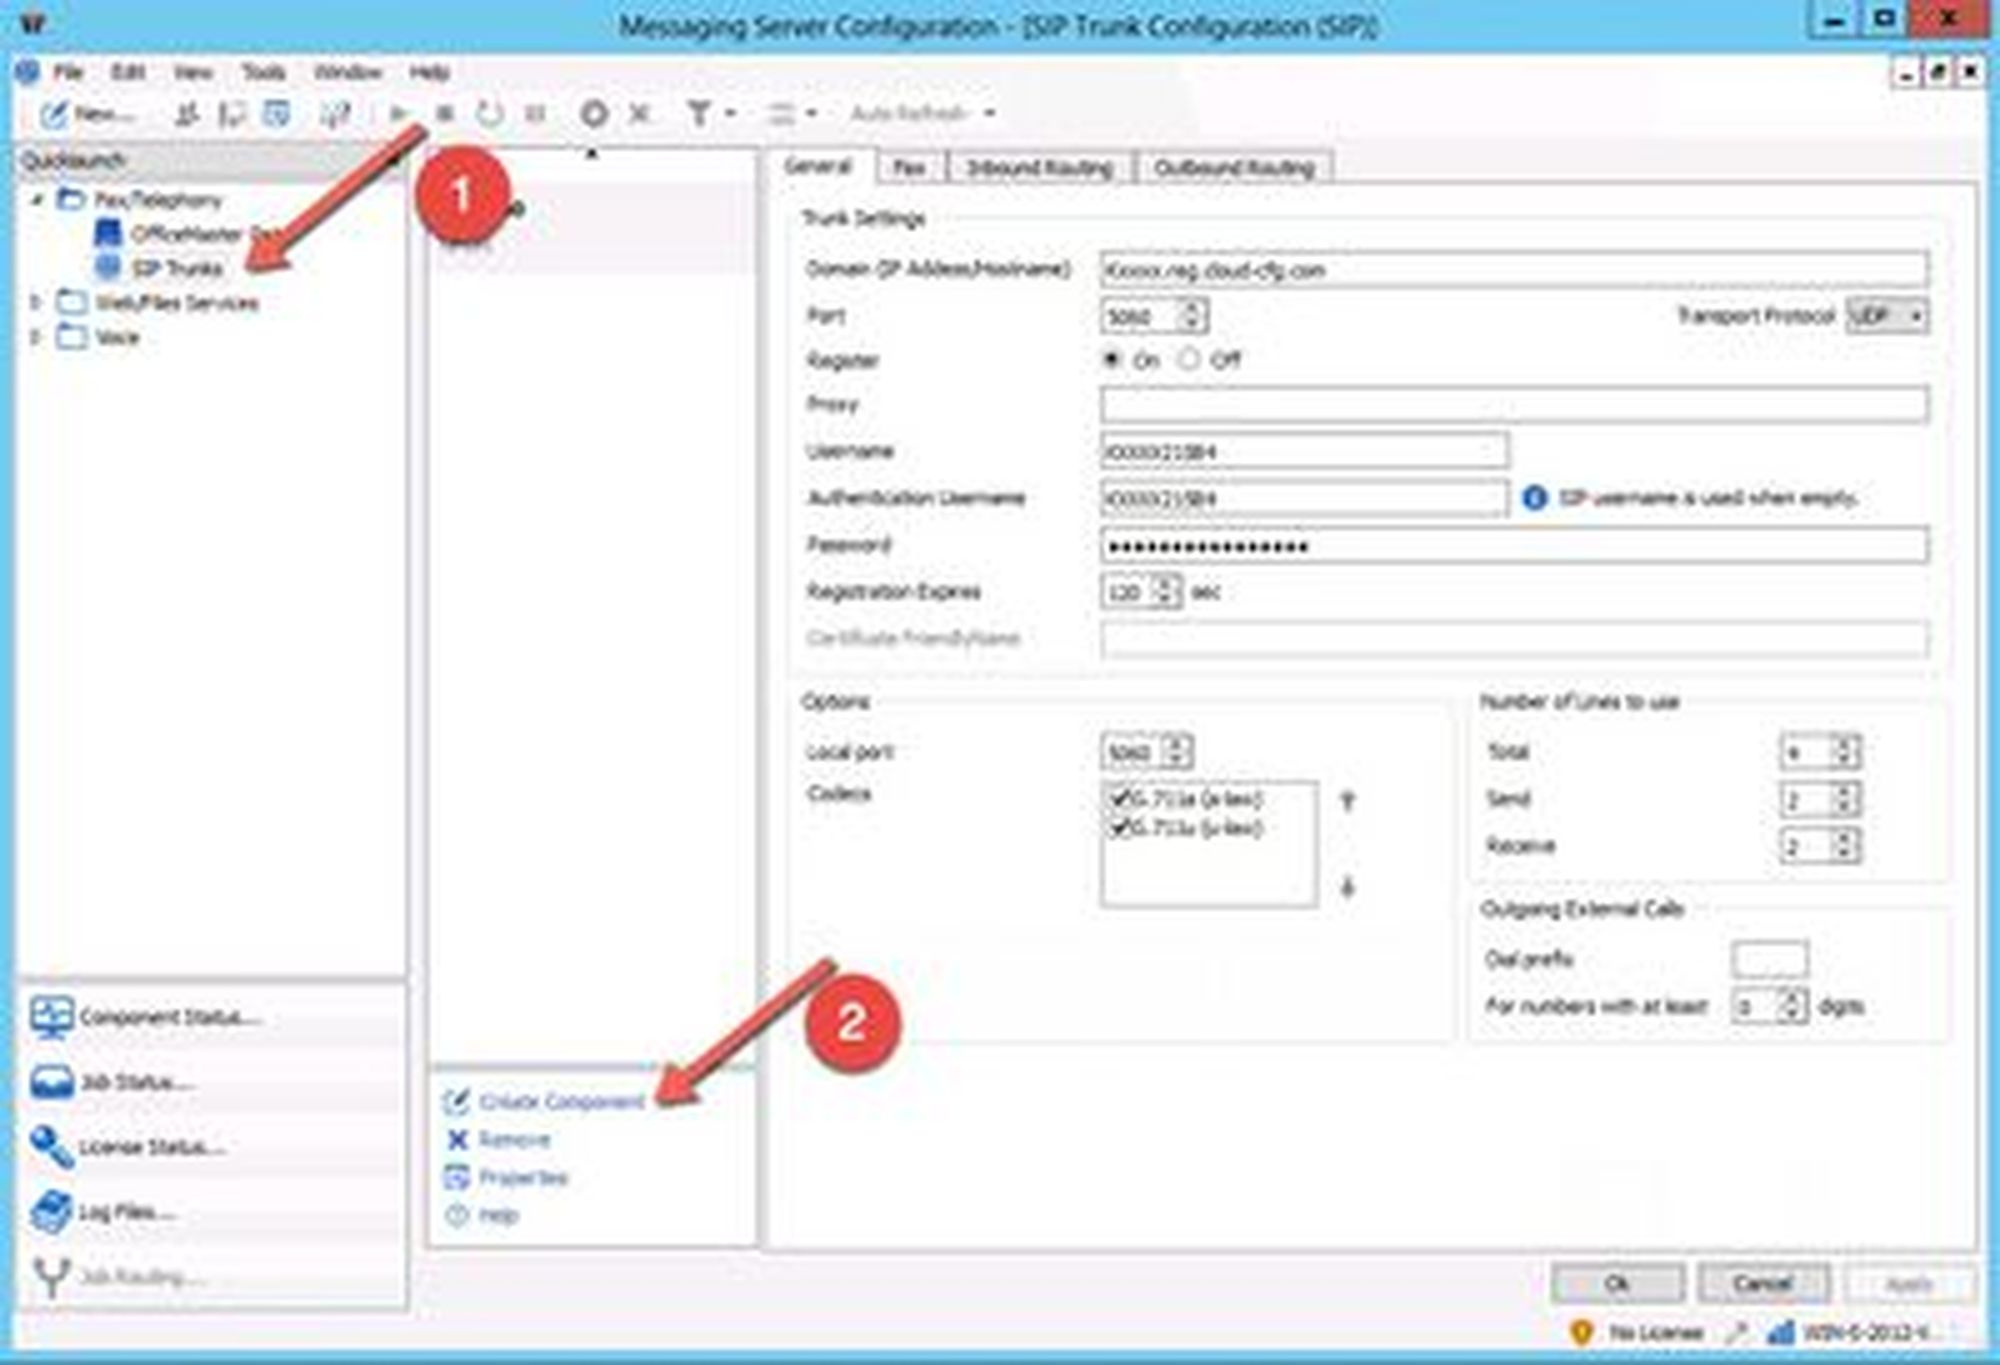
- Select "SIP Trunks".
- Select then "Create Component" in order to create a new SIP trunk.
- Click on "Next".
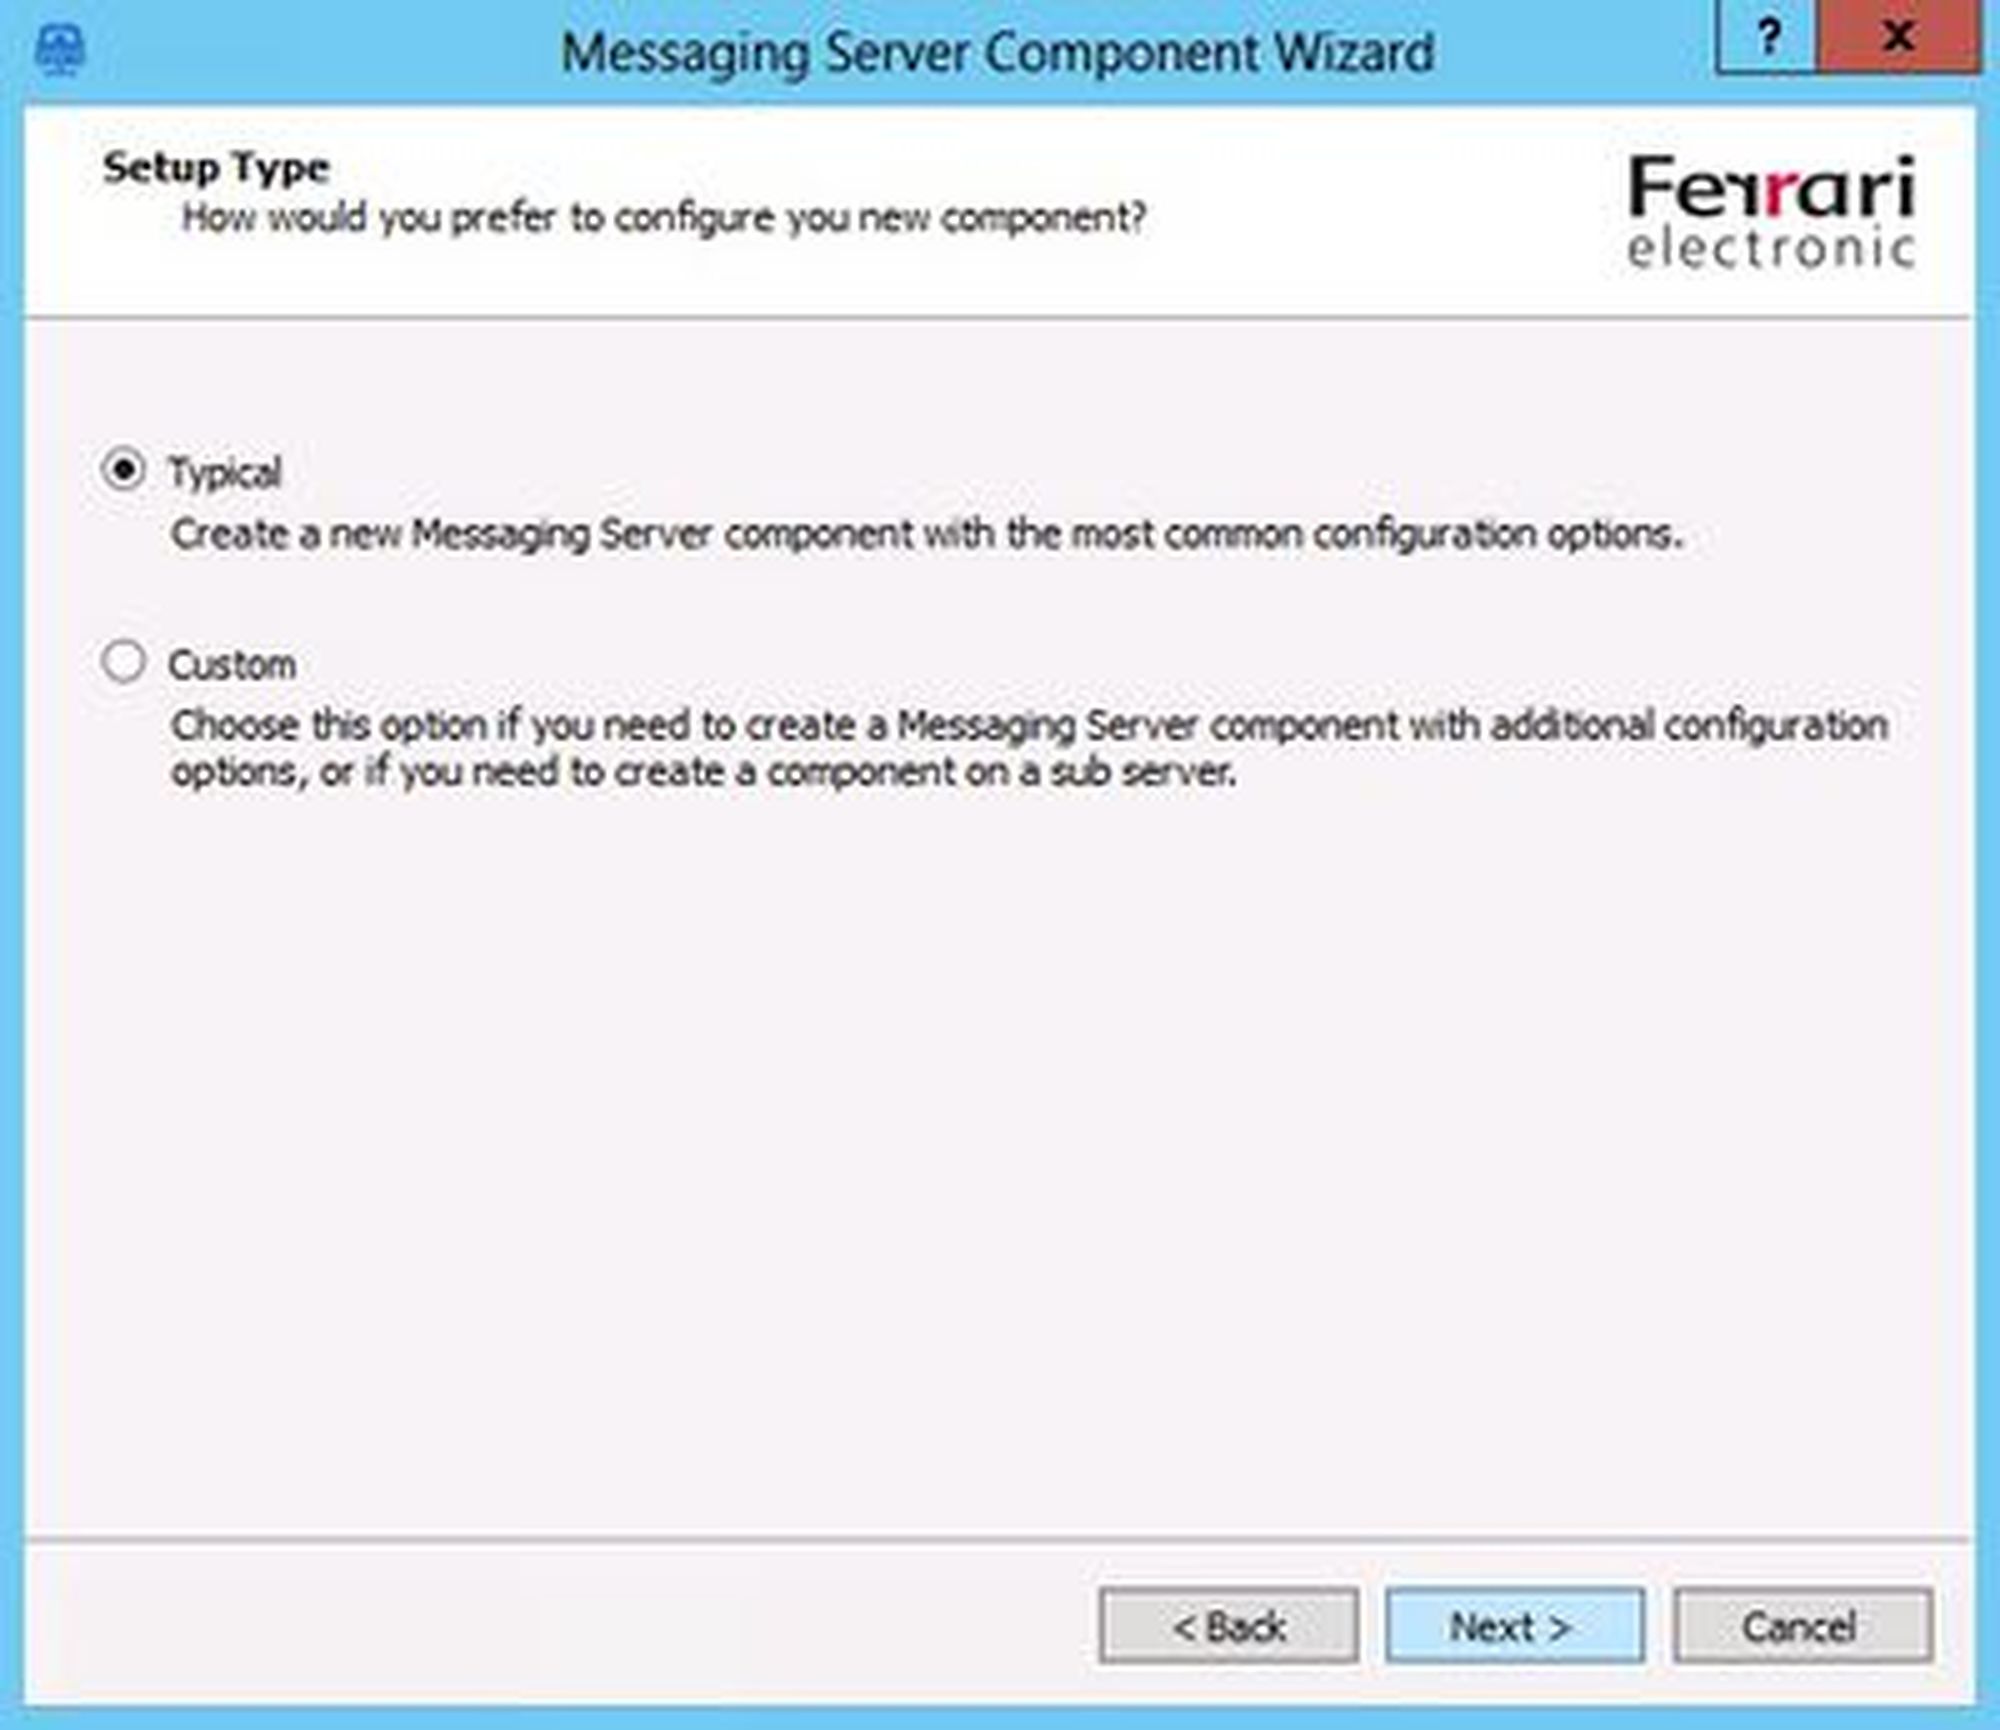
- Select "Typical“ and click on "Next".
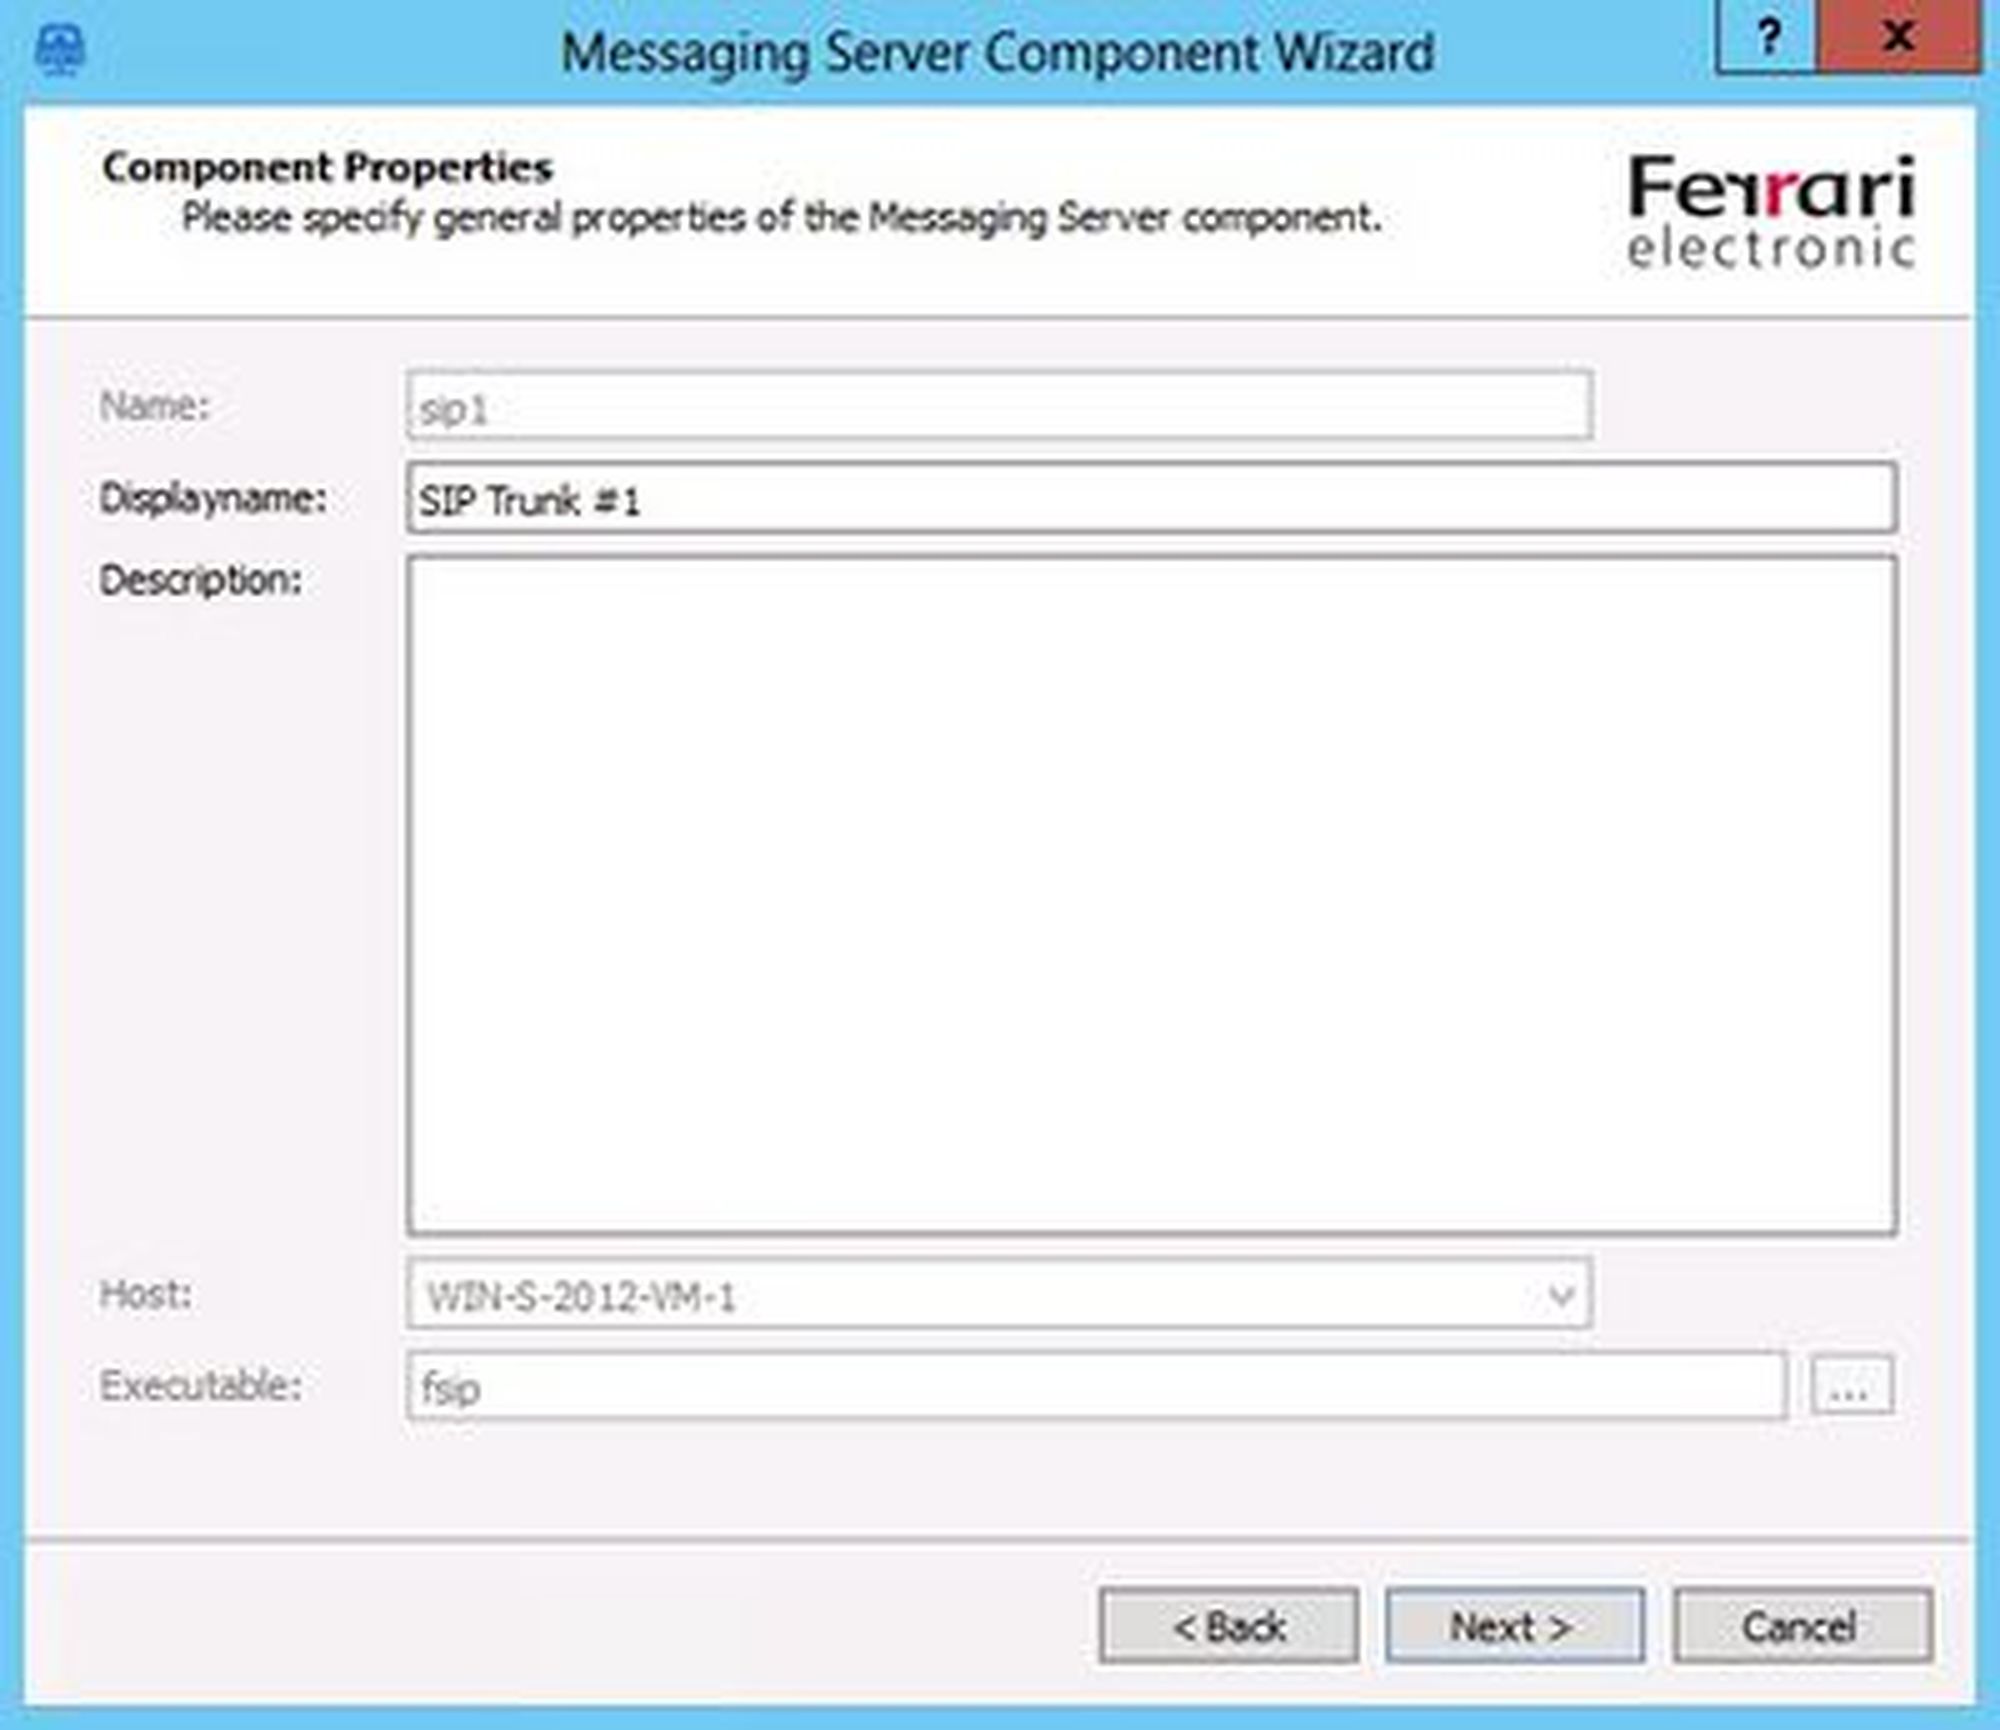
- Choose a display name and a description. Both are freely selectable.
- Click on "Next".
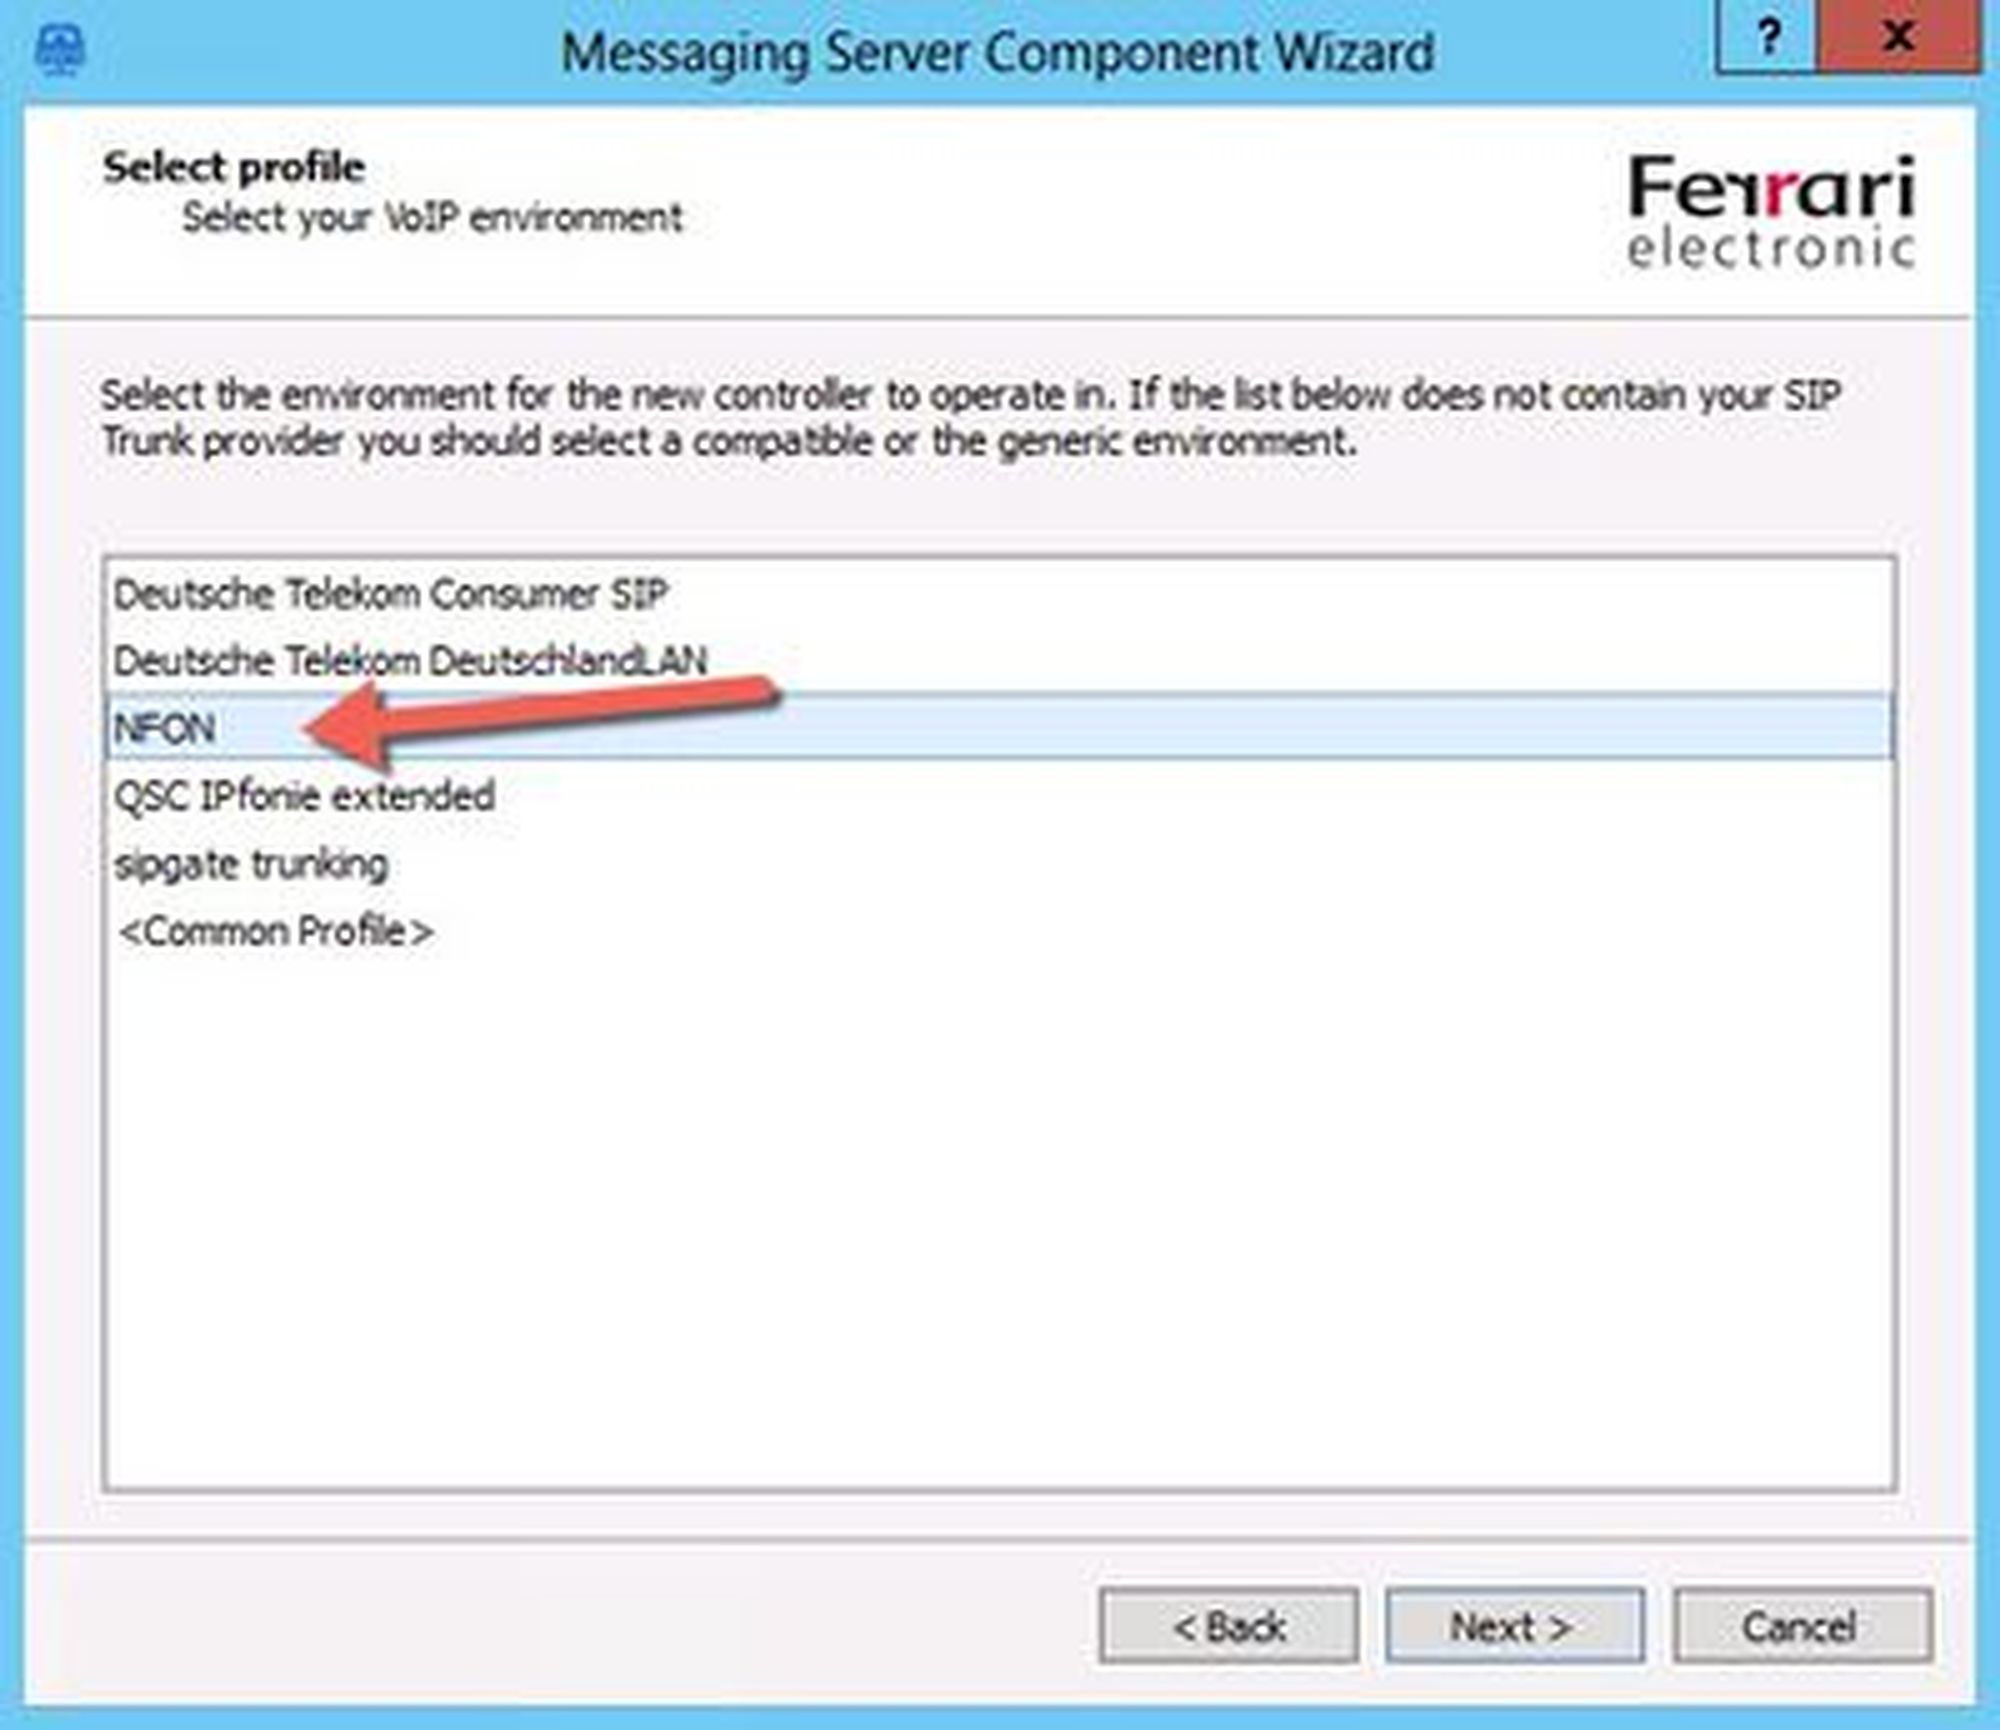
- For NFON, select the NFON profile. The configuration will be set automatically.
- Click on "Next".
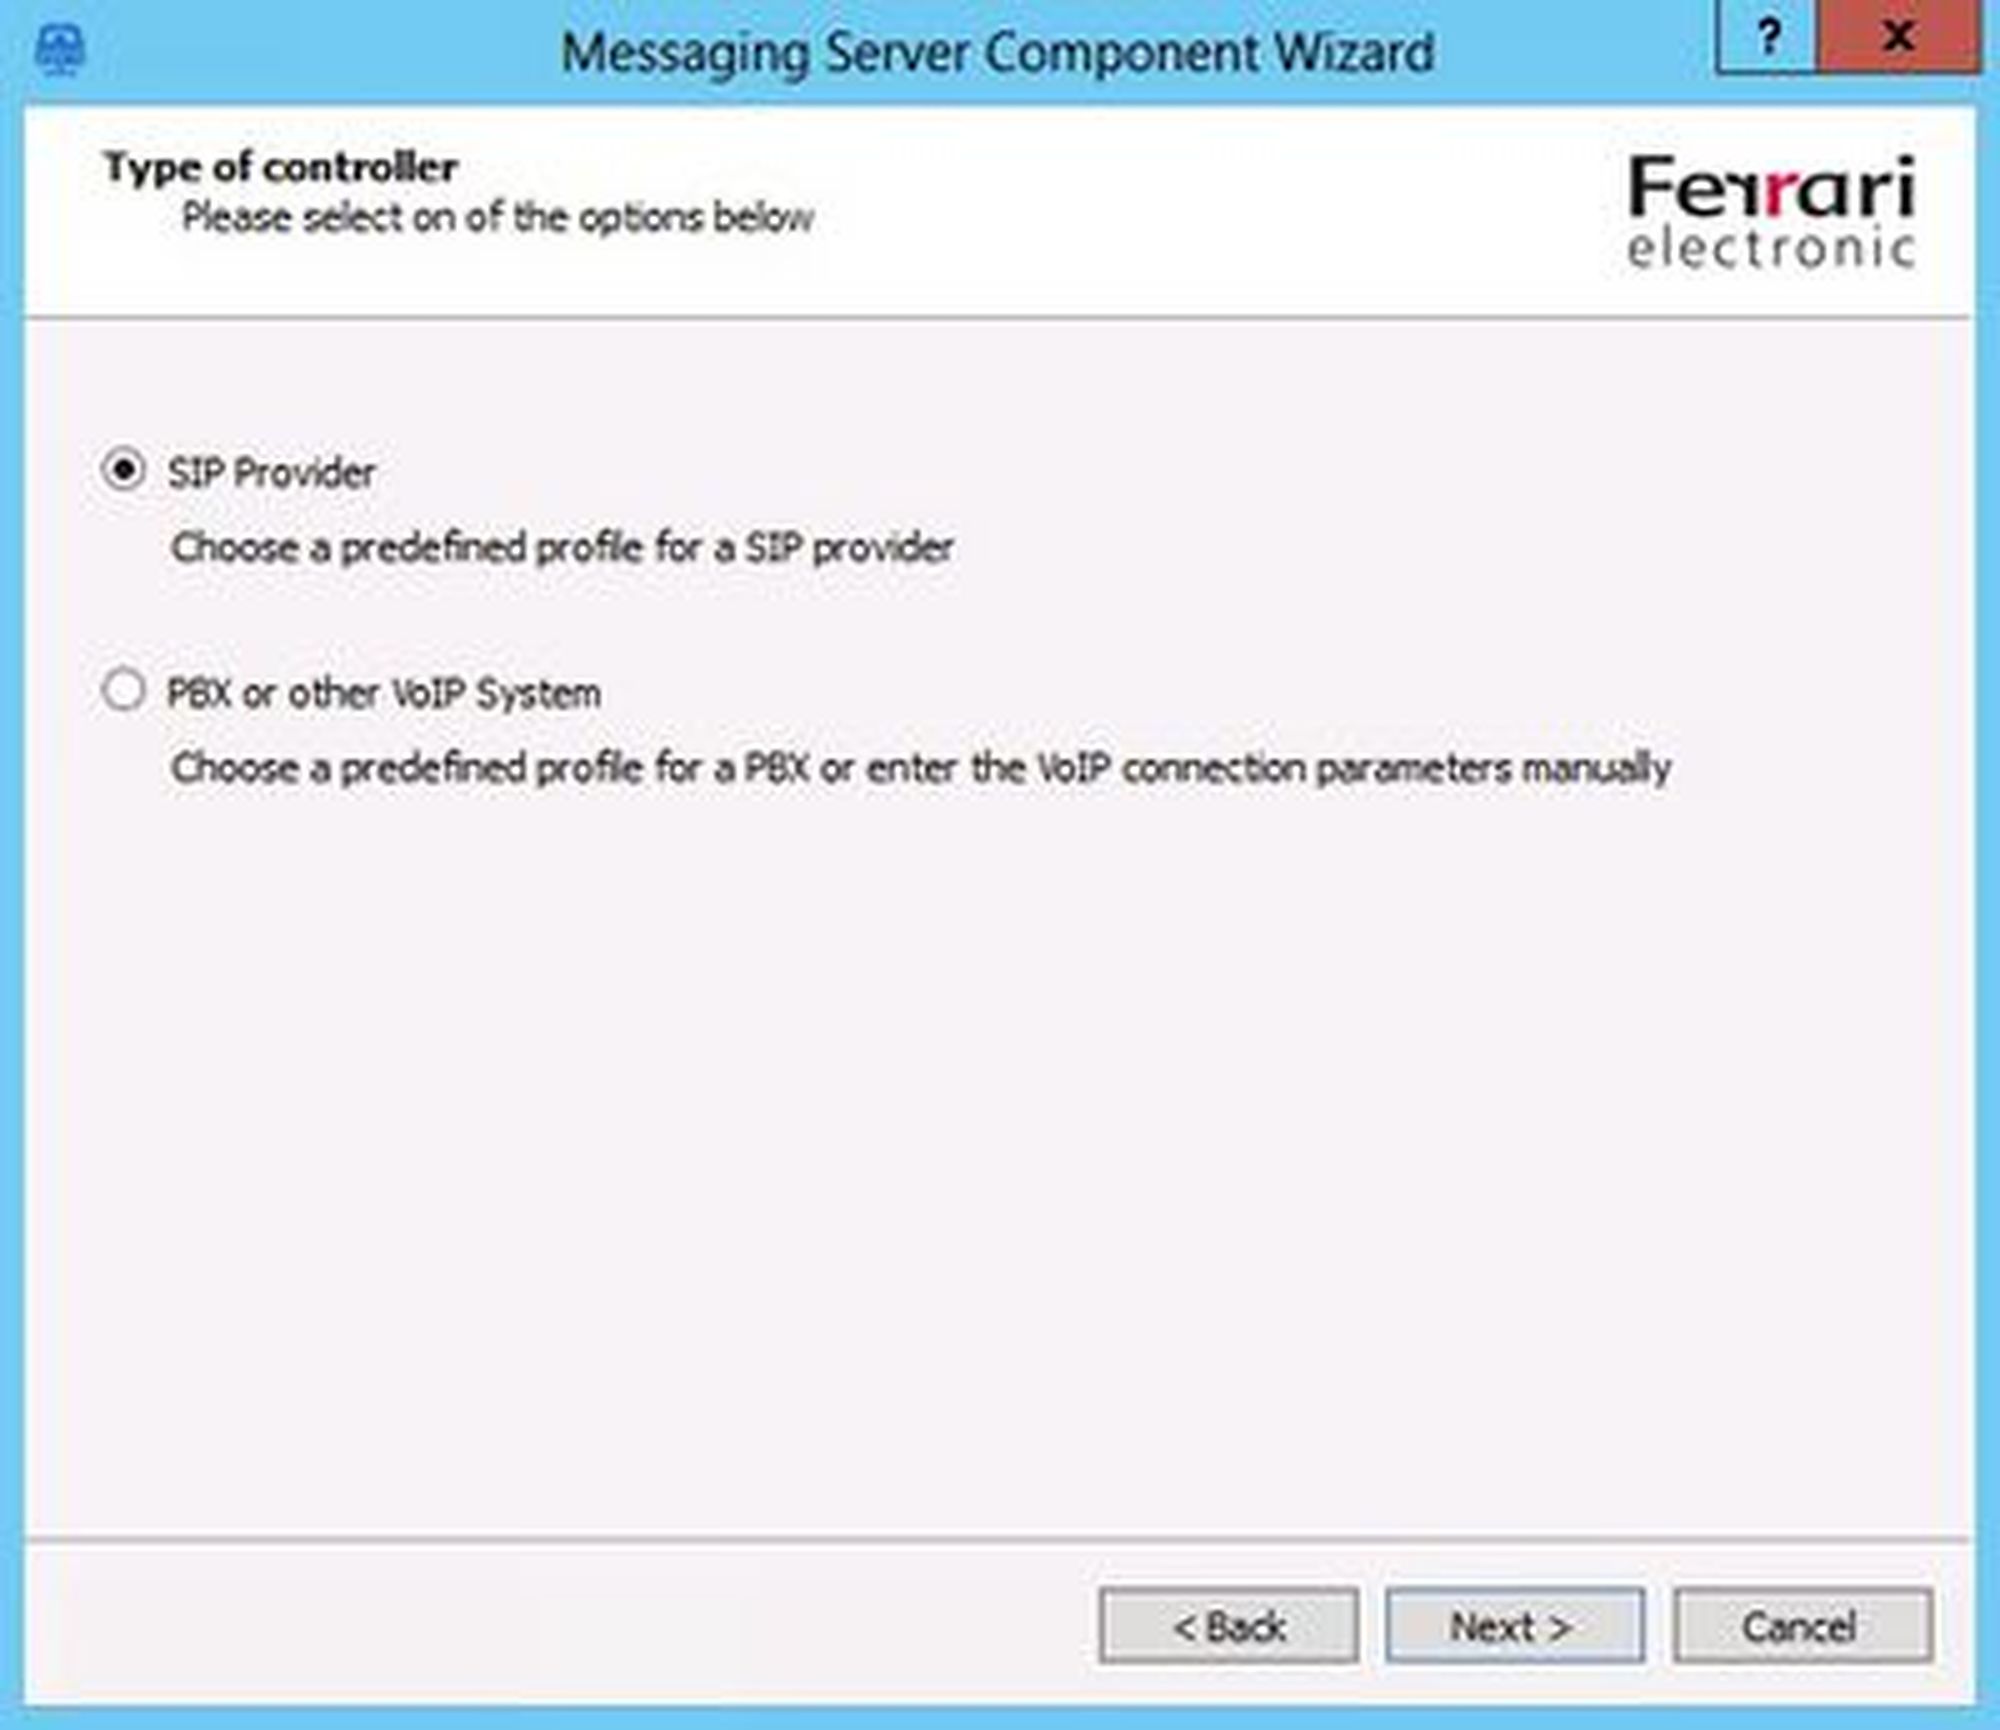
- Select "SIP provider".
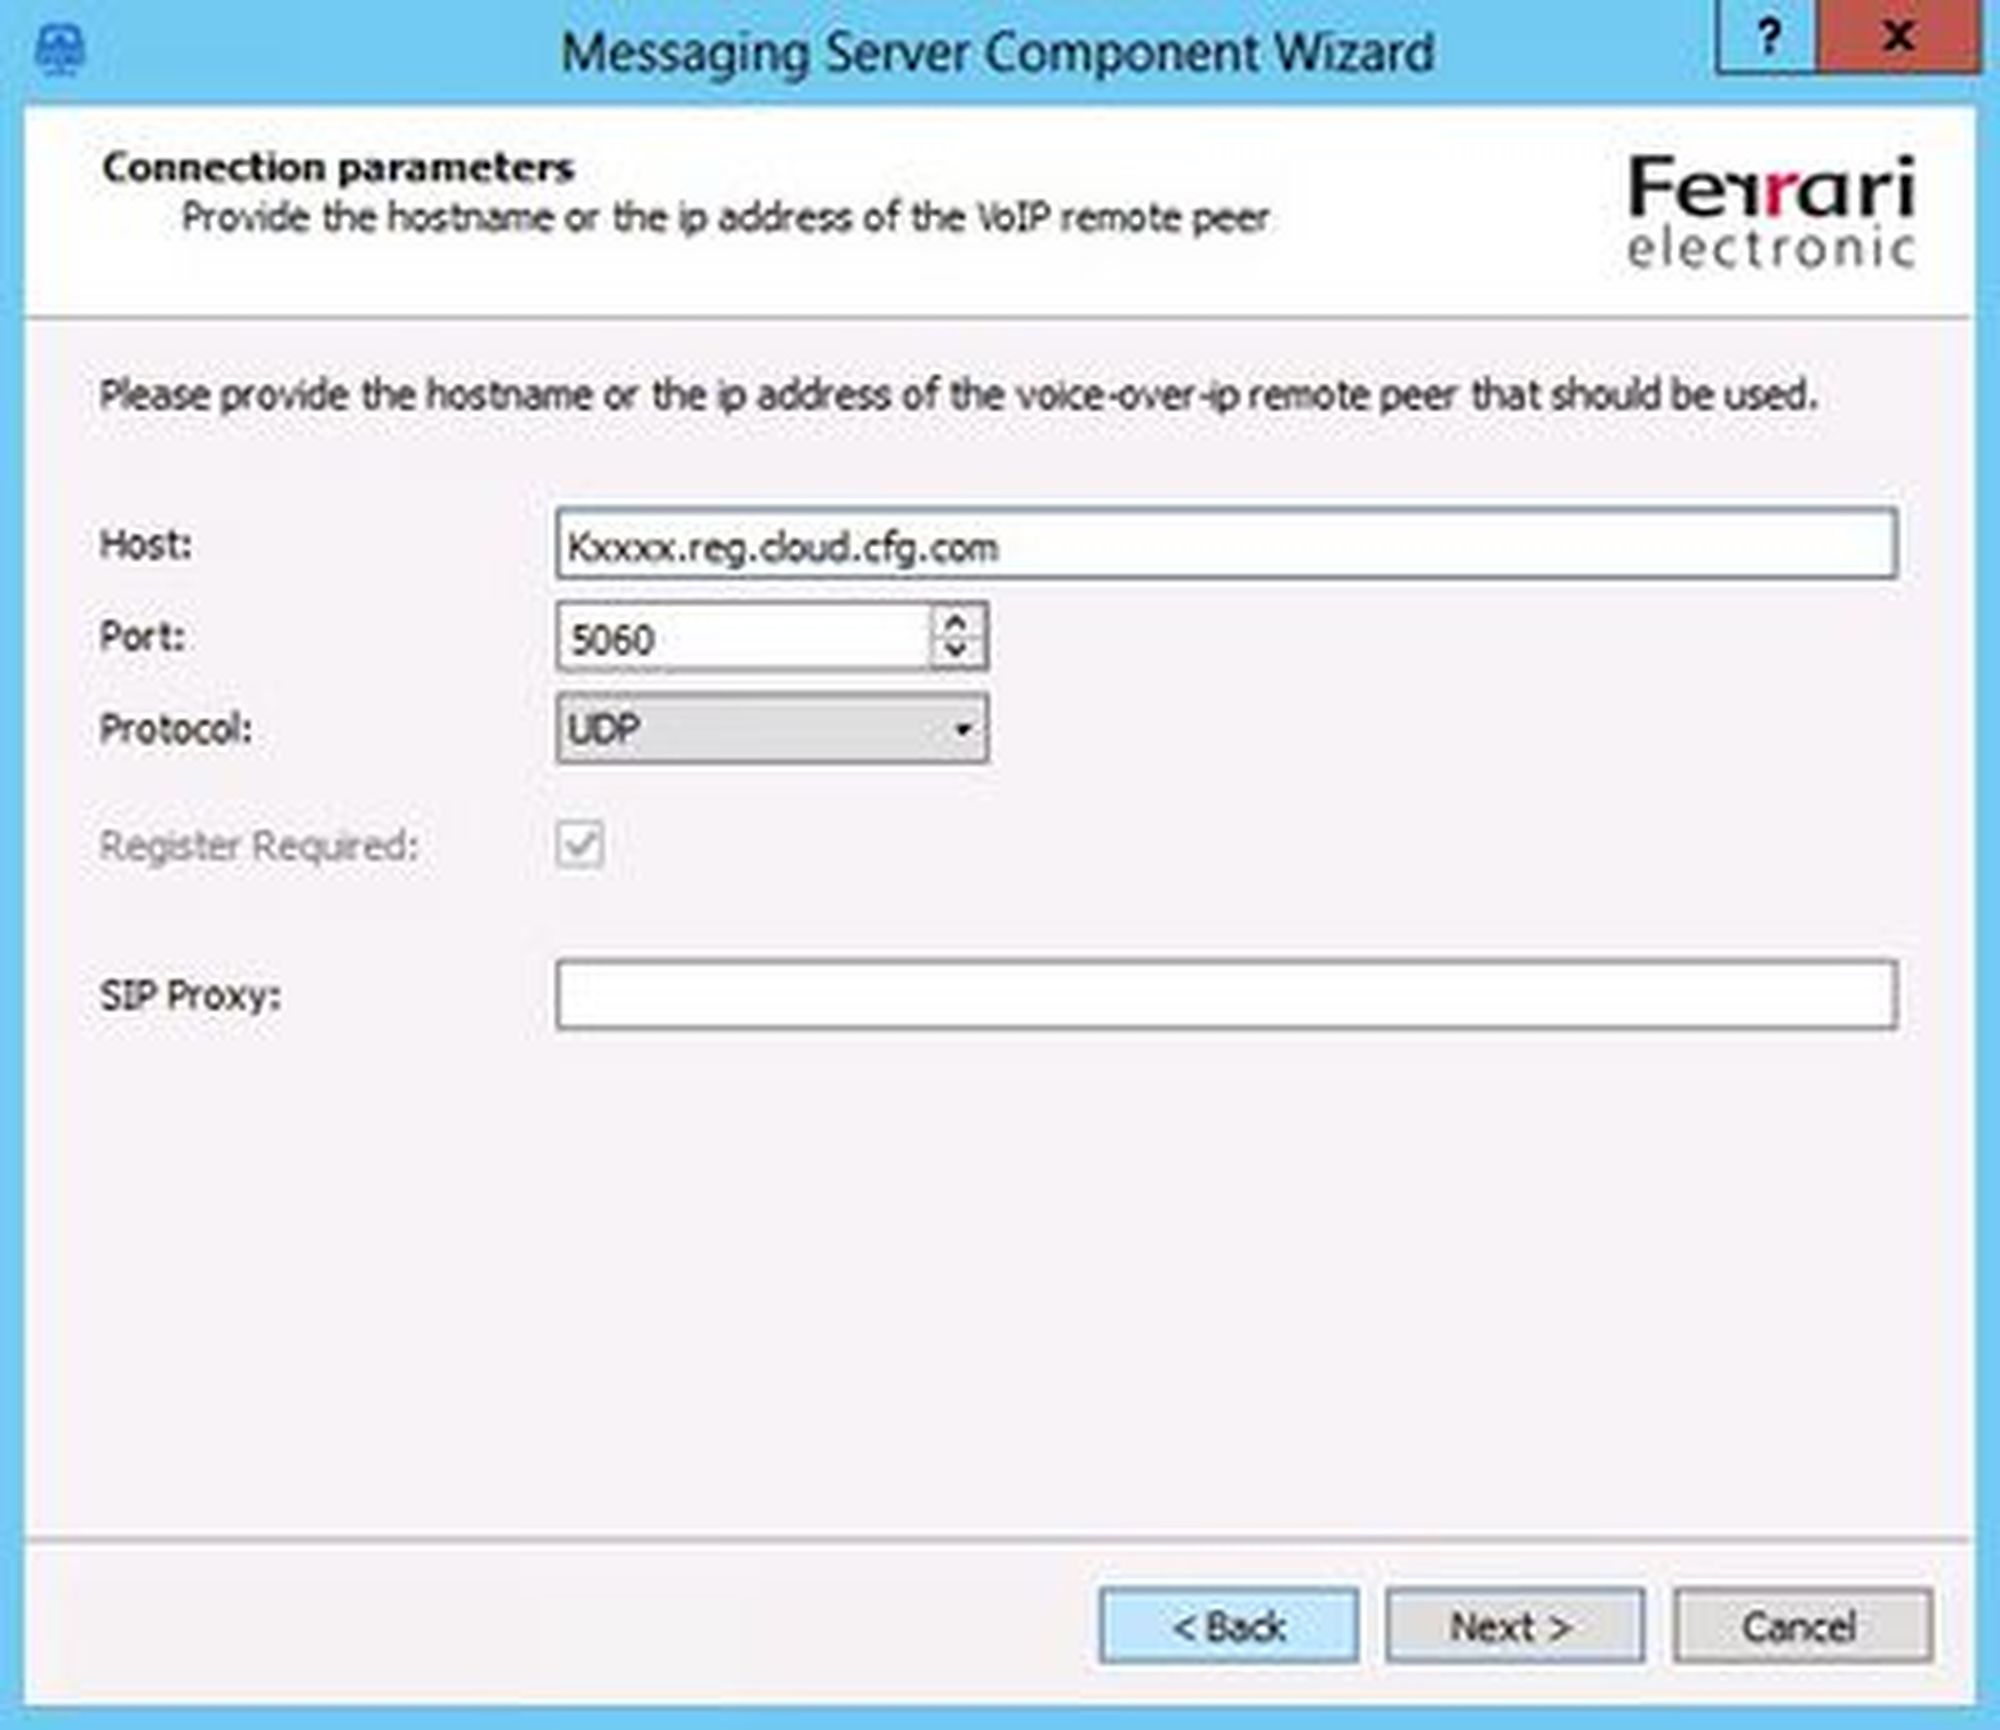
- Enter the data that you have received from NFON.
Host: consists of you K number and reg.cloud-cfg.com for example (KAXXX.reg.cloud-cfg.com).
Port: 5060
Protocol: UDP
SIP proxy: empty
- Click on "Next".
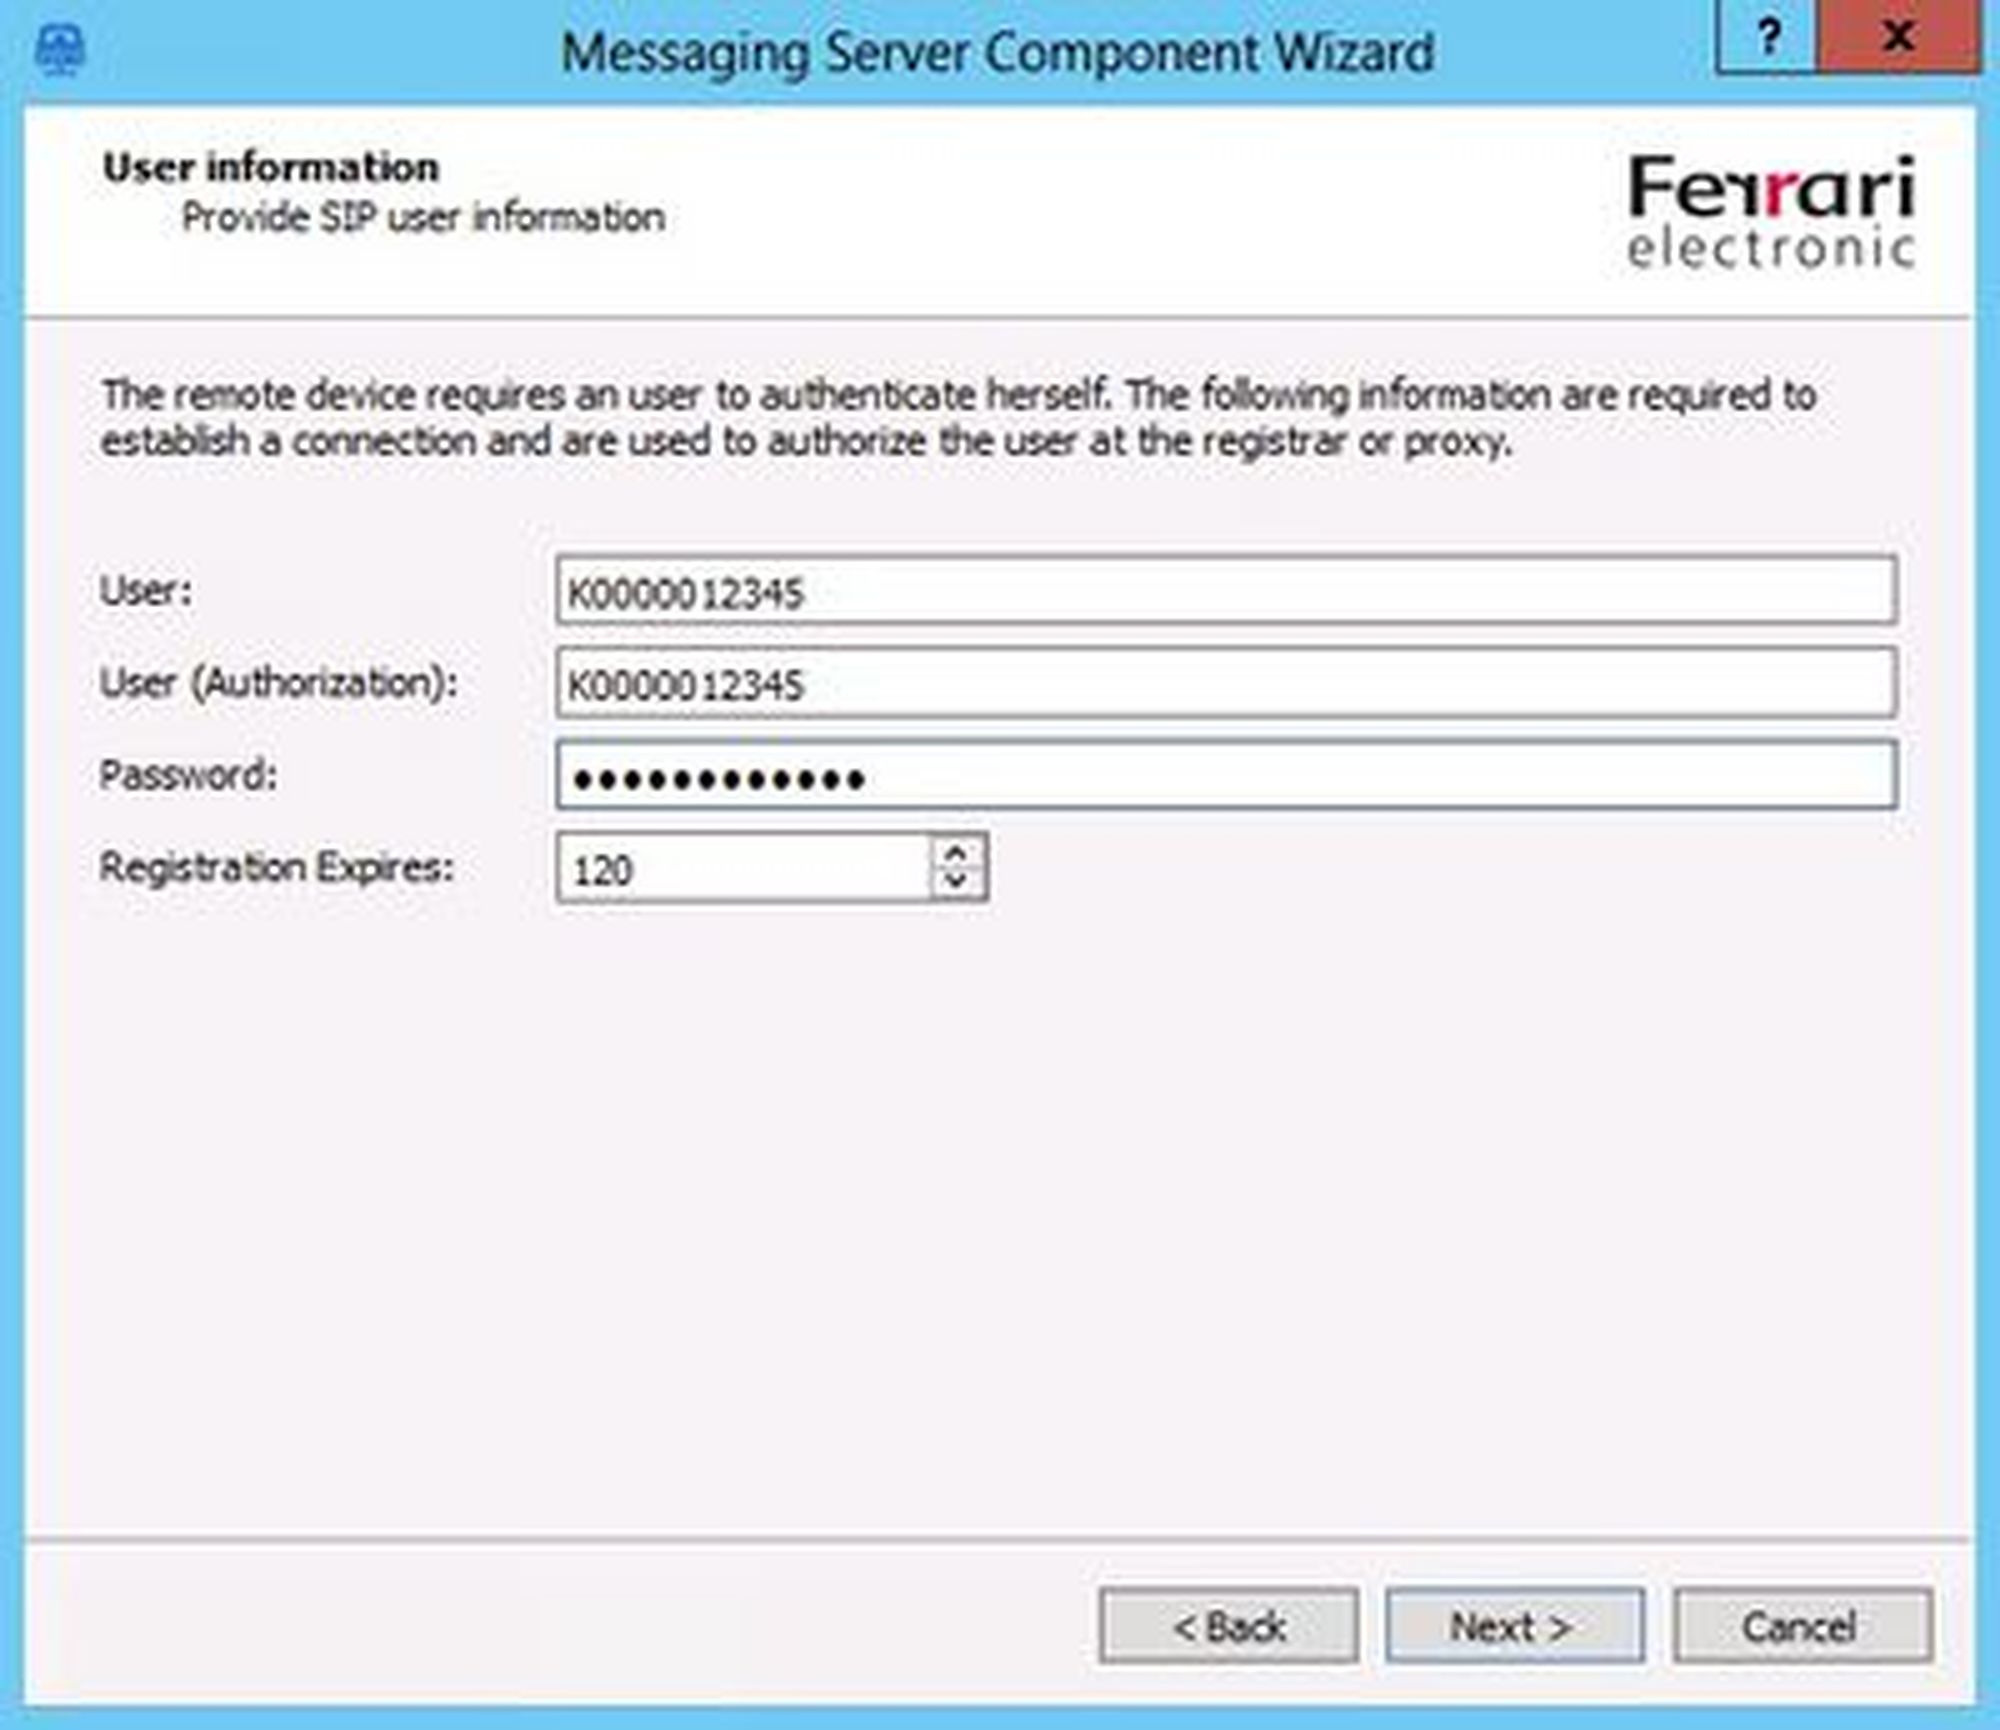
- Enter further data XCAPI device data.
User: SIP User
User (Auth.): SIP User
Password: SIP Passwort
Registration intervall: 120
- Click on "Next".
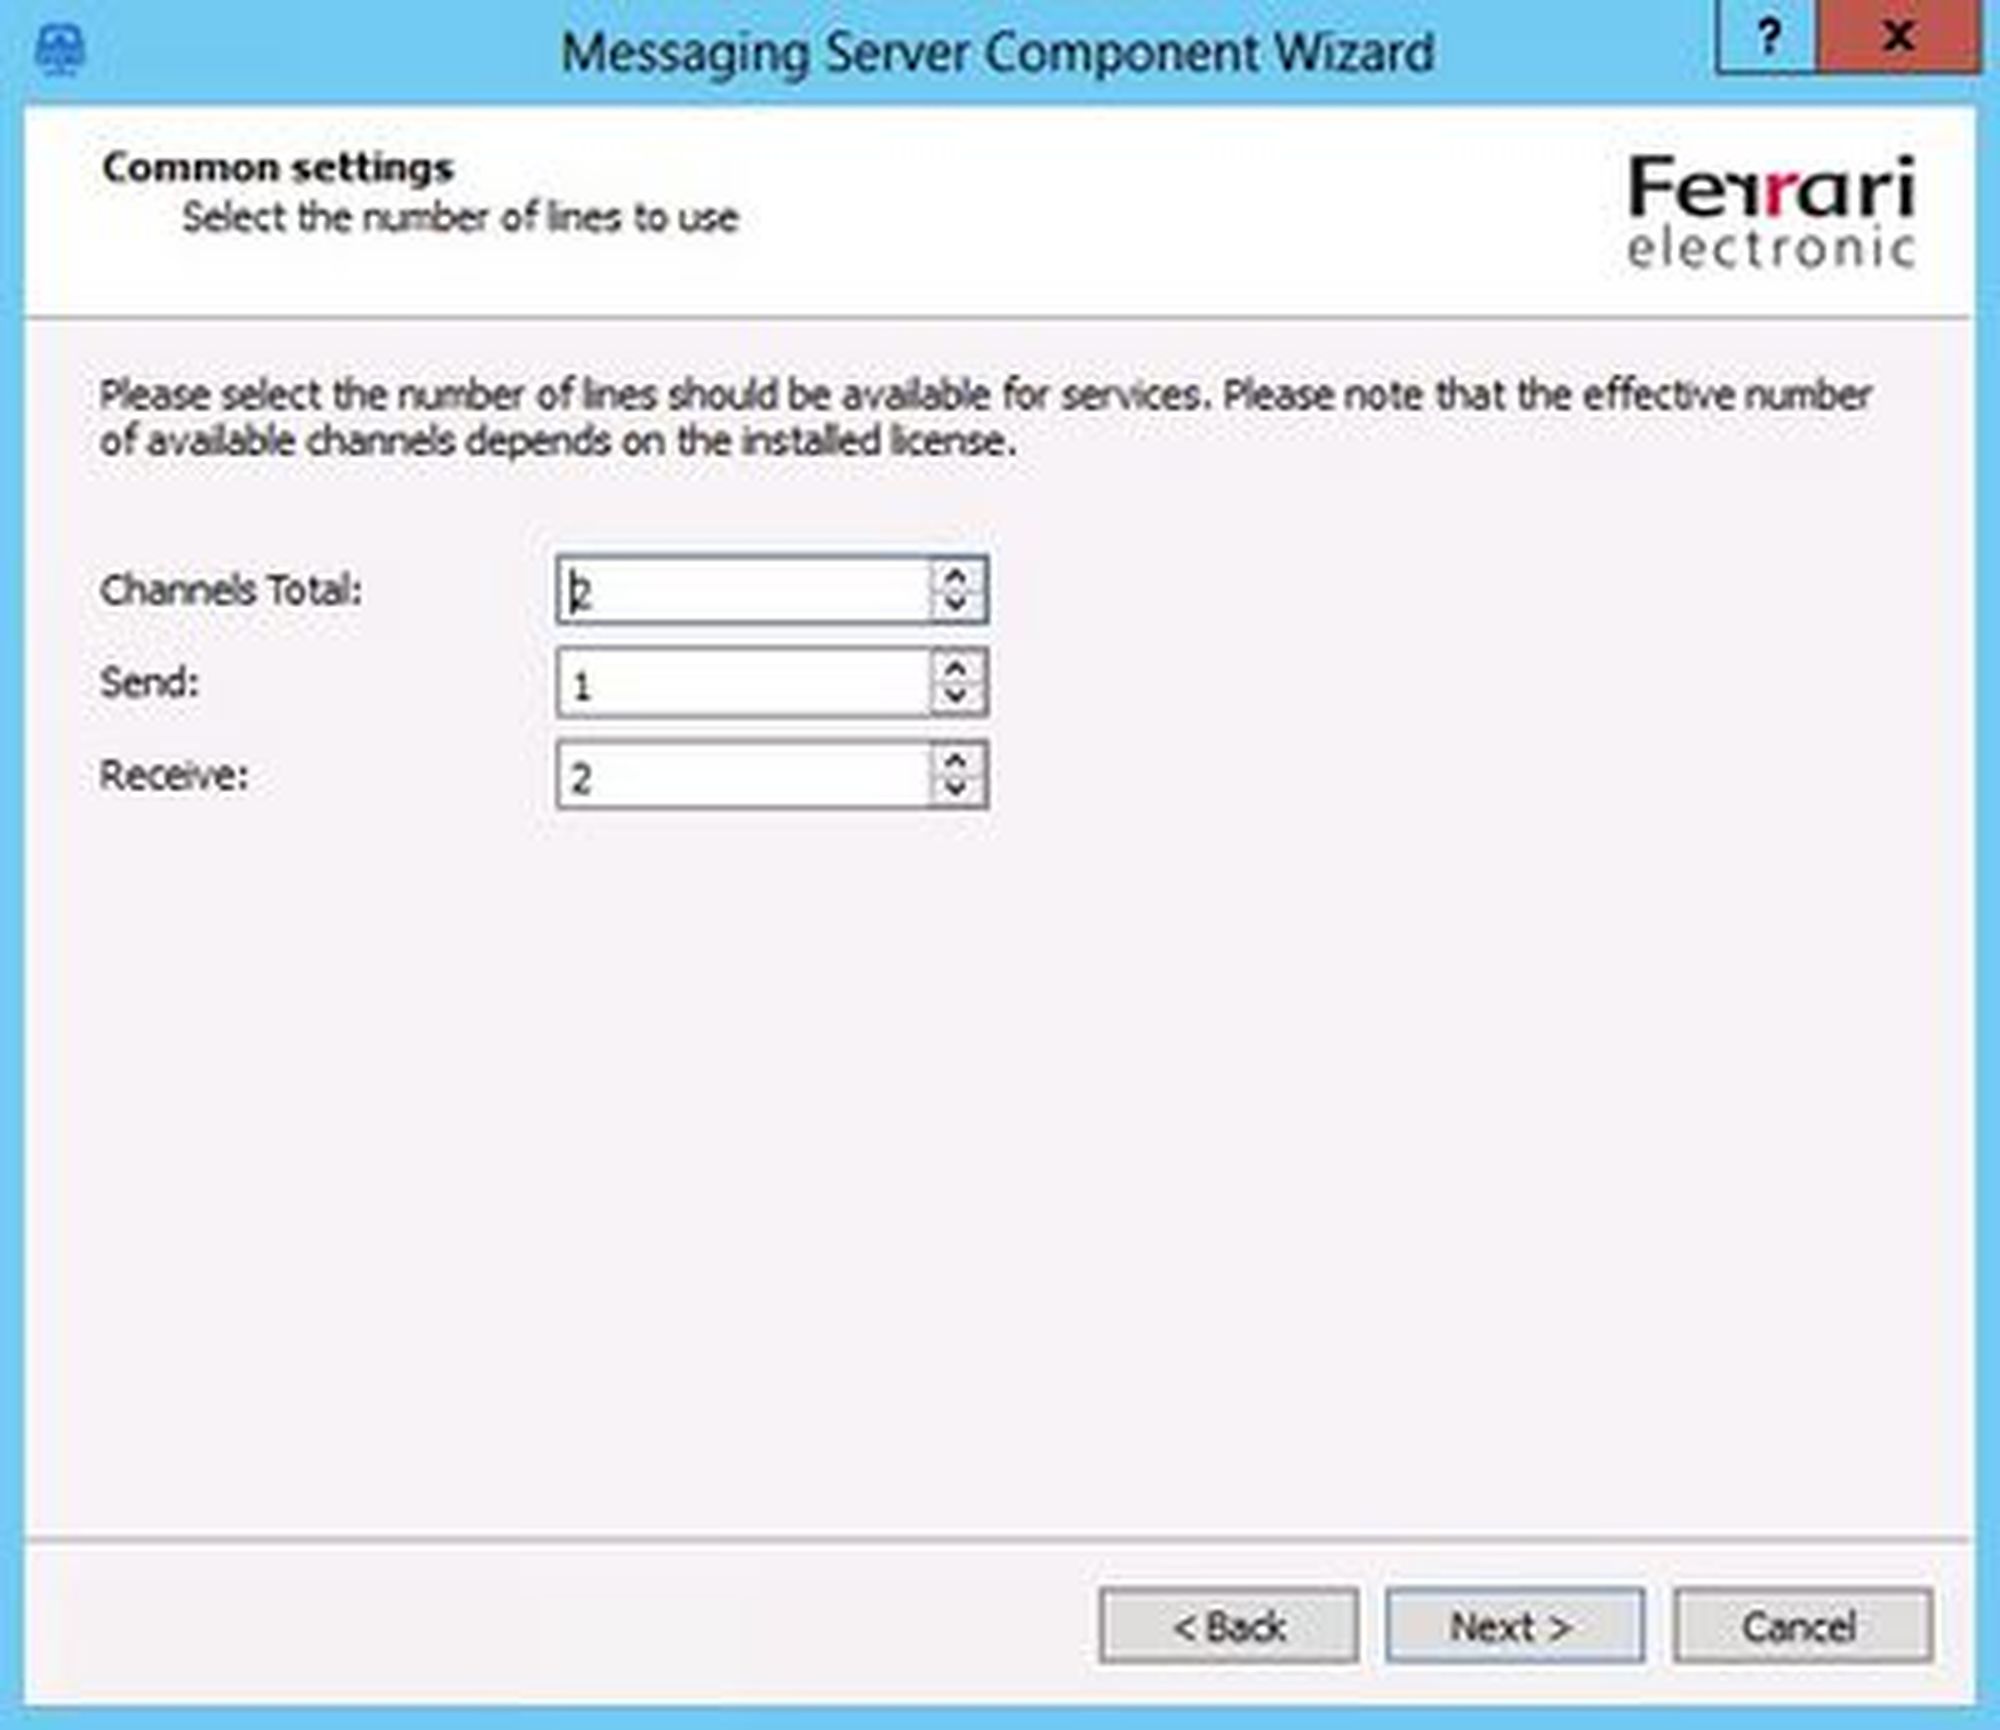
- Enter the total number of lines and the number of lines to be used for sending and receiving.
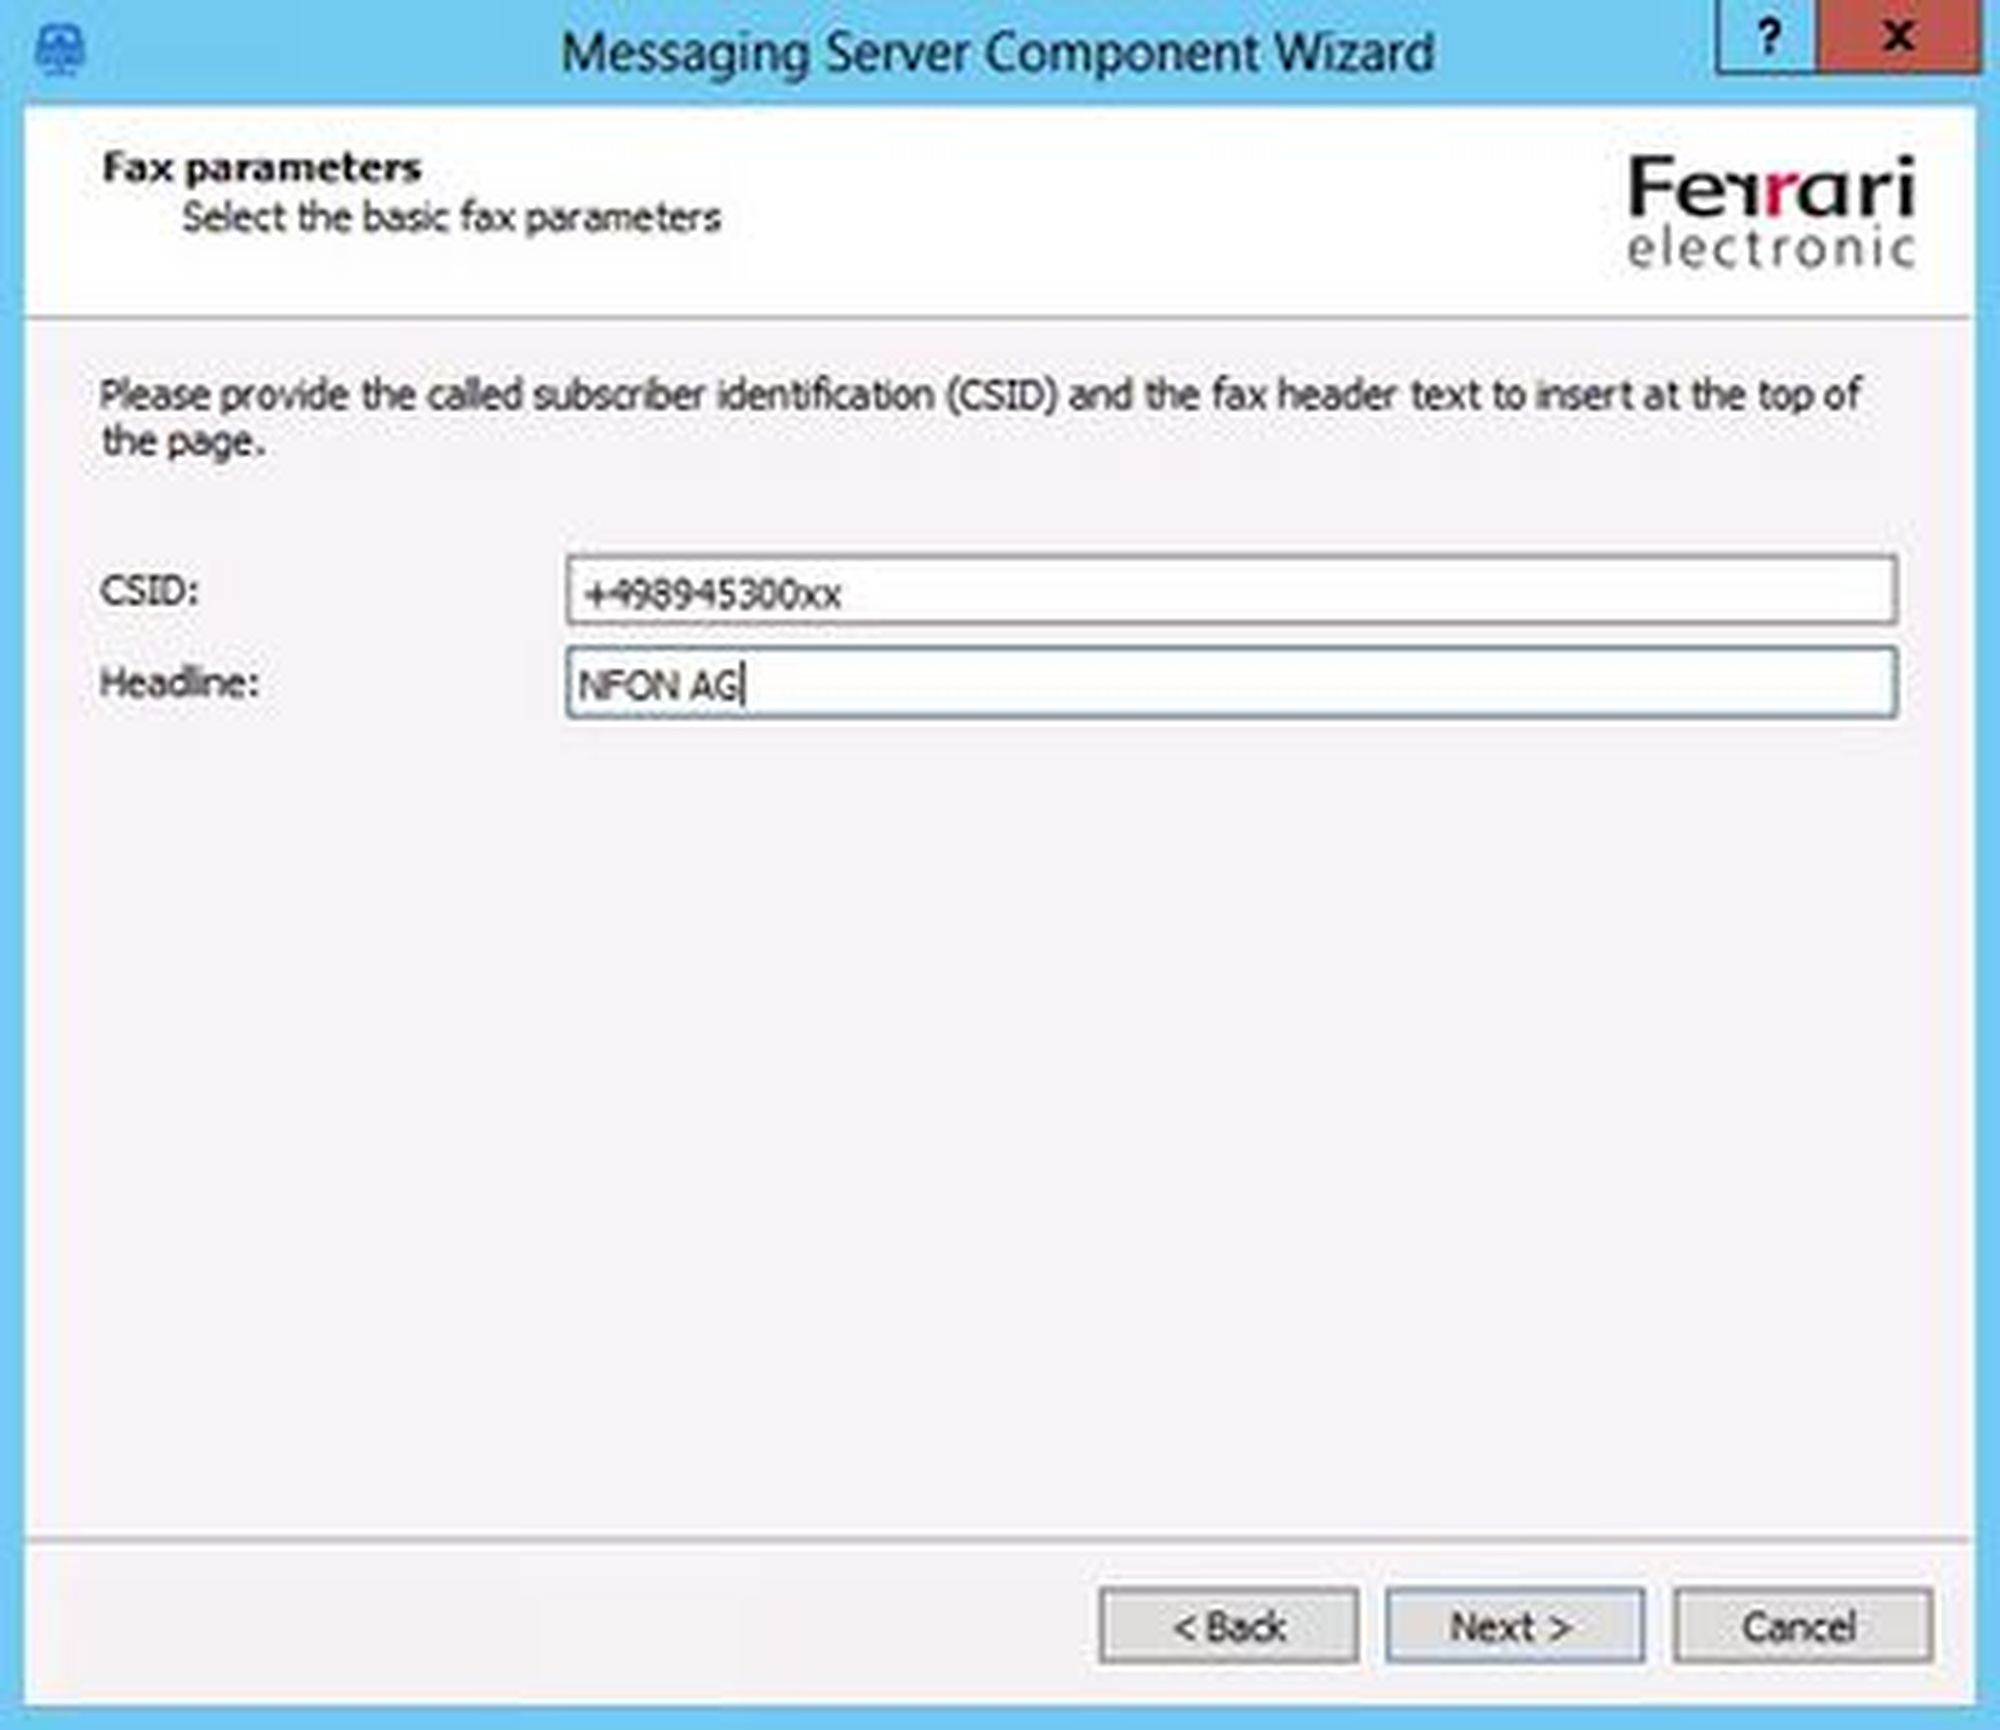
- Enter your CSID and the header.
- Click on "Next".
- To complete the setup, click on "Finish".
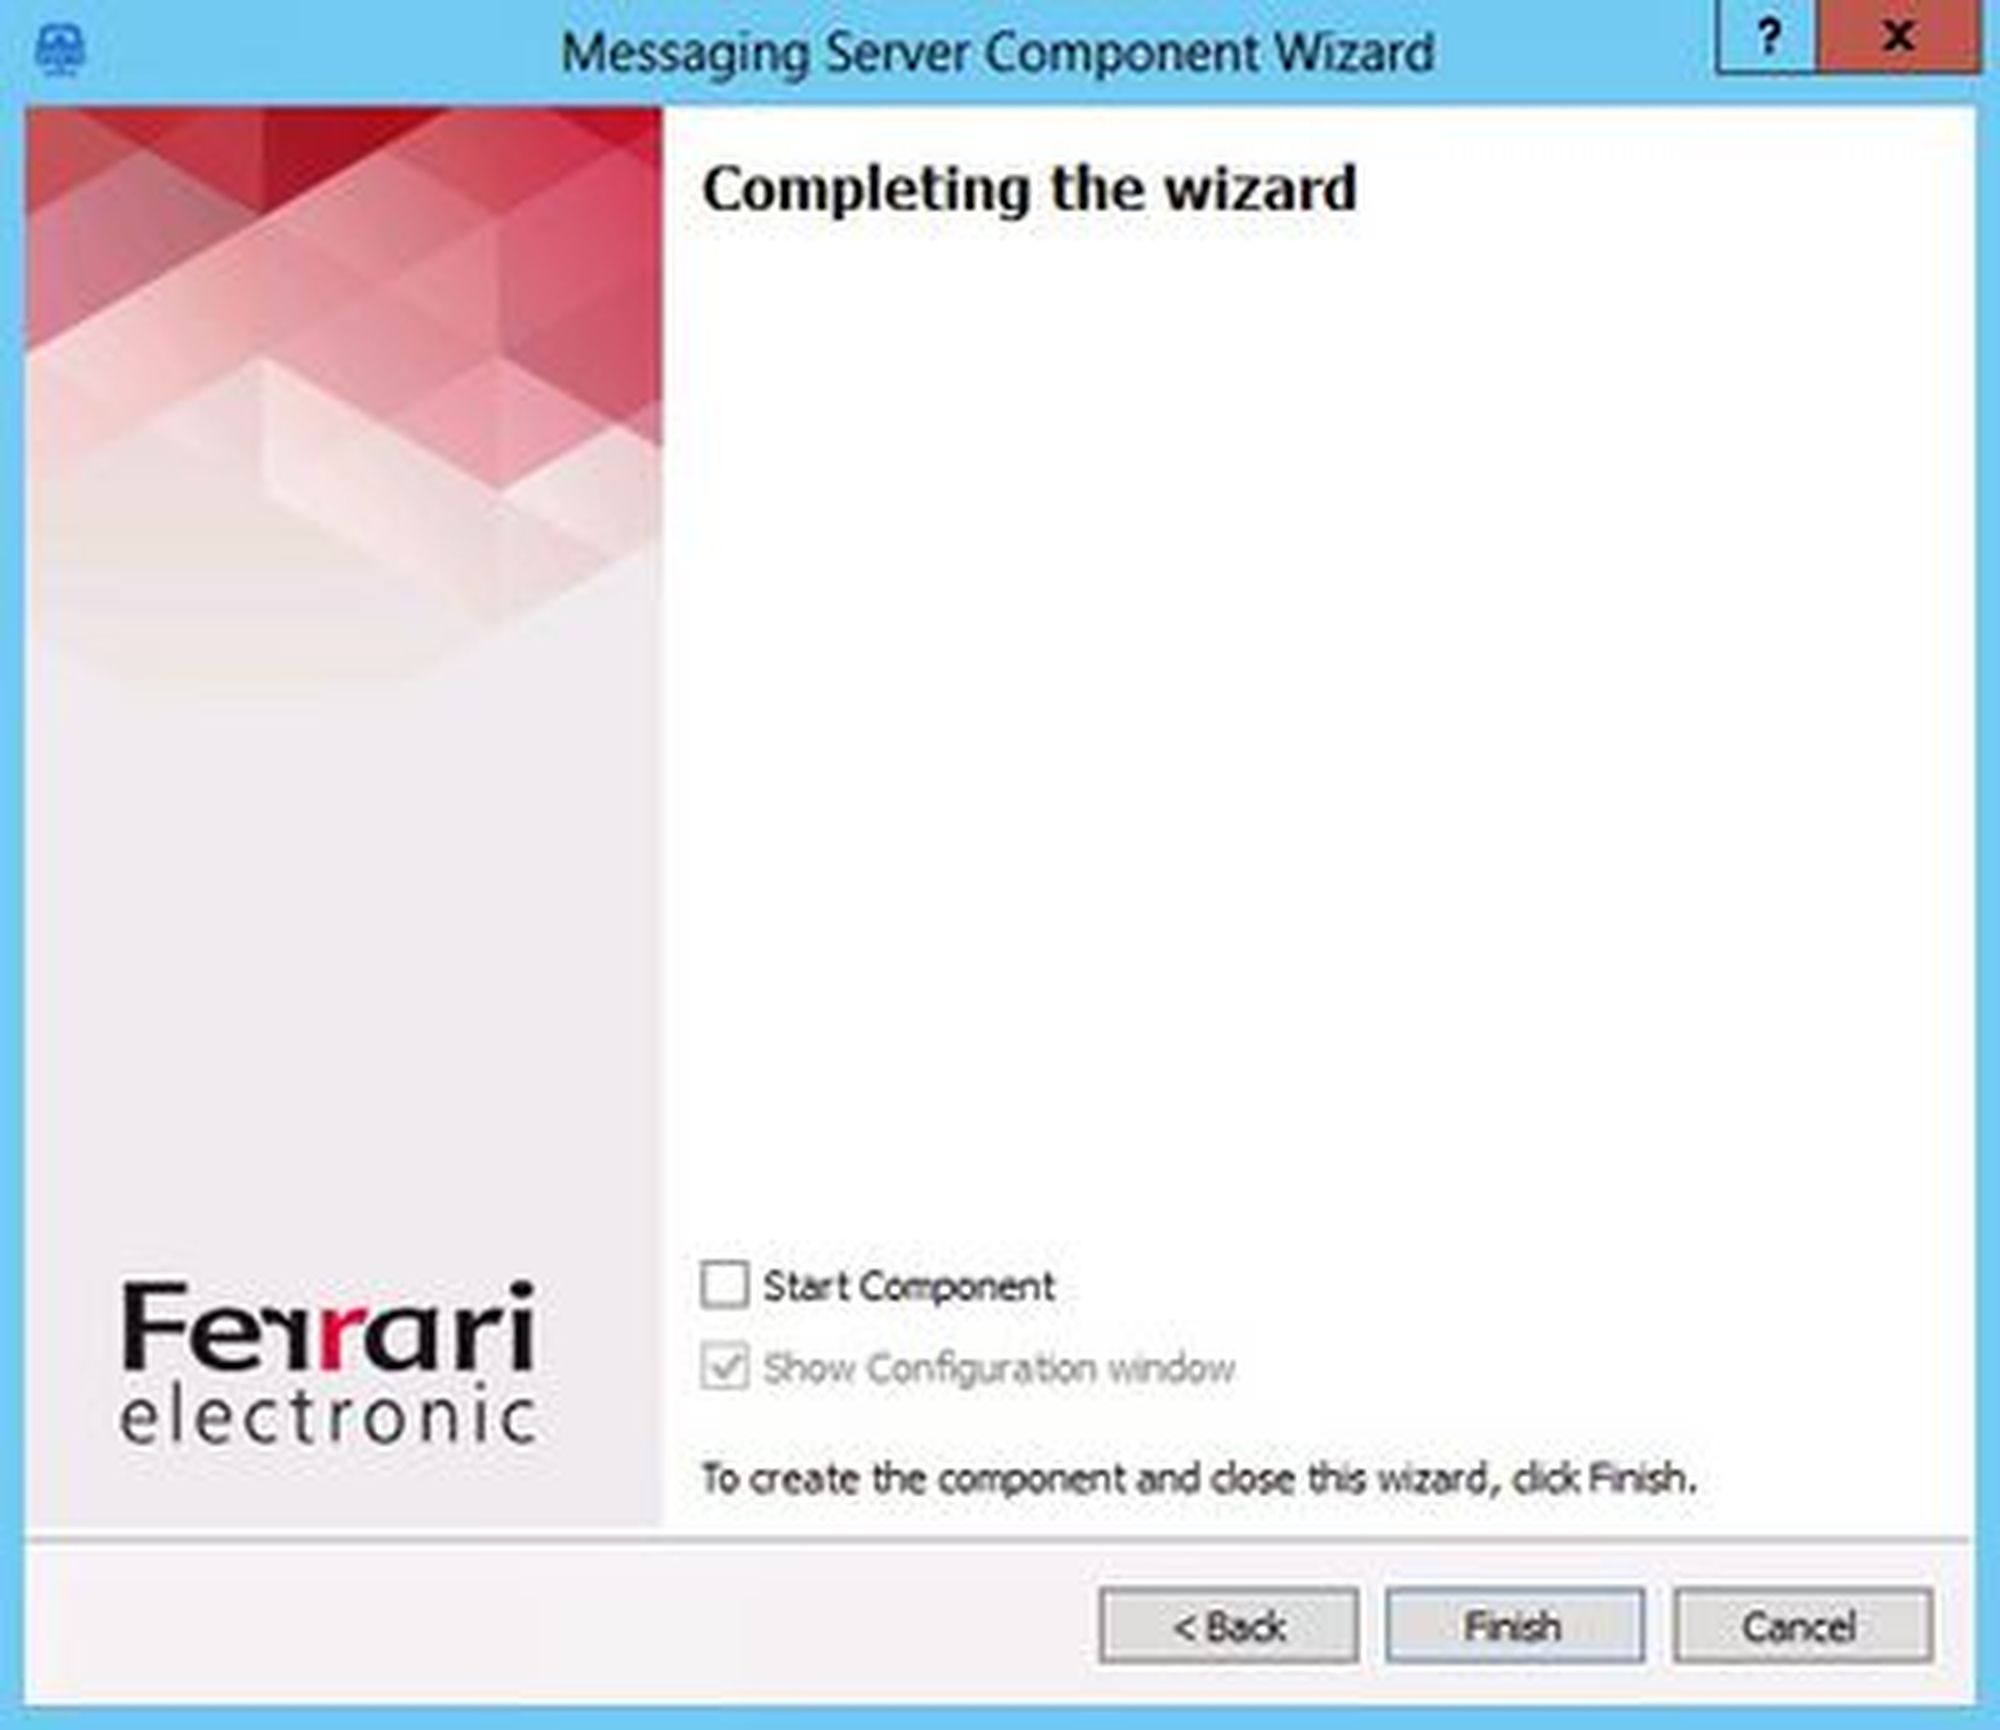
- You have successfully set up the connection.