1. Requirements
1.1 Installation
Please consider the following requirements to ensure an optimal use of the NCTI standard/CRM client:
a PC with operating System Windows Server 2012, Windows Server 2016, Windows Server 2019, Windows 8, Windows 10 or Windows 11. Processor: x68 as advised by Microsoft for Windows Operating Systems. No support for ARM processors.
an IP system phone by the following device manufacturer: Mitel (formerly AASTRA), Panasonic (except DECT phones), snom or Yealink
IP address of your system phone, extension number and VoiceMail PIN
Note
It is possible to install the NCTI standard / CRM in a terminal server environment. The TAPI interface is not terminal server compatible.
Tip
To find the IP address of the respective system phone, please have a look at the instructions by the device manufacturer. Find an overview of all desktop phone manuals under Desktop Phones .
Tip
For installations greater than 400 users, please check the system requirements under NCTI clients for Windows.
1.2. Software installation
The NCTI standard client is available in two versions. The basic version is not covered with CRM integration. Dependent on which version you use, you're able to download the respective setup for the NCTI standard or NCTI standard CRM at the downloads page. Please start the setup and follow the instructions by the installation wizard.
Please find an example installation procedure of the NCTI standard / CRM at the following.
Tip
Please note the following information when choosing a 32bit or a 64bit compatible client.
The 32 and 64bit compatibility is regarding your Microsoft Office application only as exemplary described in the following:
NCTI standard / CRM 32bit: Typically your client is compatible with a 32bit Office package and a 32bit operating system. To install your client on a 64bit operating system and a 32bit Office package, you need a 32bit installer.
NCTI standard / CRM 64bit: Typically your client is compatible with a 64bit Office package and a 64bit operating system. Your client is not compatible with a 32bit operating system and 64bit Office Package. The 64bit installer does not work for a 32bit operating system.
Please start the setup and follow the instructions.
Please find an illustration of the installation below.
- Click Next.
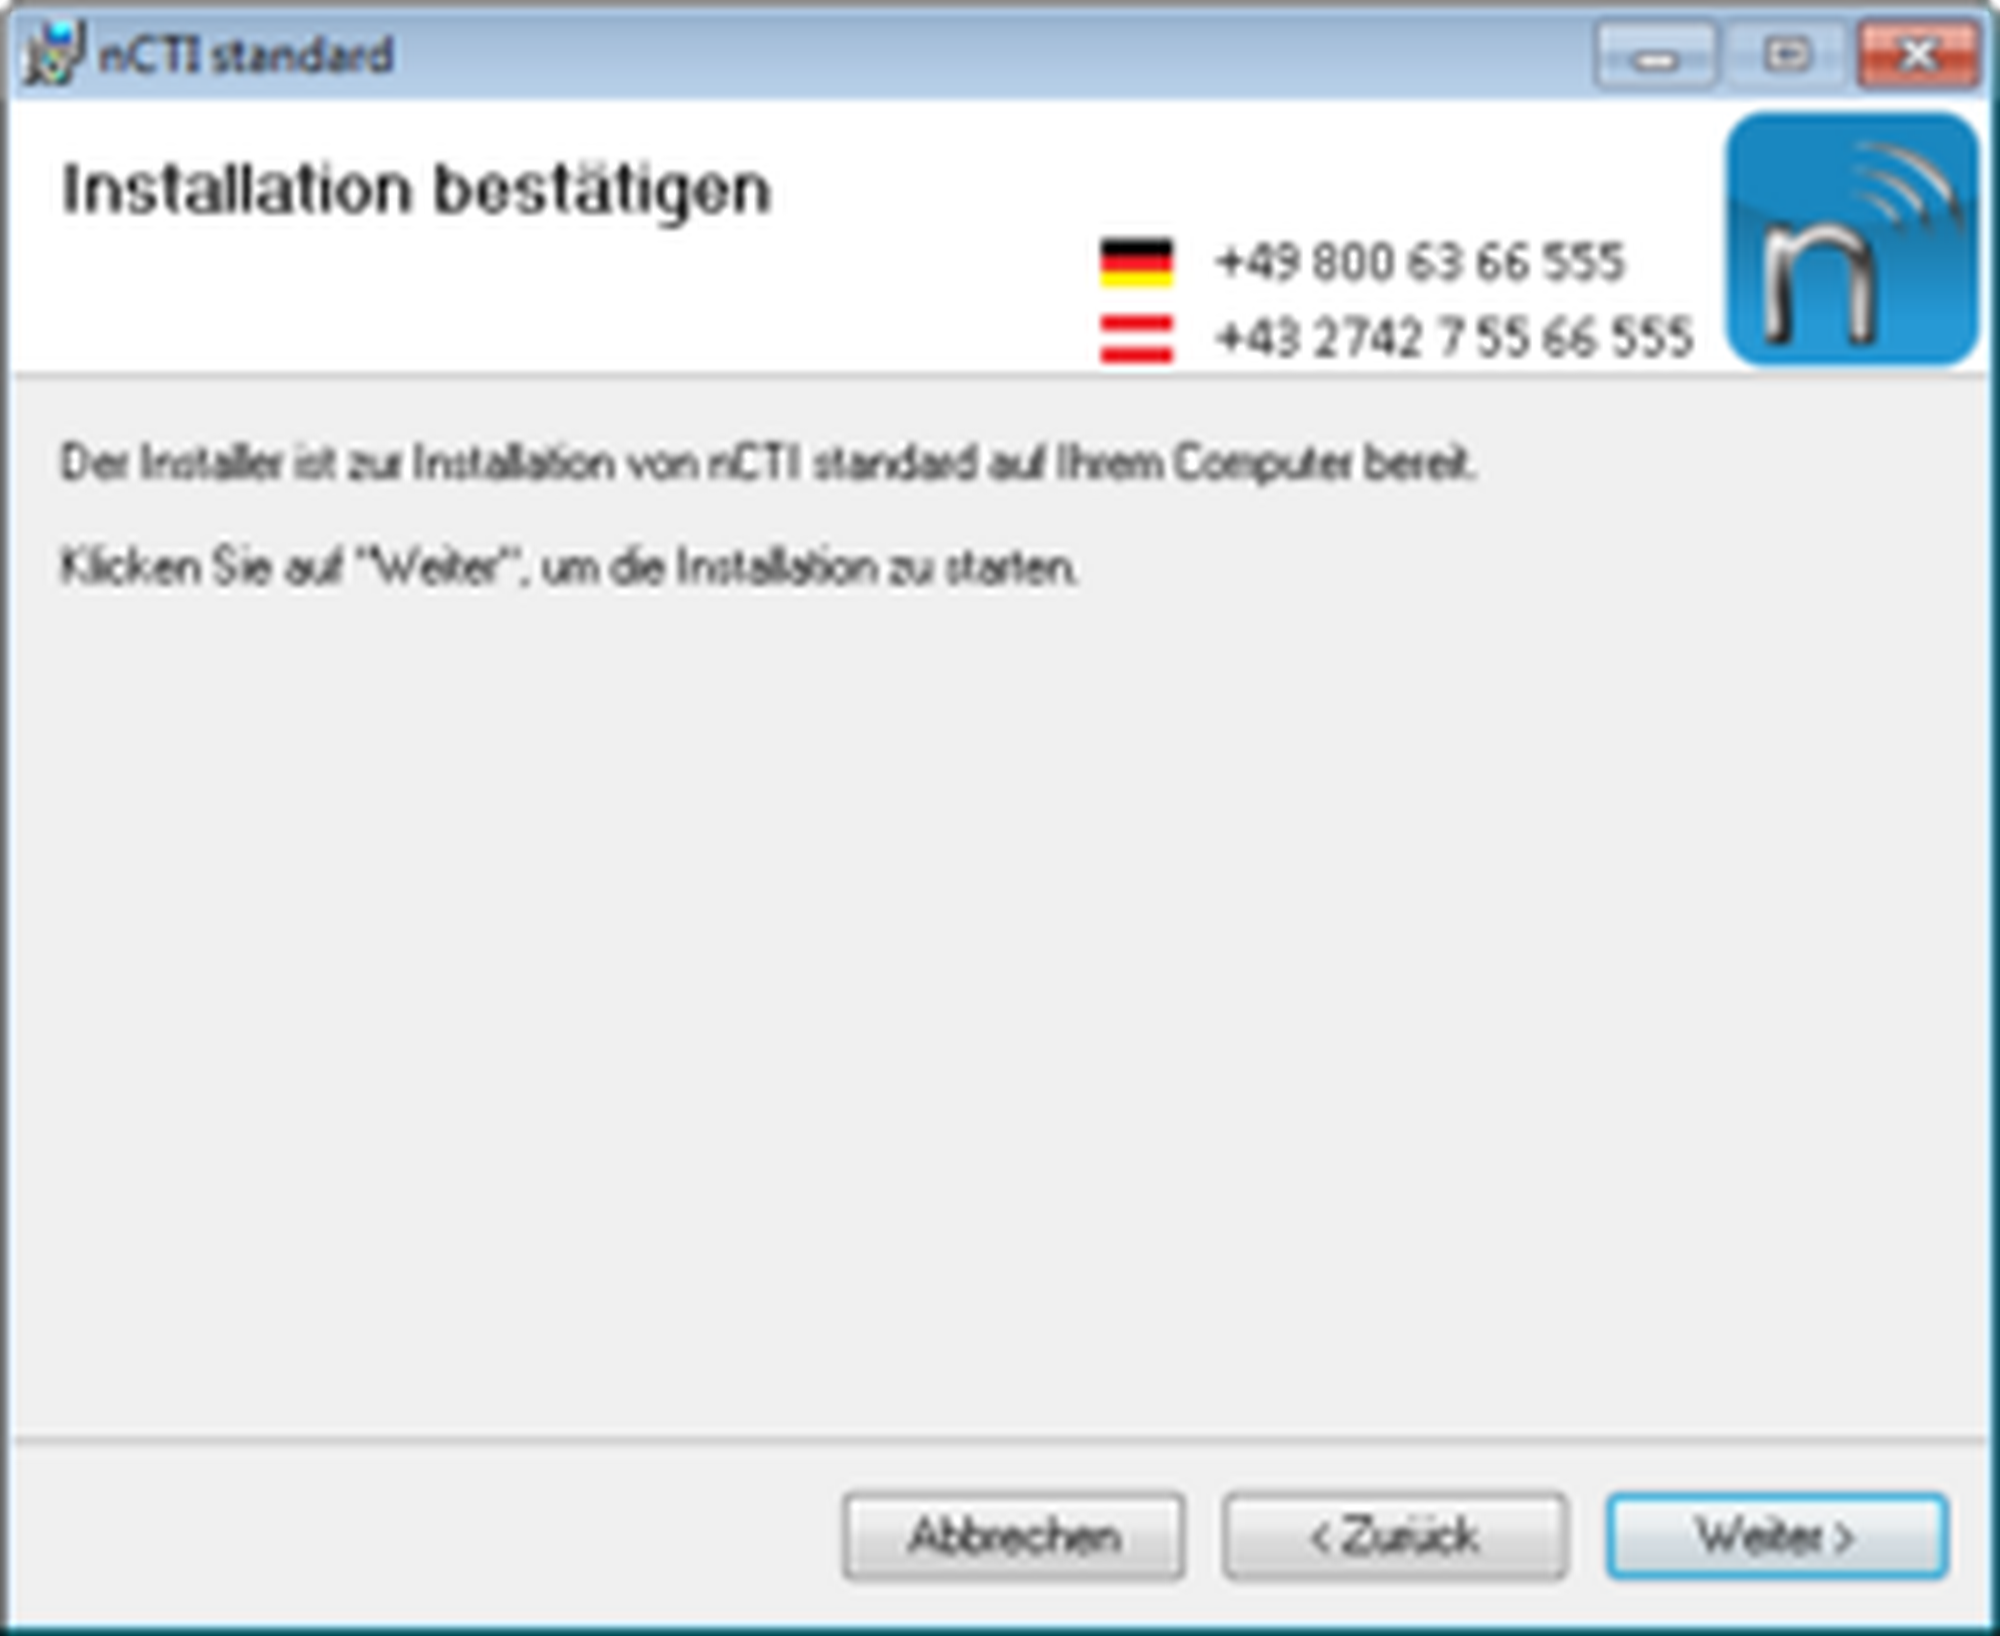
-Click Next.
The installation procedure can take some minutes.
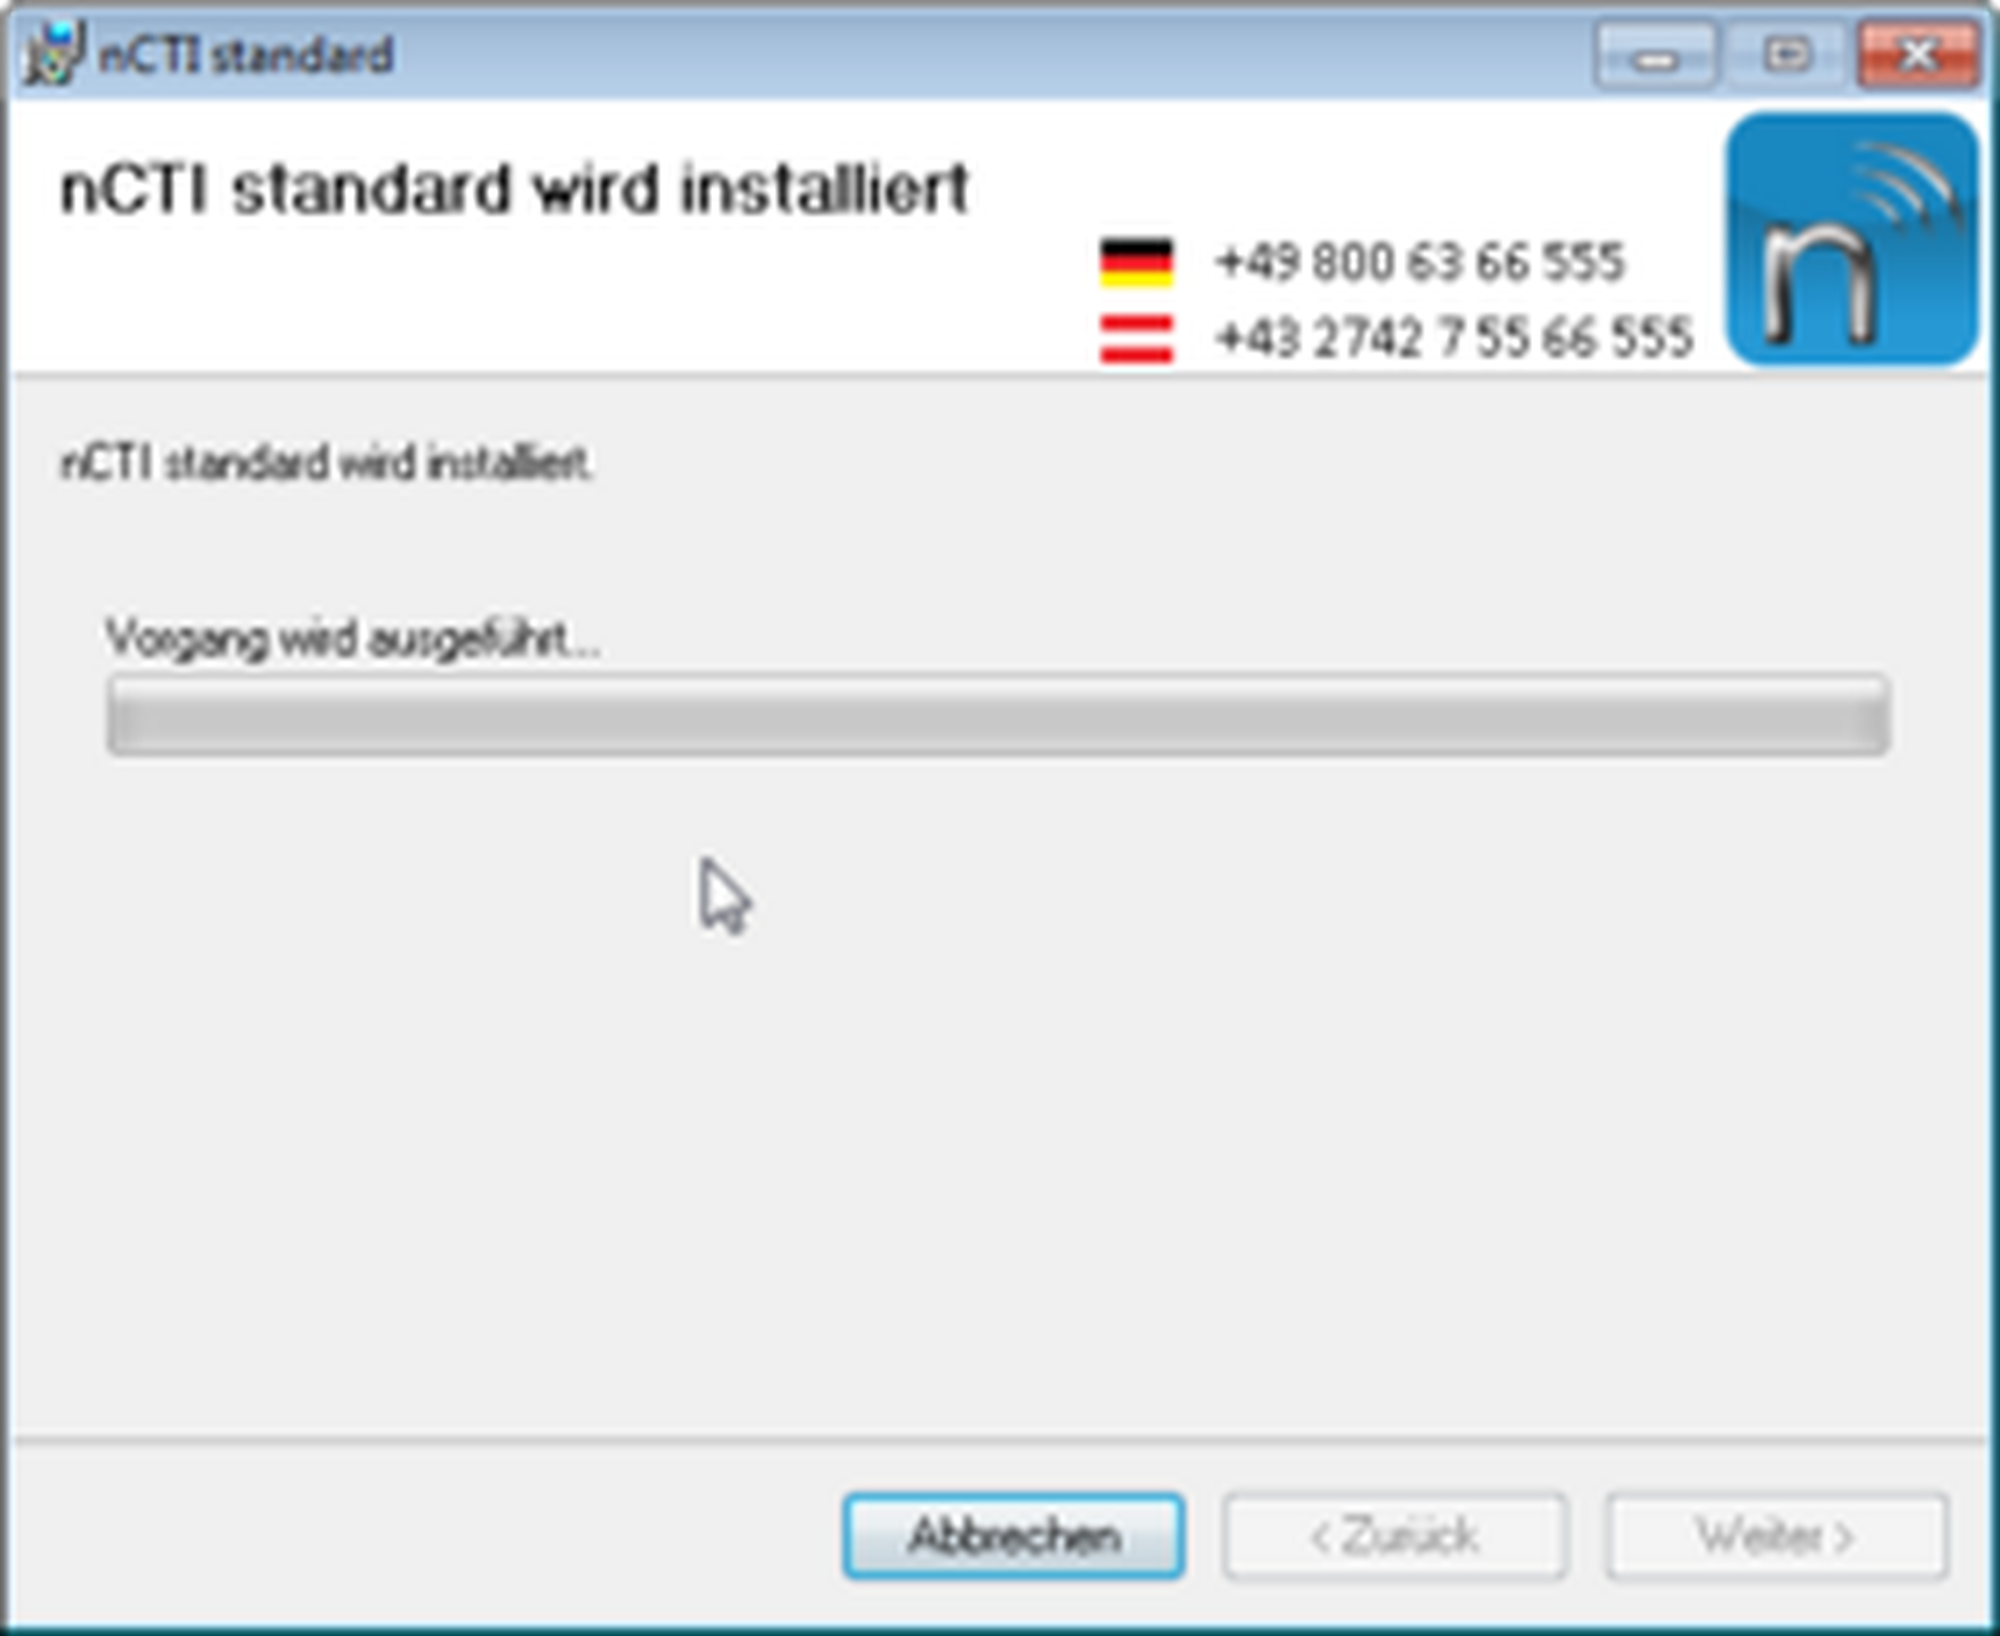
- Click Close.
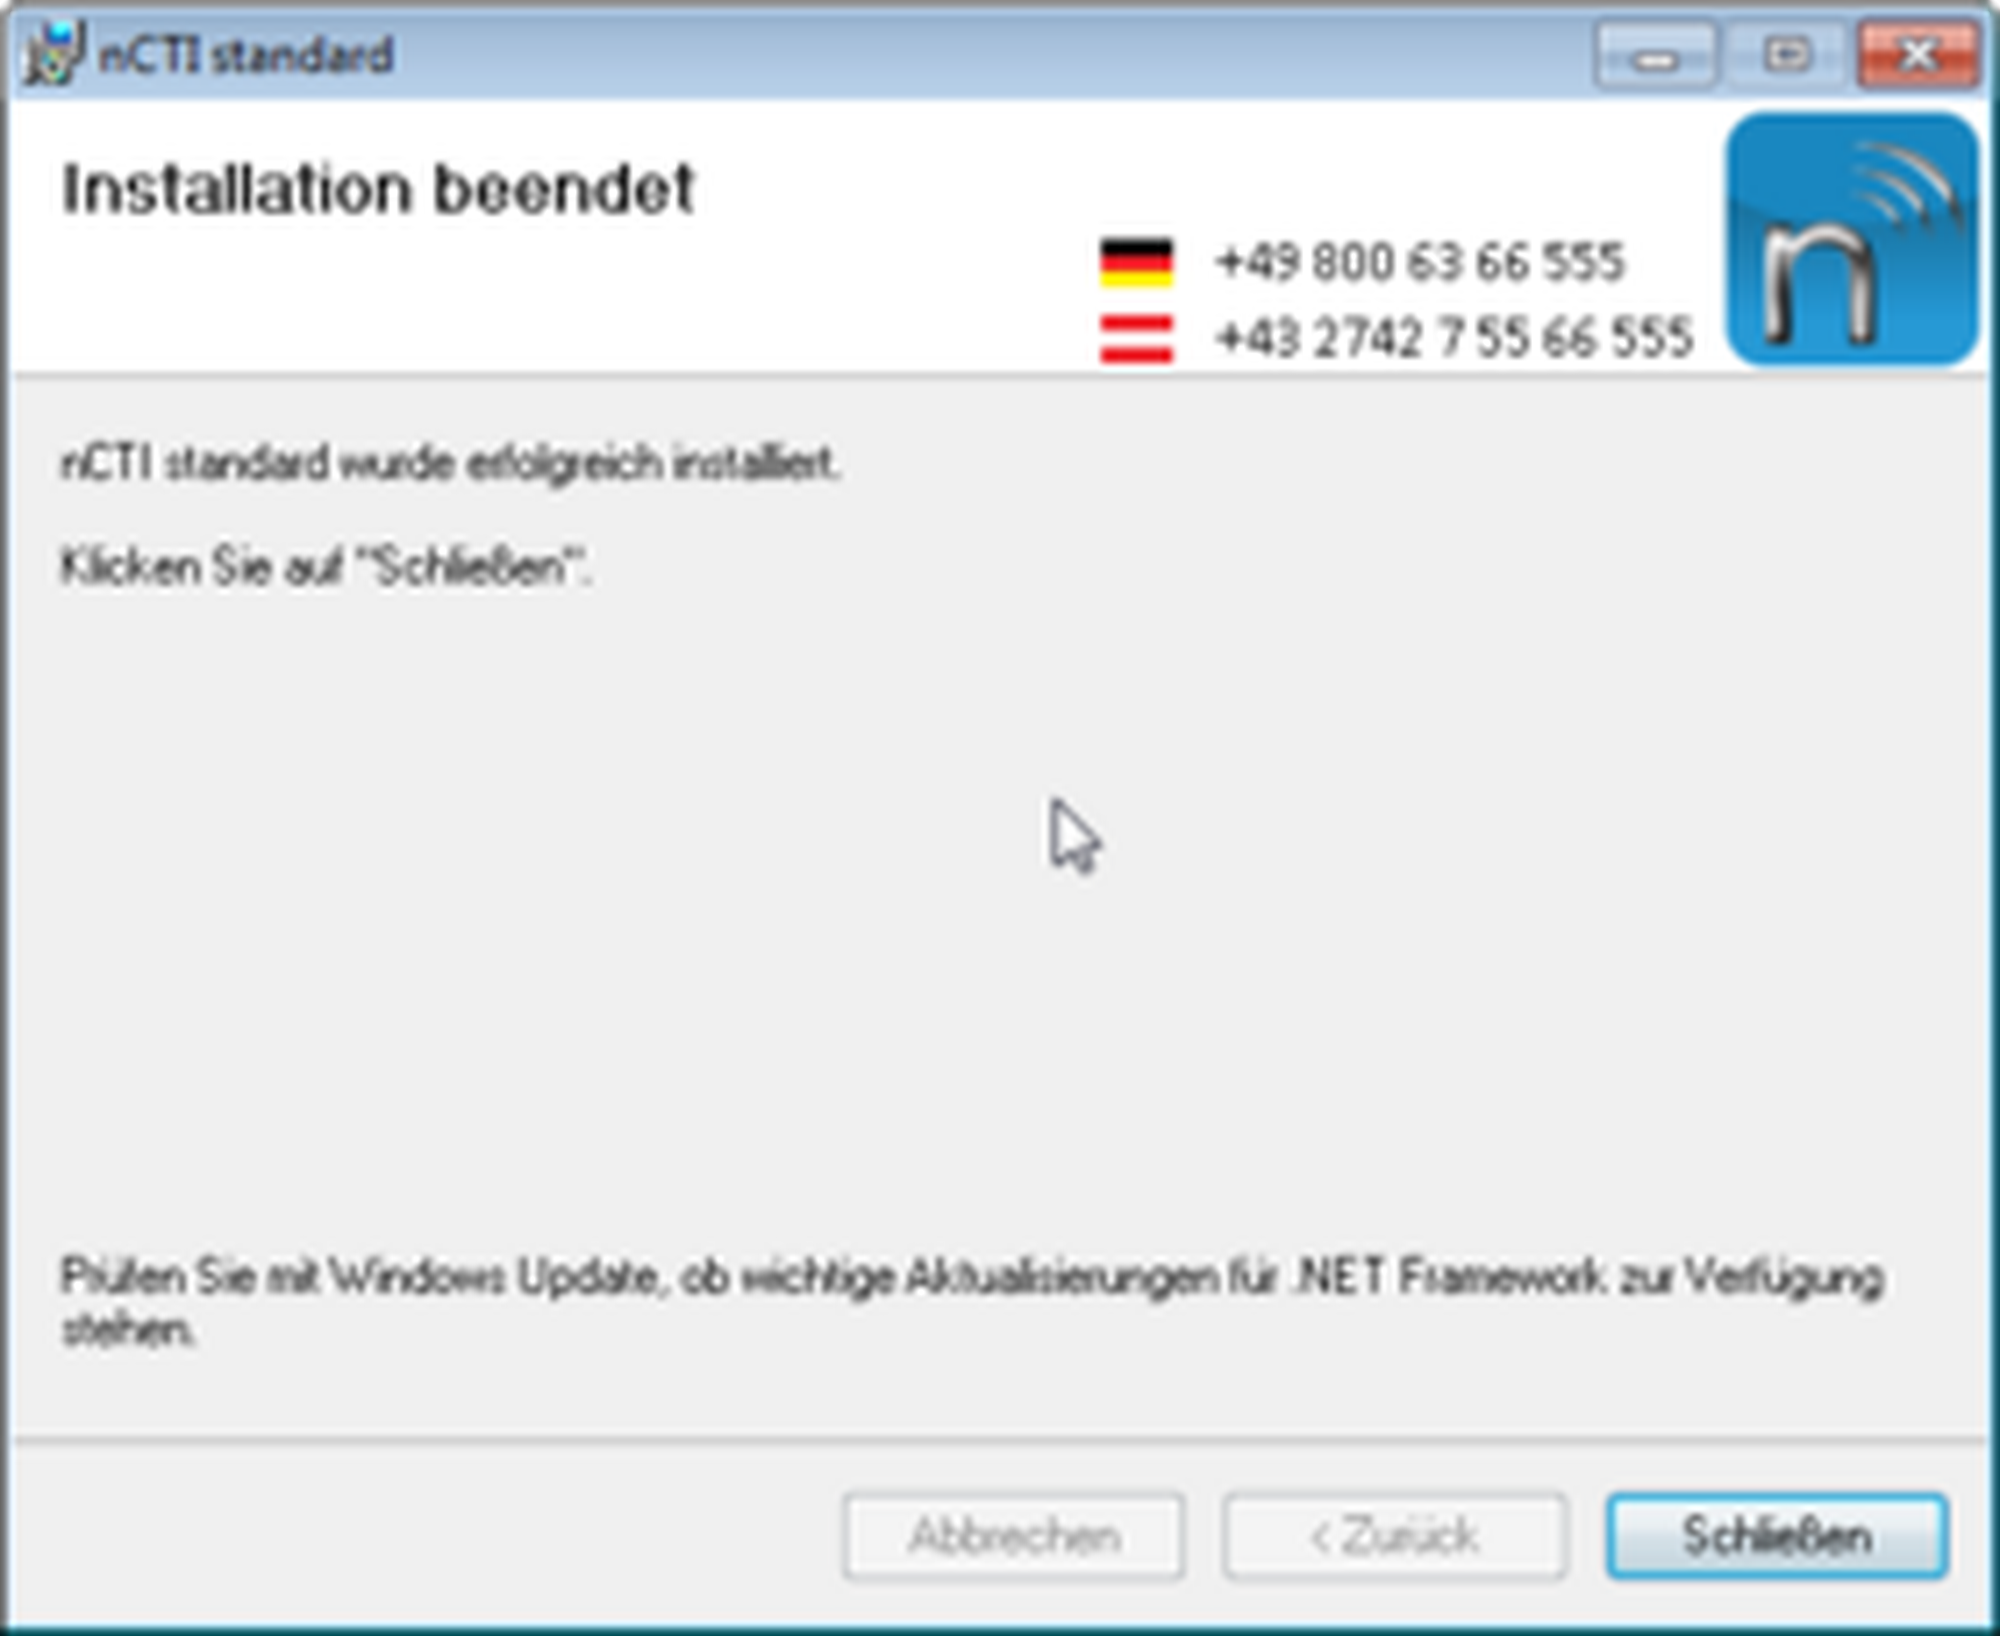
As soon as the installation is successfully completed you'll find the NCTI standard symbol in the tray.
Until now, client is not linked to your desktop phone.
Tip
See Device configuration for further information on how to integrate the client with your desktop phone.
NCTI standard / CRM is in auto start mode. This means that the application starts running as soon as you start your PC. At successful start and connection to your device, the client in the tray  changes from grey to blue.
⇒ The installation procedure is with that successfully completed!
1.3. Device configuration
1.3.1. General information
Integrate system phones at the NCTI standard / CRM client by following device manufacturer: Mitel (formerly AASTRA), Panasonic (except DECT phones), snom or Yealink.
Tip
Find an overview of all certified devices by the above-mentioned device manufacturers under Certified Devices.
To connect your client with your device, enter the system phones's IP address, your extension number and voicemail PIN.
As soon as you correctly entered all relevant information, your device automatically connects to the client and you can start right away.
1.3.2. Extension set-up
Here you will find the configuration for your extension.
Define a valid license
A valid license for the client has to be defined in the administration portal. Follow these steps:
Visit Administration/Profile and change the CTI mode within Options to "On ". Contact your system administrator for further instructions and steps.
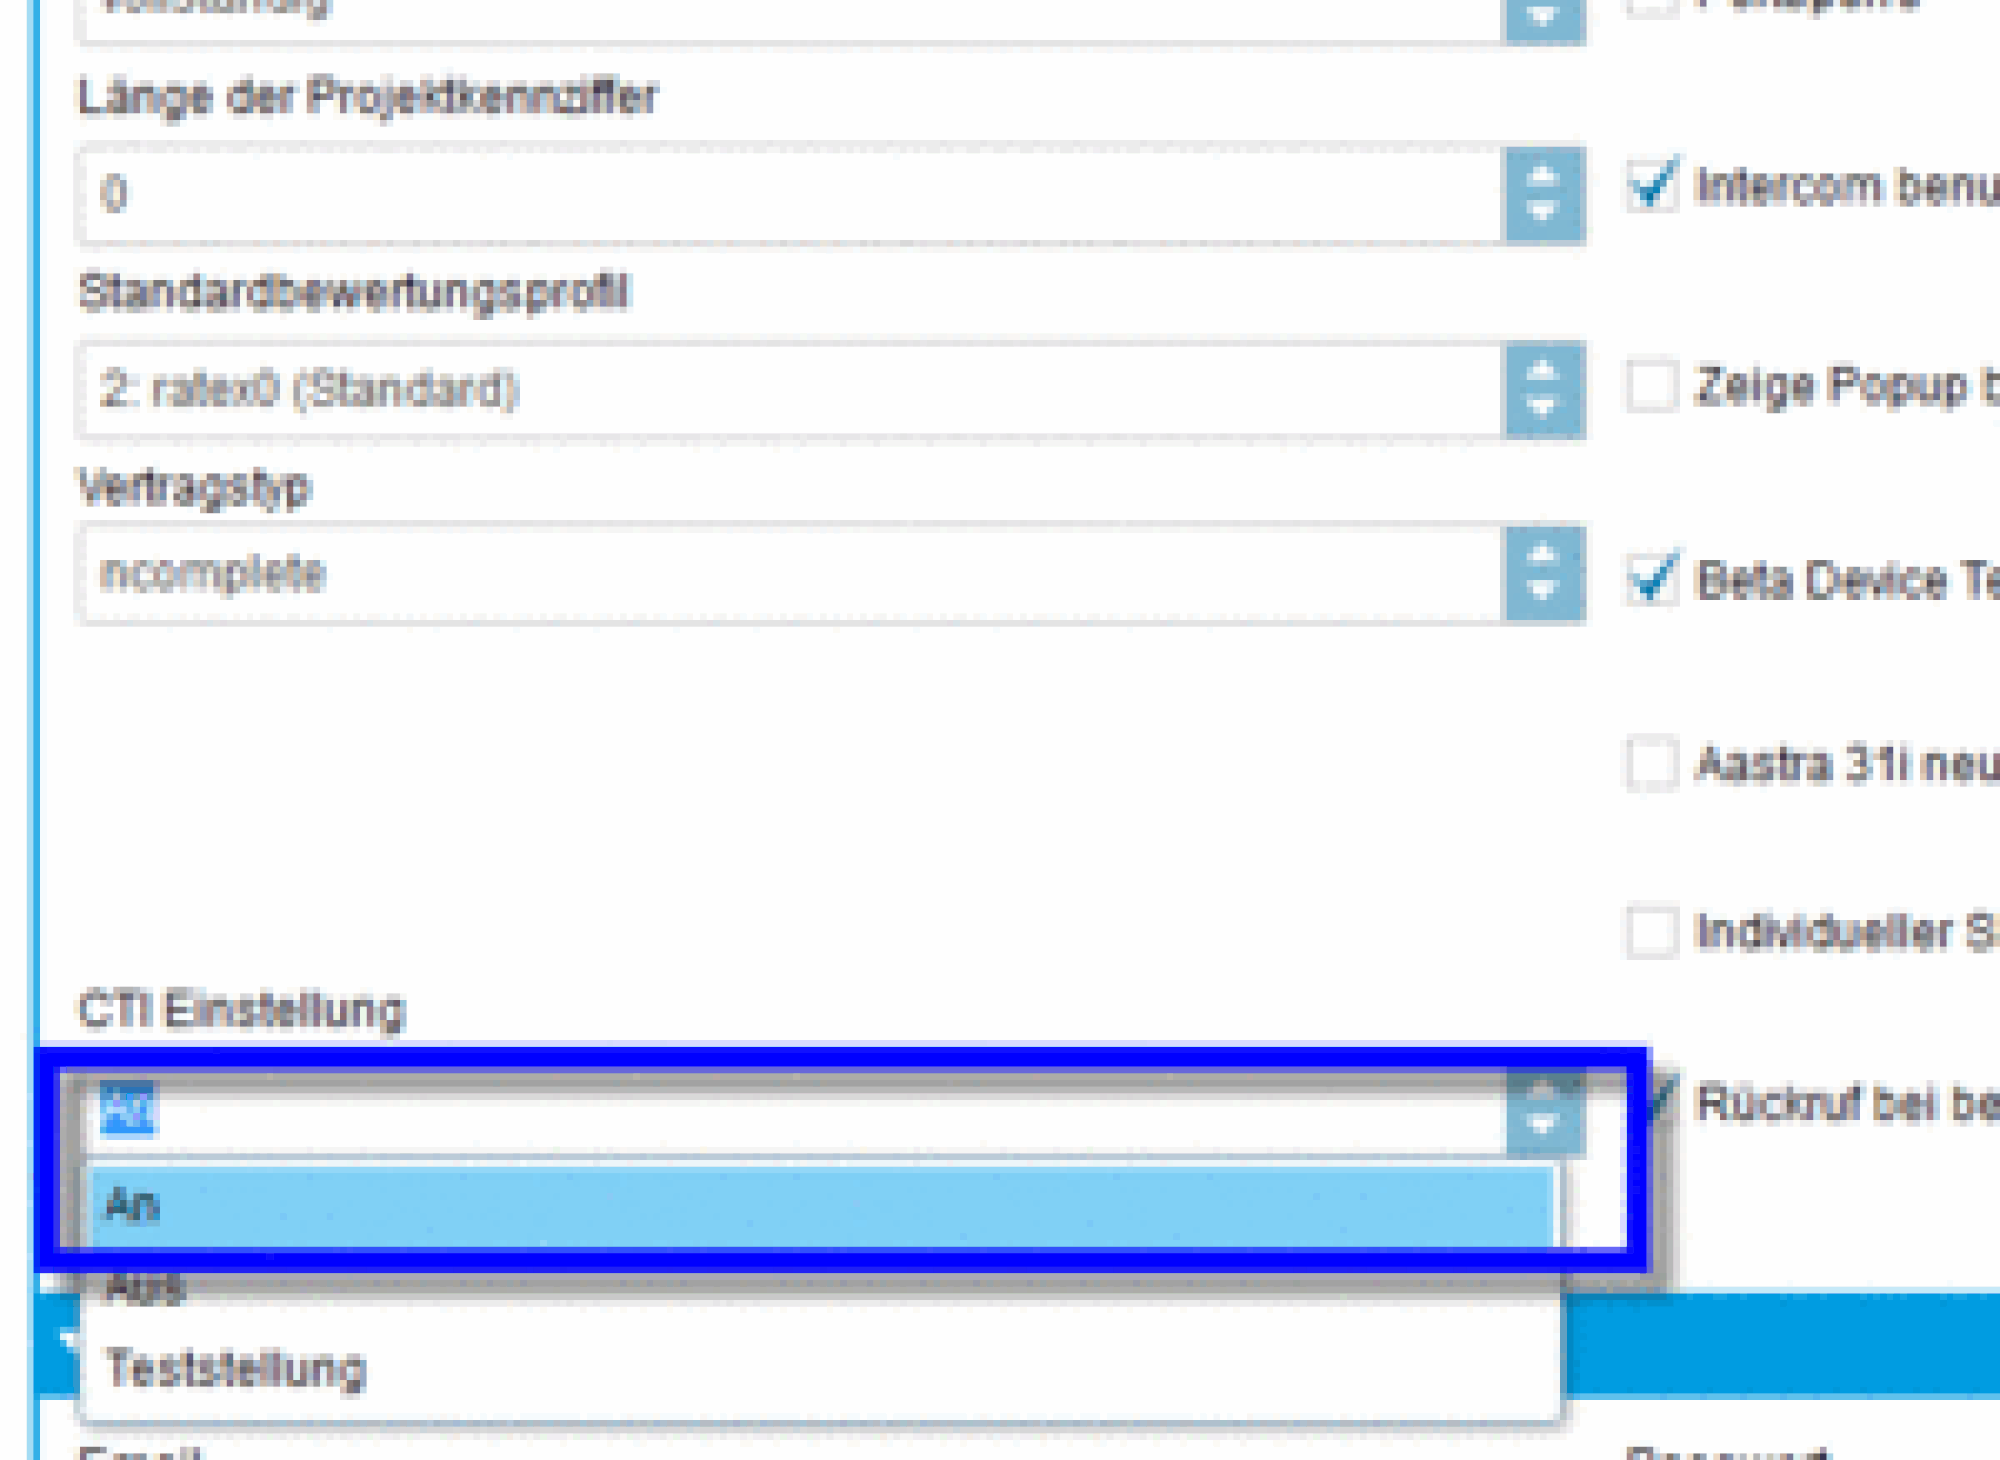
-Log into the administration portal with K-number and nvoice password (e. g. K1234 and test123) as soon as the CTI mode has been activated.
-Visit TARGETS and enter your extension number into the search box. Open the administration settings by double-clicking on the according entry. Check your CTI settings within "Configuration". If there's none or a incorrect CTI client defined, choose your client with or without CRM plugin.
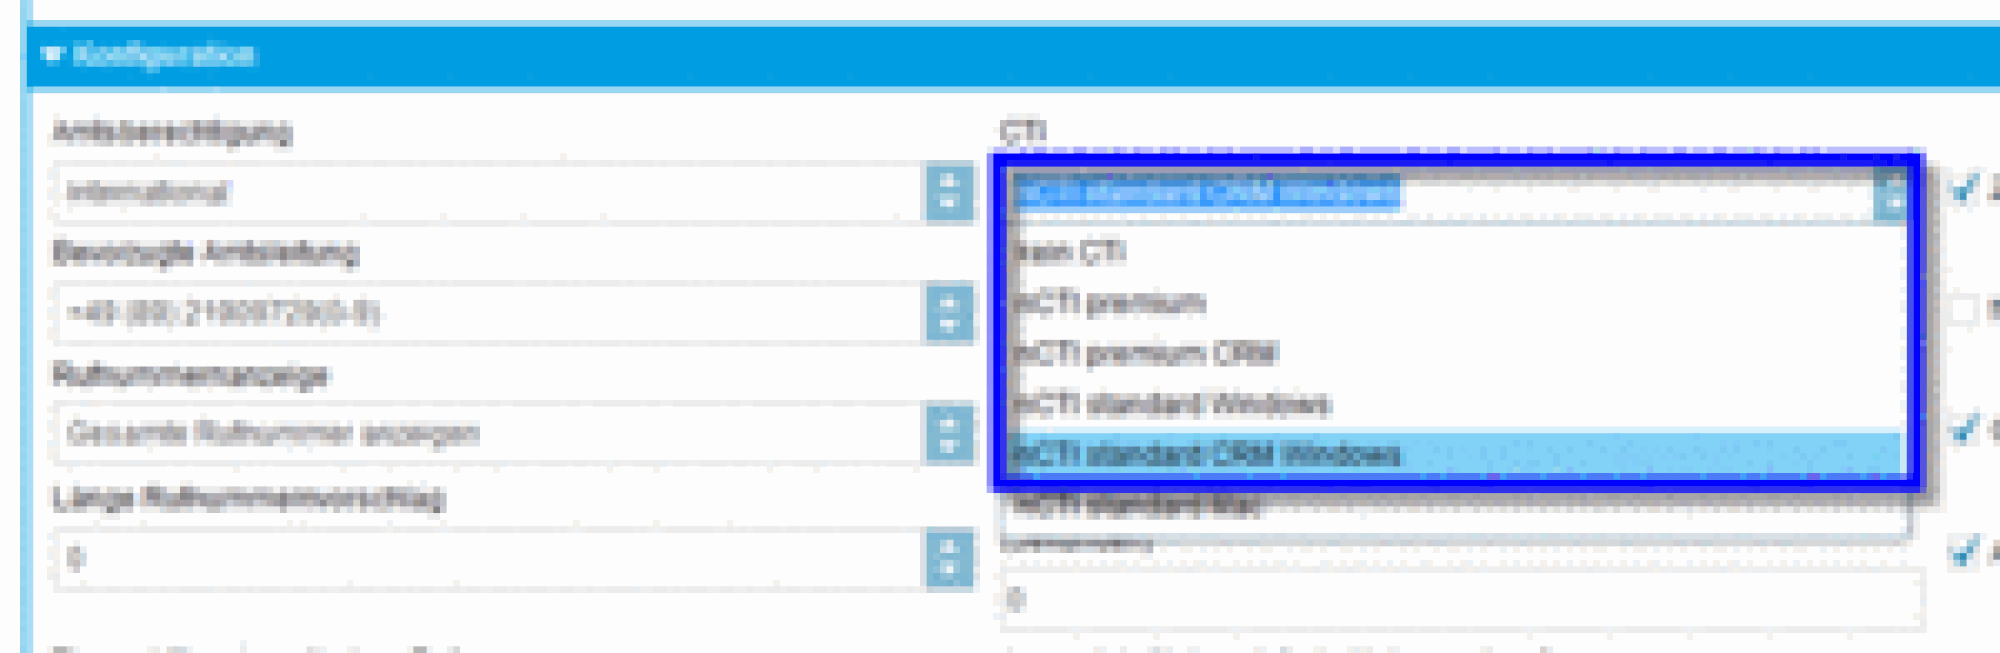
-Save your settings by clicking Save.
⇒Your settings will be applied and you are ready to use the NCTI standard / CRM client.
Configuration of the # trunk length
The length of the the # trunk can be defined in the administration portal under administration / trunks. If the trunk number is a single digit, calls will be displayed as #10123456789 instead of 00123456789.
1.3.3. Configuration of the software
Client configuration with connection to your device
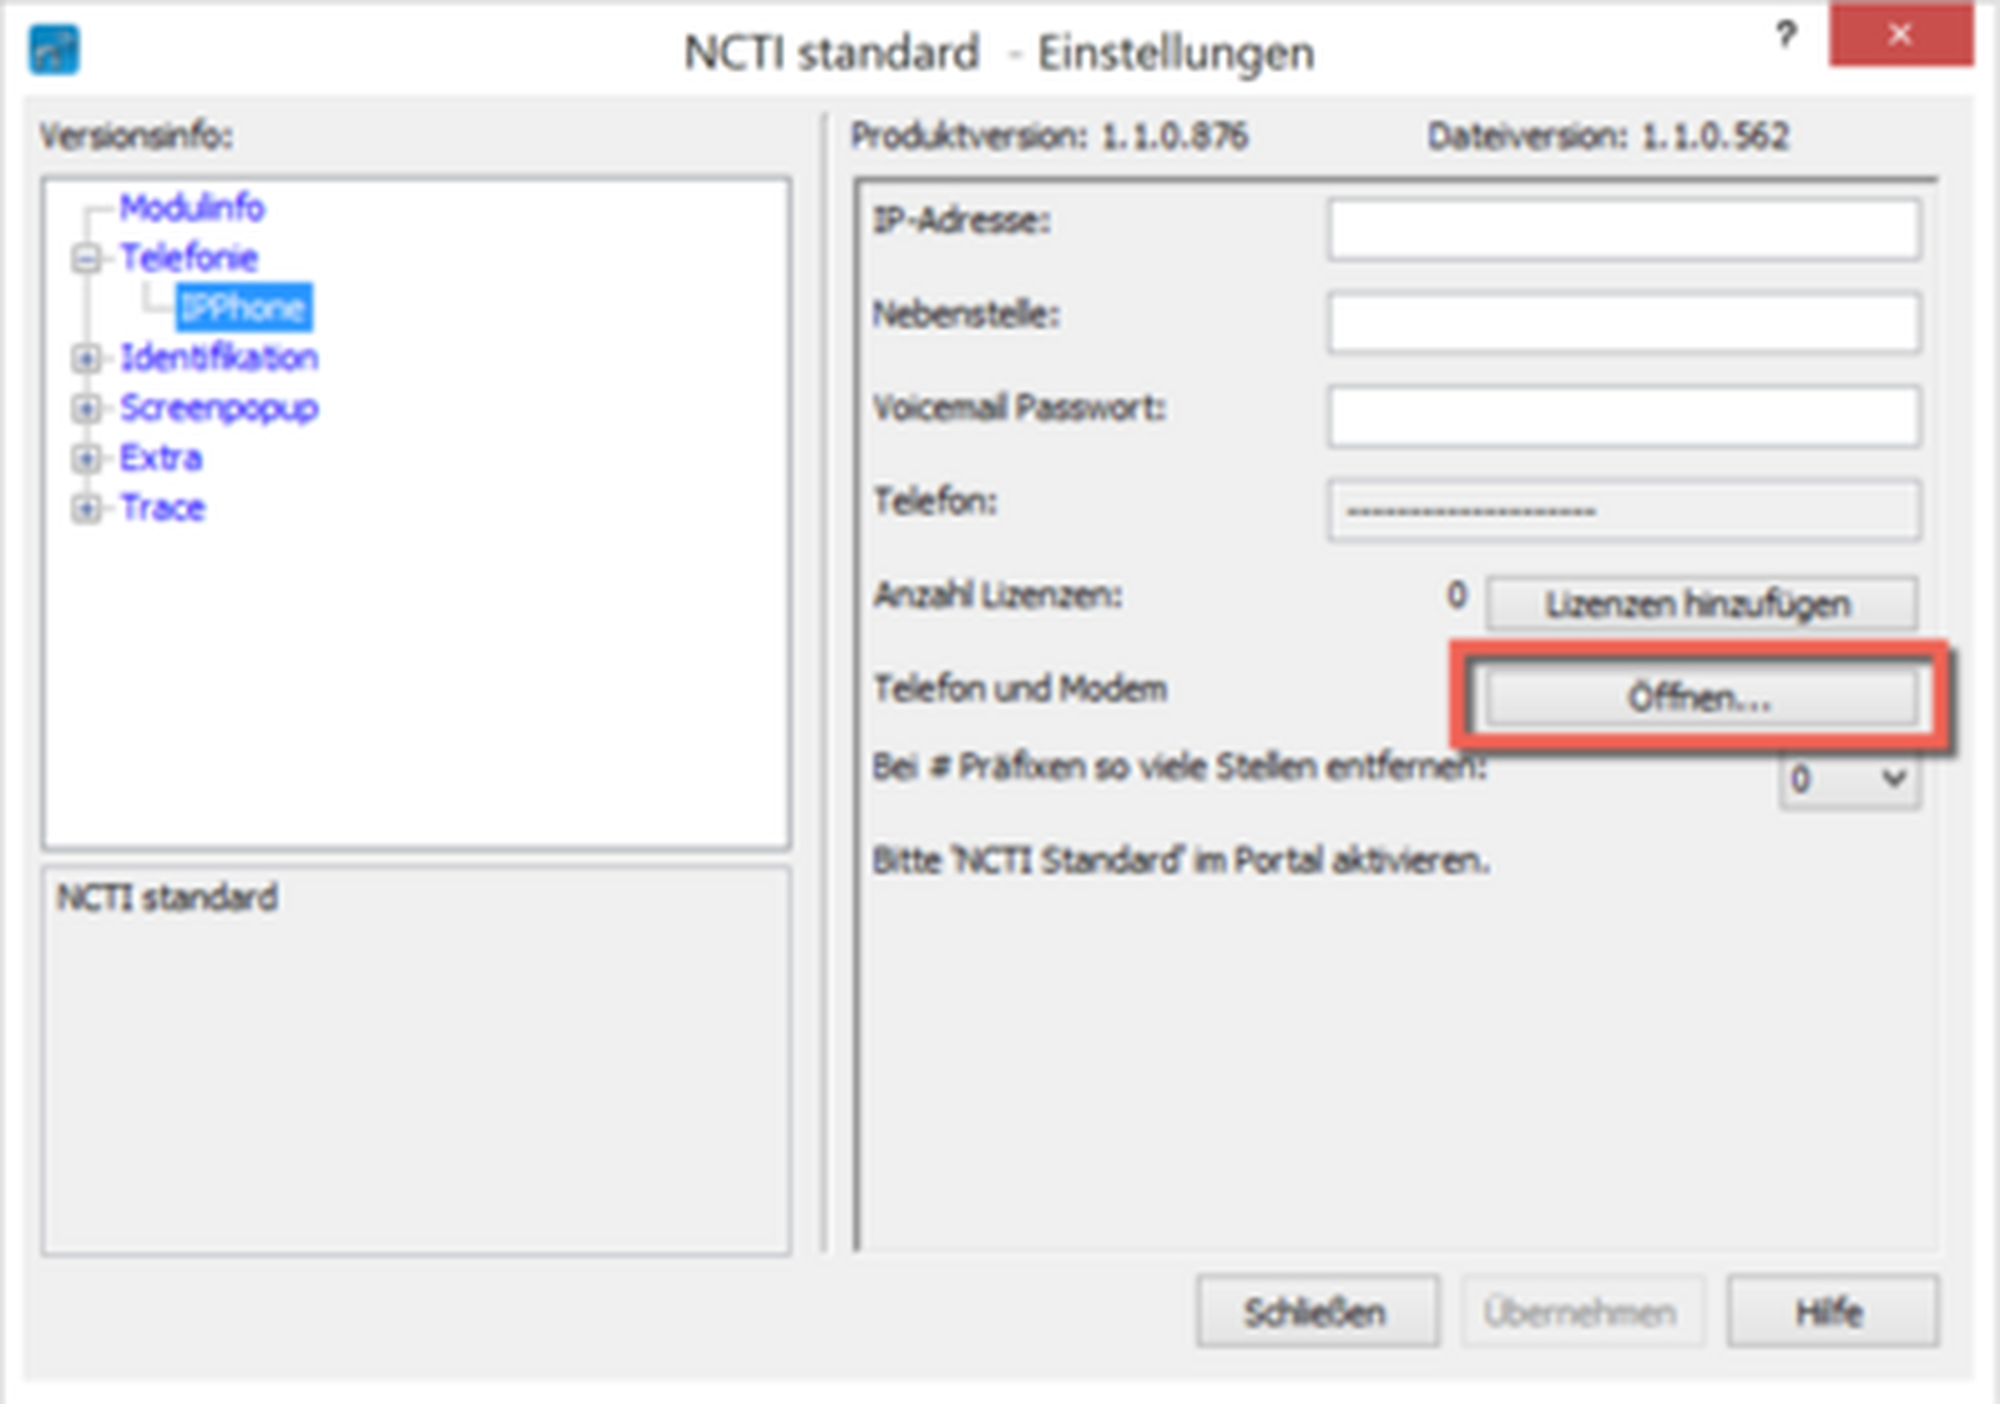
Open the administration panel by double-clicking the symbol in the menu bar .
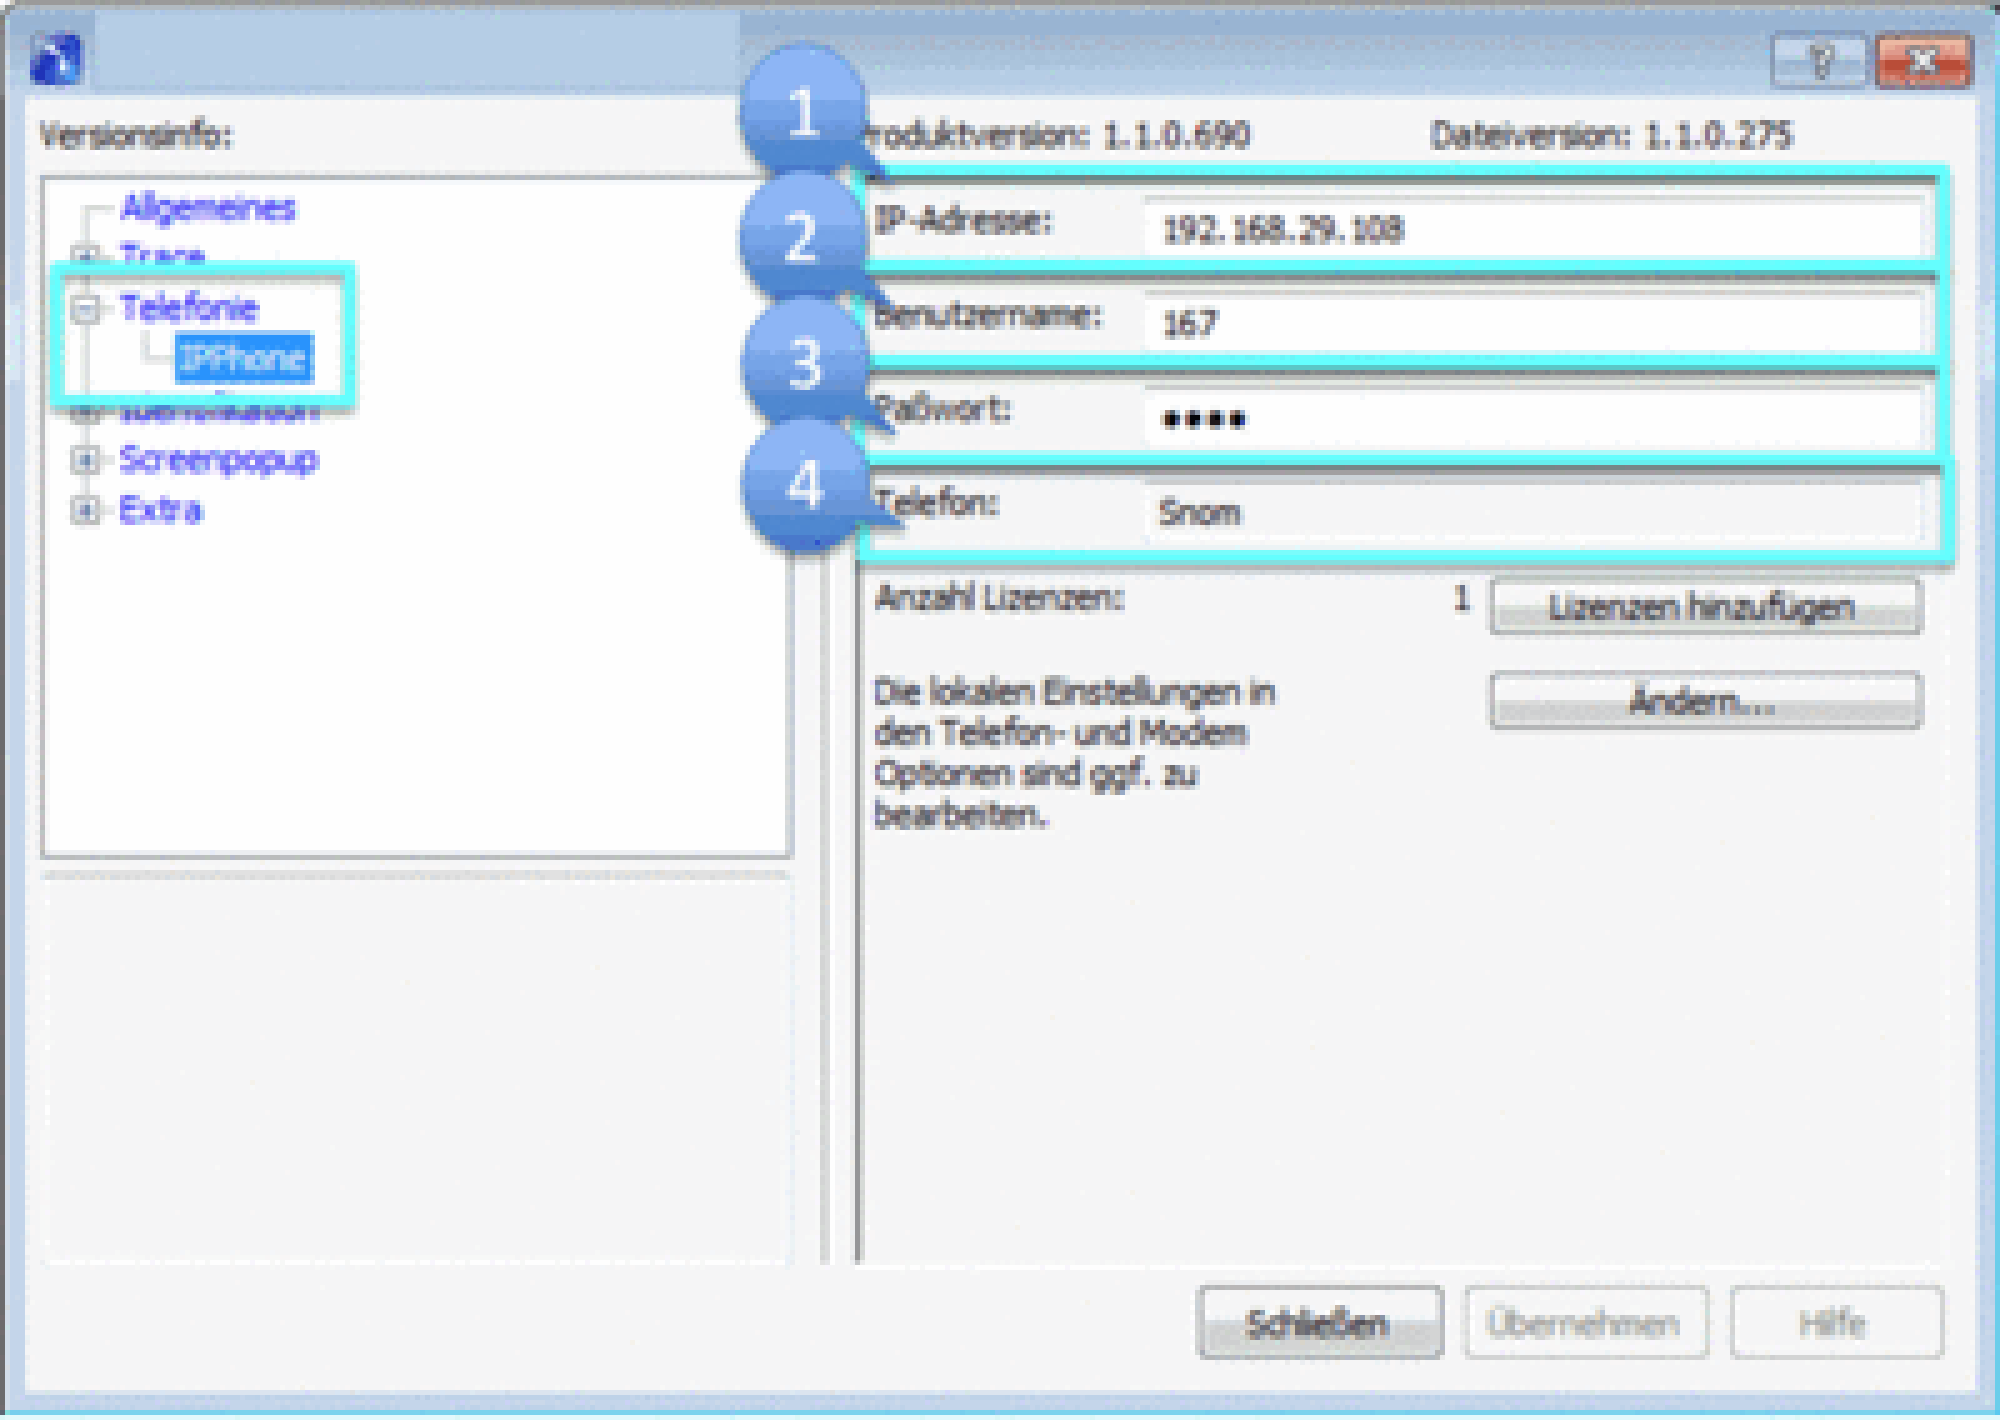
-Click on Telephony in the adminstration panel.
-Click on "IPPhone" in the opening window.
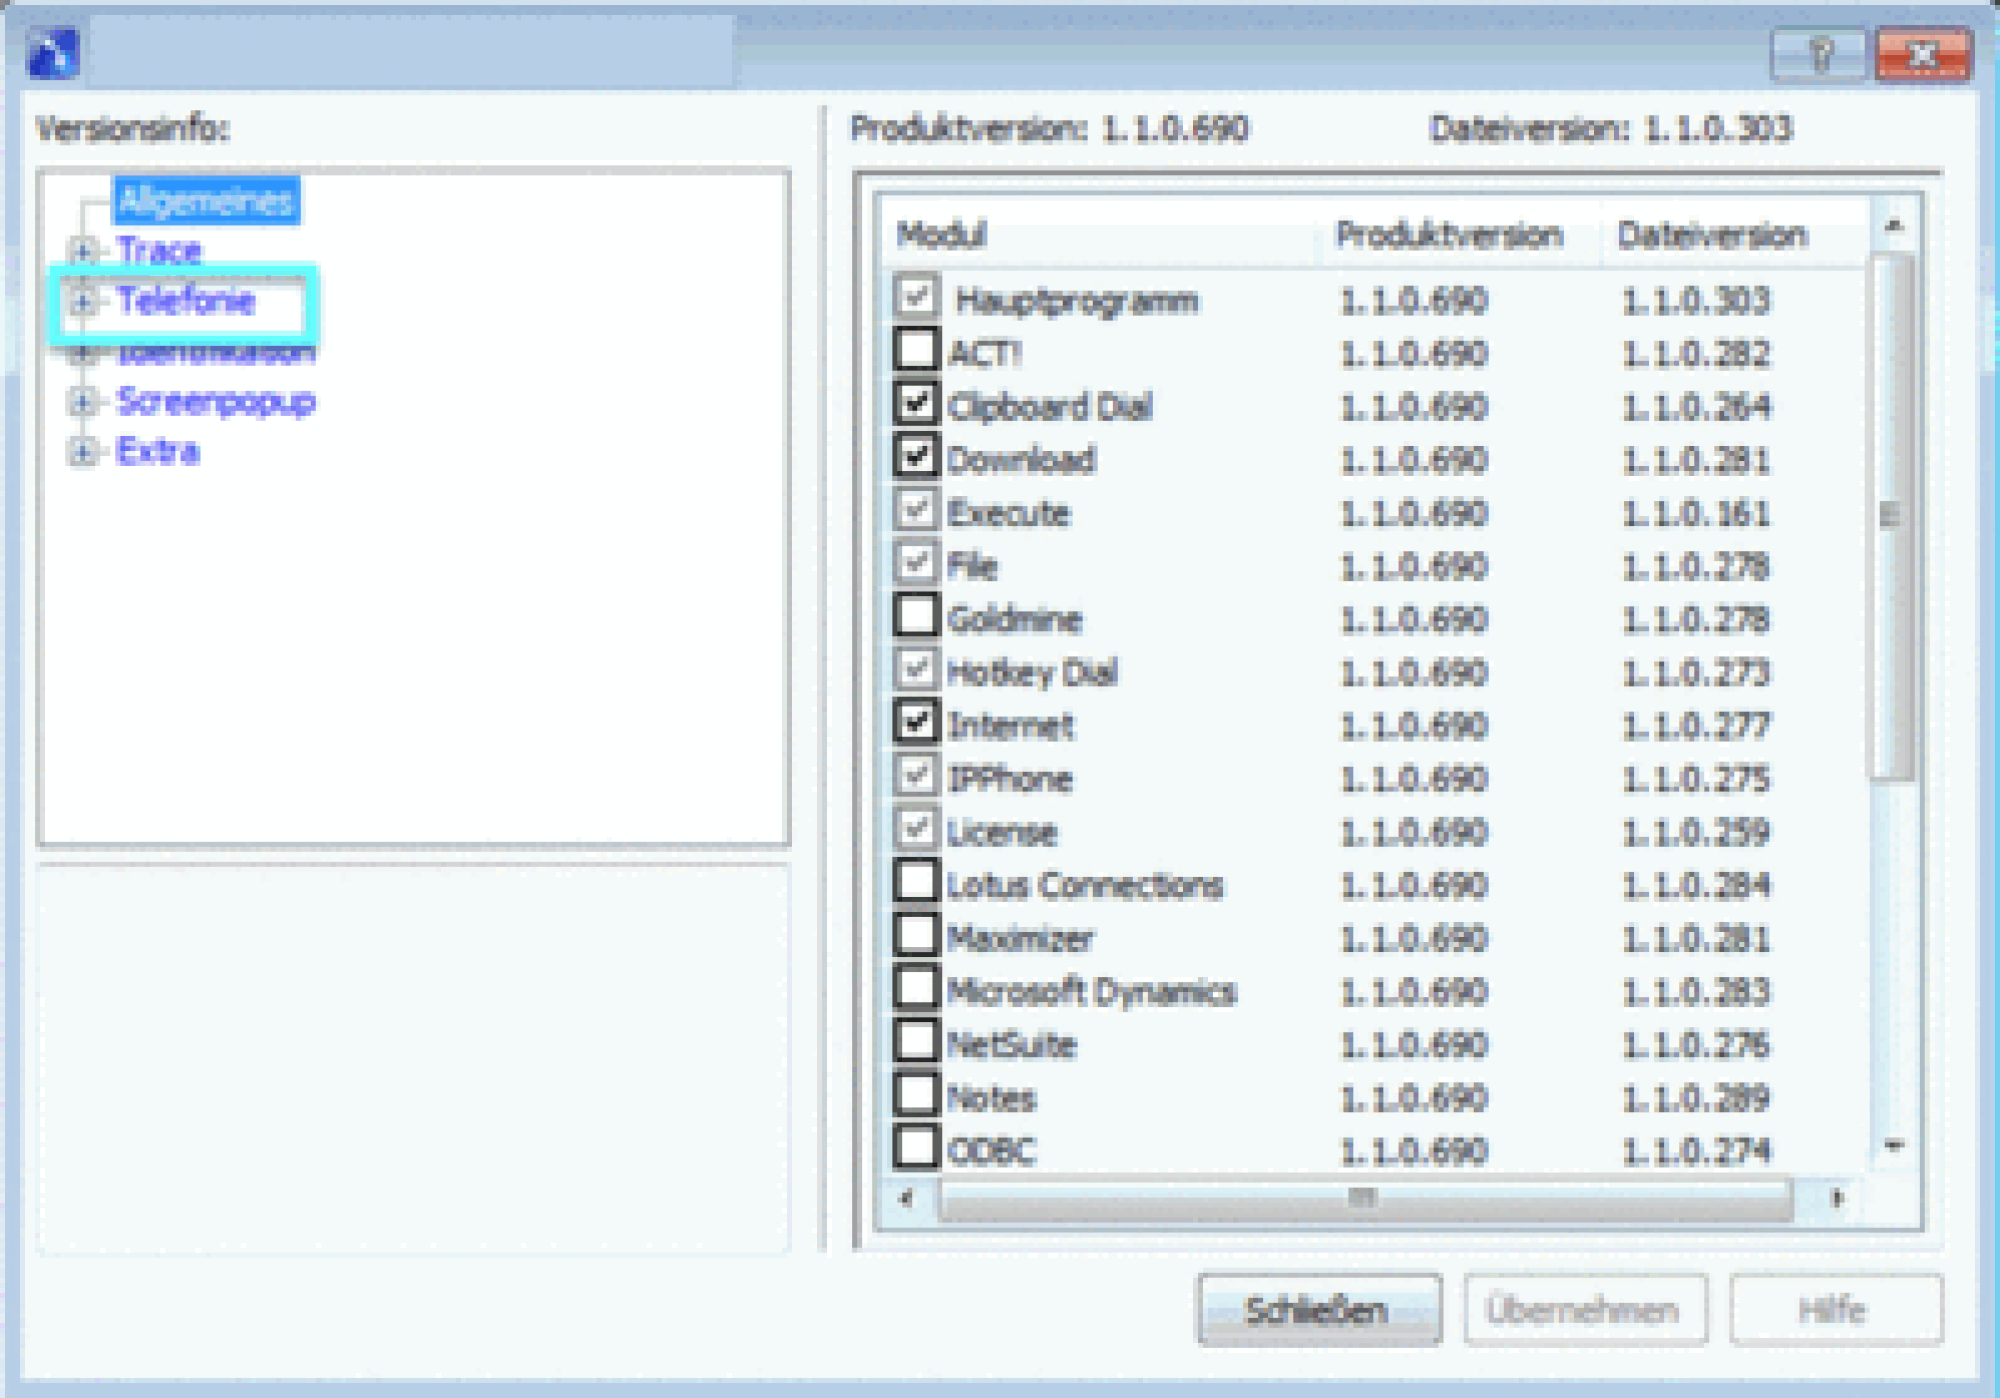
Enter your device IP address. To find the IP address of the respective system phone, please have a look at the instructions by the device manufacturer.
Enter your extension number.
Enter your voicemail PIN from the administration portal as the password.
Device and client connect to each other now.
Click Save.
⇒The Client is now ready for use.
Click Close to close the administration panel.
Configuration of Phone and Modem settings
For configuring the Phone and Modem settings and the related prefix for external calls, please find the steps below:
-Open the administration panel by double-clicking the symbol in the menu bar .
-Click on Telephony in the adminstration panel.
-Click on "IPPhone" in the opening window.
-Please click Open for configuring the Phone and Modem settings.
-Please choose your location (e. g. My Location) within the Phone and Modem configurations panel and click Edit