2. Installation
2.1. Overview
Overview
Before you begin using your new Panasonic DECT system, we would like to provide you with a brief overview of the steps required for installation.
Add DECT base (KX-UDS124) on the administration portal.
Add DECT mobile handsets (KX-UDT1x1) on the administration portal.
Add a phone extension for the DECT mobile handsets on the administration portal and assign the respective enddevice.
Register mobile handsets to base.
The following pages provide a detailed description of the individual steps.
2.2. Adding the DECT base KX-UDS124
2.2.1. Overview Multicell KX-UDS124 installation
Overview Multicell KX-UDS124 installation
The Panasonic Multicell KX-UDS124 enables a multitude of connection possibilities.
You can configure only one Air Sync Group via autoprovisioning.
The maximum number of mobil devices is 255.
Due to the seamless handover between the DECTs, you are able to walk around in your company and stay connected.
You can gather detailled information on the official webpage of Panasonic, you can find this information on:
www.panasonic.net
Choose Business, Business solutions
Select SIP Phone
then you can download the documents in the Support, Download area.
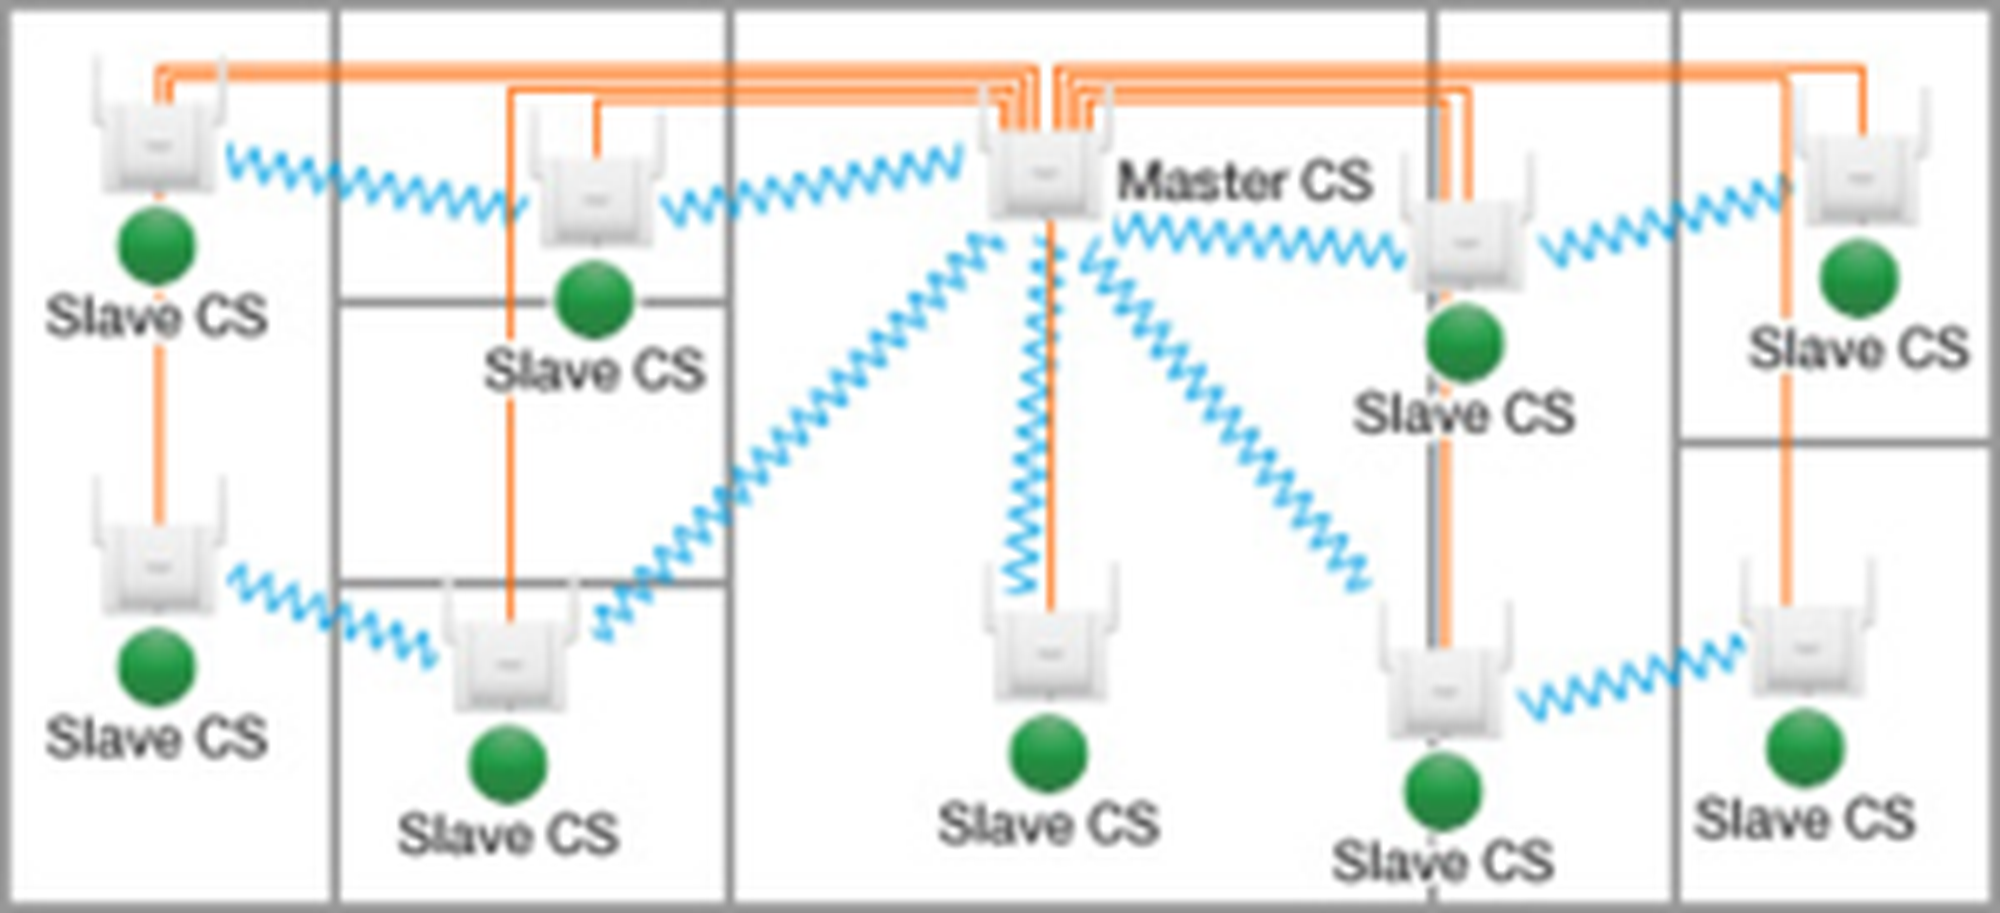
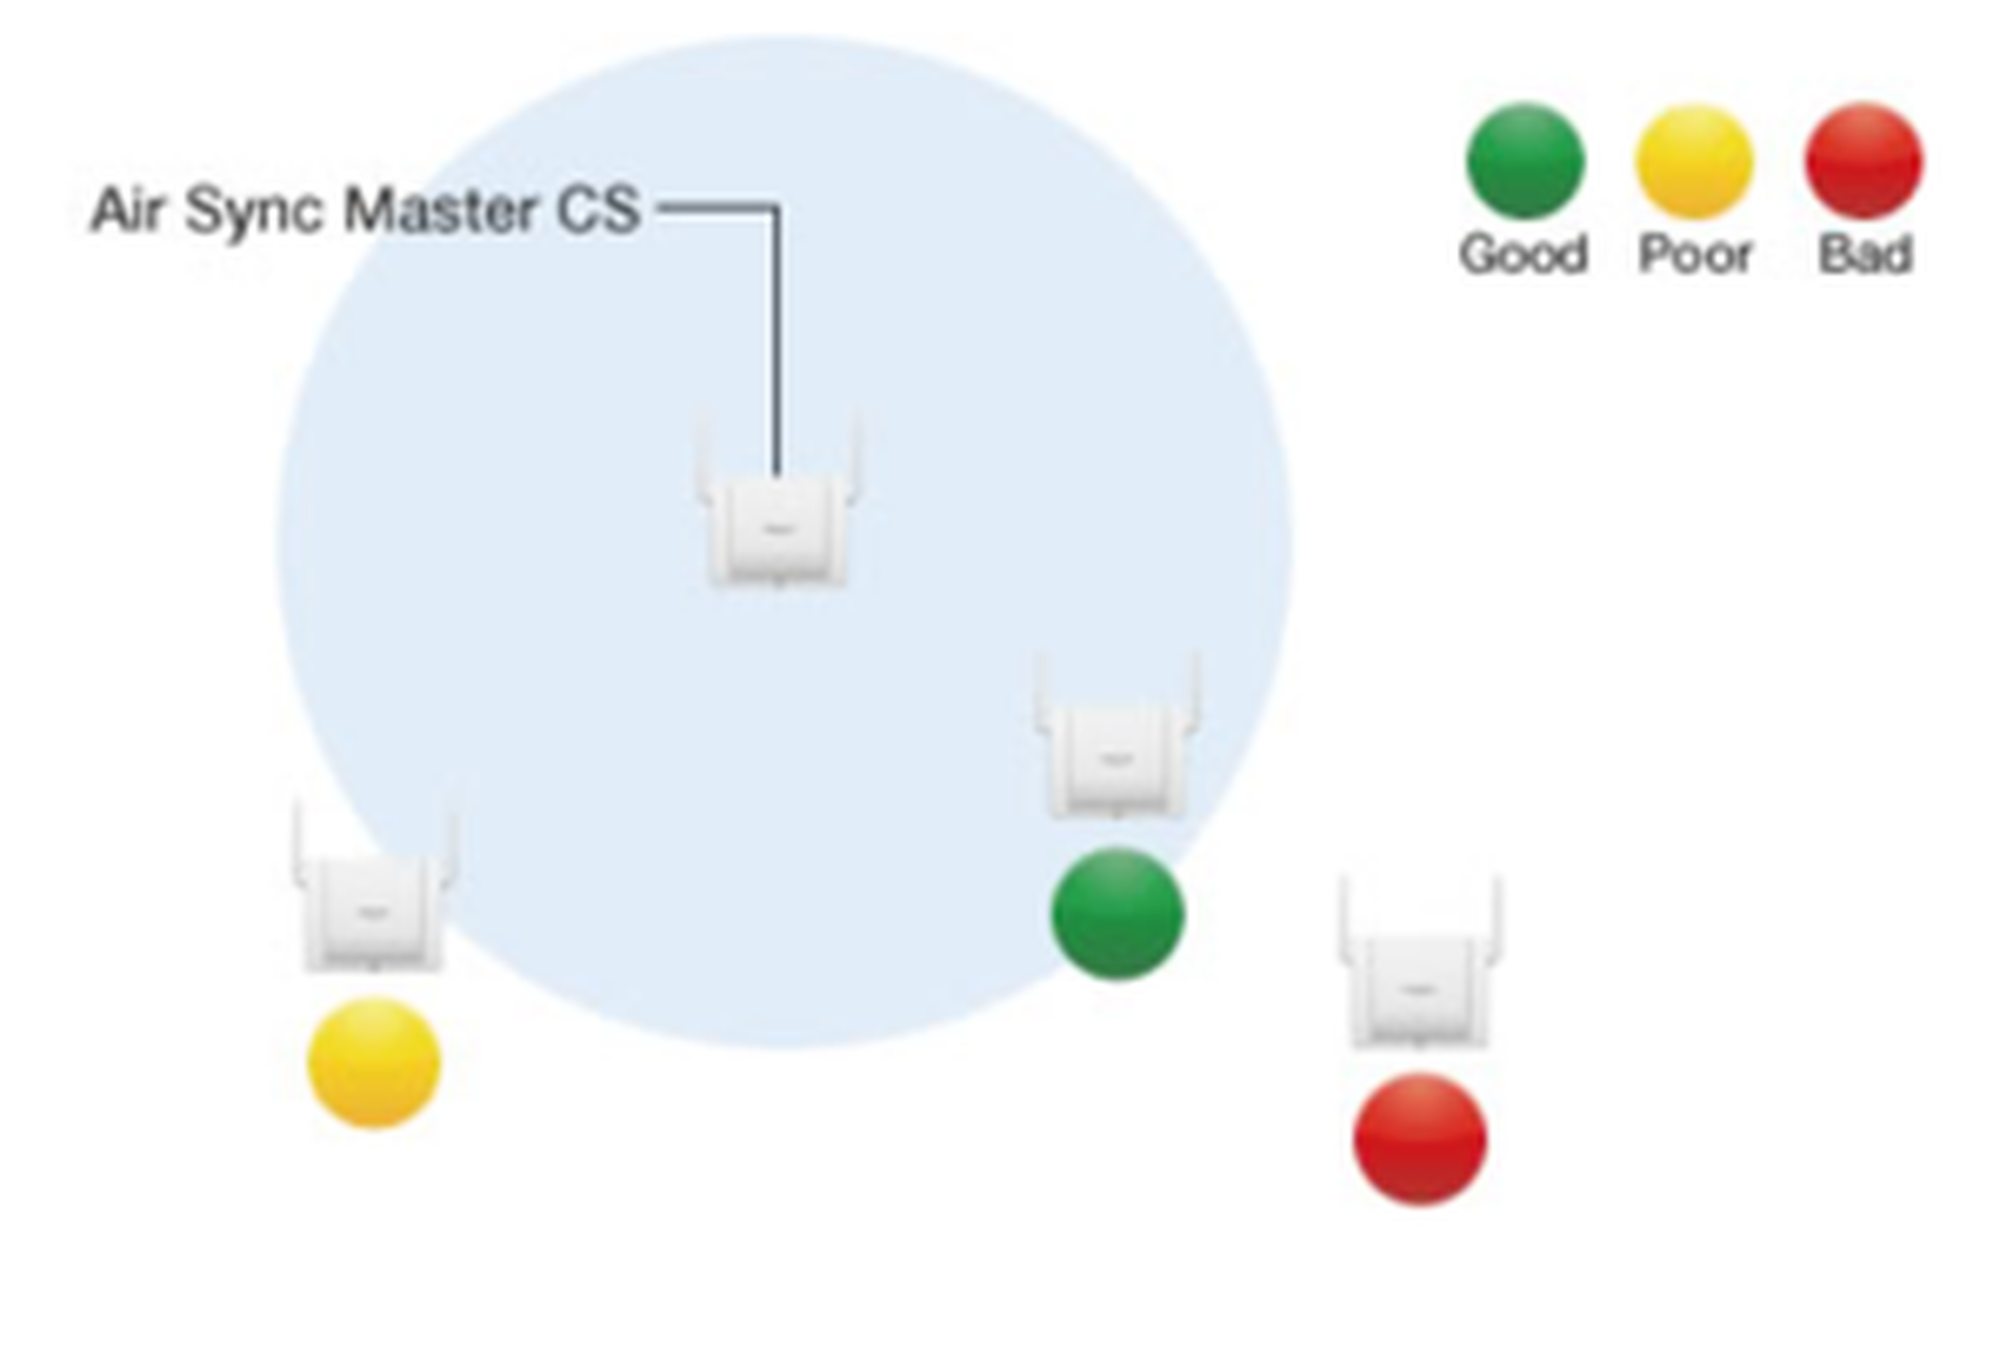
The installation of master and slaves and the site survey has to be done.
Note
To ensure a failure-free operation, we recommend, that the istallation is done by your system partner.
2.2.2. Installation DECT Base KX-UDS124 Master
Installation DECT Base KX-UDS124 Master
Installation of the KX-UDS124 DECT-Base with your telephone system:
No. | Description | Picture | |
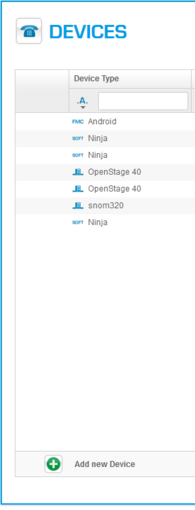
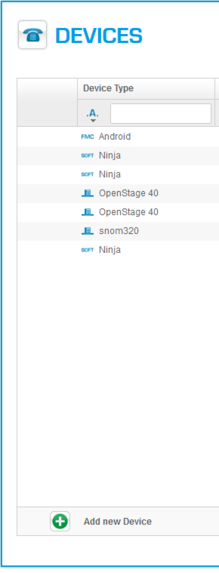
1. | Please select Add new Device on the administration portal under Elements/Devices. |
| |
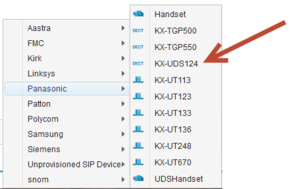
2. | Please select the DECT KX-UDS124 under Panasonic. |
| |
3. | A new window appears, here you can select your firmware version. |
| |
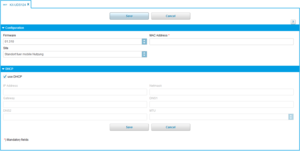
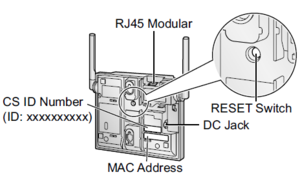
4. | Enter the MAC address. You can find the MAC address either on the delivery box or on the back side of the device (see example). |
| |
5. | Save your entries. | ||
6. | Connect the DECT base to your LAN network. The base station will now be synchronised. This can take a while and depends of the firmware download time. |
LED indications:
Slow flashing = 60 x per minute
Moderate flashing = 120 x per minute
You can connect up to 255 mobile devices (Panasonic KX-UDT1x1) to the base station KX-UDS124. The maximum number of parallel calls is 4 per base station.
Status | Description |
OFF | Off/SIP-CS Software downloading |
Green ON | Stand-by (no active calls) |
Slow green flashing | Talk (active calls) / S-PS data transfe |
Moderate green flashing | Busy, all voice channels are occupied |
Red ON | Fault |
Slow red flshing | Out of Service/Starting up |
Moderate red flashing | Starting up |
Amber ON | Stand-by, unsatble synchronisation |
Slow amber flashing | Talk (unstable synchronisation) |
Moderate amber flashing | Busy (unstable synchronisation) |
Note
Maintain the distances listed below between equipment in order to prevent noise, interference or thedisconnection of a conversation. (The distance may vary depending on the environment.)
More then 2 meter SIP-CS and office equipment such as a computer, telex, fax machine, etc.
More then 5 meter SIP-CS and other radio device
2.2.3. Installation DECT Base KX-UDS124 Slave
To install a Panasonic KX-UDS124 in slave mode, you do not have to change the settings in the administration portal. You need an access to the master KX-UDS124 over the web interface.
Follow these steps:
No. | Description | Picture | |
1. | One master KX-UDS124 must be already installed, as described in section 2.2.1. | ||
2. | You need to know the IP address of the master, you can get it either: with your connected handset, Menu>Setting Handset>Other Option>MasterCSAddress or with an IP network scanner (e.g. netscan) | ||
3. | Open your web browser, e.g. Firefox, ... | ||
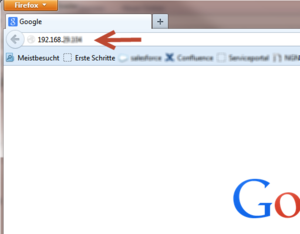
4. | enter the IP address. |
| |
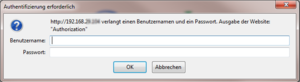
5. | A new window appears, here you have to enter a userID and a password. This information is provided by your system partner. It is NOT the standard Panasonic userID and password. |
| |
6. | Now you connect your slave UDS124 to your network. Please wait untill the LED is flashing RED. | ||
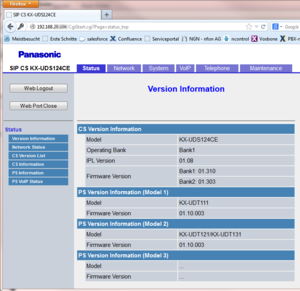
7. | The web interface displays the version information. |
| |
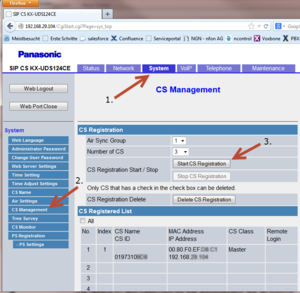
8. | Now you select: (1.) System (2.) CS Management, then the CS Management window appears (3.) Select Start CS Registration |
| |
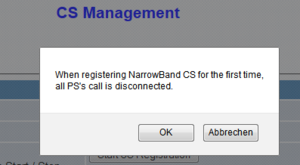
9. | First of all, there appears a message, if you want to proceed, because if you continue ALL running connections wil be disconnected! Push OK, to continue. |
| |
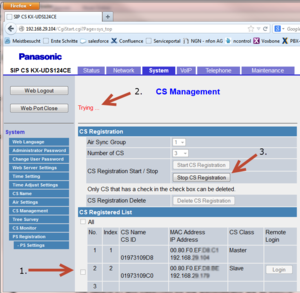
10. | All search over all channels is done and all slaves found are displayed. (1.) you can see the MAC-address. (2.) Trying continues to blink, it might be that you want to connect more than one slave. If you should see your slave and you want to stop the search, you stop the search by pushing (3.) Stop CS Registration. |
| |
11. | Now you have installed a master/slave system and your slave LED ilights GREEN. |
2.3. Adding DECT mobile handsets KX-UDT1x1
The KX-UDT-1X1 mobile handsets are registered to your phone system by the next steps:
No. | Description | Picture | |
1. | Log into the administration portal and select Add new device under Elements/Devices. |
| |
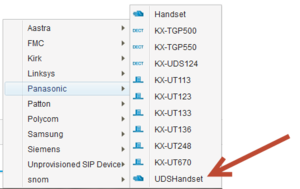
2. | Please select the UDSHandset under the category Panasonic. |
| |
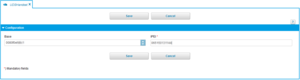
3. | A new window appears, please insert your IPEI number. |
| |
4. | You can find the IPEI in the settings of your handset by selecting: 1. Navigation 2. Select Setting Handset 3. Select System Option 4. Select H/S Information 5. IPEI: your IPEI number for this handset | ||
5. | Save your entries. | |


2.4. Adding an extension
To assign a handset to a user (e.g. John Doe), you follow the next steps:
No. | Description | Picture | |
1. | On the administration portal on the menu item Targets select "Add New Target". For more details, please consult the administration portal manual. | ||
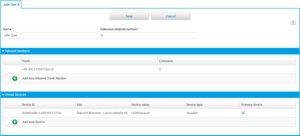
2. | A new window opens, please enter the name, extension and/or trunk. Click on Add new Device and select your device from the list: device is [MAC address base] - [IPEI handset] |
| |
3. | For all other settings, please consult the administration portal manual. | ||
4. | Save your entries. |
2.5. Registering mobile handset to the DECT base
The base is automatically registered. During the final step, you must register the mobile handset to the base. This is done using the menu of your Panasonic mobile handset.
You will see "Regsister Unit" on your display. Press OK: Registration
Now push (and hold) for approx. 5 seconds the OK button.
The handset is registered automatically, this can take a while if a new firmware needs to be installed.
After registration the display shows the next information: extension: name.